
| Style | Classical Hatha / Beginner Sun Salutation |
| Level | Beginner to intermediate |
| Duration | 3 to 5 minutes per round (slow pace) |
| Props Needed | Yoga mat; optional blocks for tight hamstrings |
| Best Time | Morning on an empty stomach, or 2 to 3 hours after a meal |
| Avoid If | Recent wrist injury, acute lower back pain, or first trimester of pregnancy without medical guidance |
| Disclaimer: This article is for informational and educational purposes only. It does not constitute medical advice. Always consult a qualified healthcare provider before starting a new exercise or wellness program, especially if you have existing joint, spinal, or cardiovascular conditions. |
I teach Surya Namaskar in most of my classes, and the confusion almost always happens in the same two places: stepping back into Equestrian Pose and stepping the foot forward again on the return.
Once beginners understand why those transitions feel awkward, the whole sequence starts to click. These Surya Namaskar steps are not about getting faster. They are about learning the connection between breath and movement, so the flow feels like one thing rather than twelve separate tasks.
This guide walks through all 12 positions in the classical Hatha sequence, with exact breath cues, body placement details, and the modifications I actually give in class. I have also included the common mistakes that slow most beginners down, a section on breath matching, and answers to the questions I hear most often.
What Surya Namaskar Means and Where It Comes From
Surya Namaskar means Sun Salutation. The Sanskrit word Surya means “sun,” and Namaskar means “salutation” or “greeting.” The practice was traditionally performed at sunrise, facing the rising sun, as a way of acknowledging the sun as the source of energy and life. You do not have to practice only at sunrise, but morning practice on an empty stomach tends to feel the cleanest because digestion is not competing with movement.
The sequence most commonly taught today in Hatha yoga uses 12 postures linked in a continuous flow. Each posture connects to either an inhale or an exhale, which is what makes Surya Namaskar different from simply doing yoga poses in a row. The breath is not an afterthought. It is the instruction. The National Center for Complementary and Integrative Health notes that yoga practice combines physical postures, breathing practices, and mental attention together, and Surya Namaskar is one of the clearest examples of all three working at once.
Modern Vinyasa and Ashtanga classes teach variations called Surya Namaskar A and Surya Namaskar B, which include different poses and transitions. This guide focuses on the classical Hatha version, which is the most appropriate starting point for anyone new to the practice. Once you are steady here, the Ashtanga primary series builds directly on this foundation.
Why Surya Namaskar Matters in Yoga Practice

Surya Namaskar matters because it trains several things at once rather than isolating one skill. Most movement practices either build strength or improve flexibility. Surya Namaskar asks for both simultaneously, along with breath control and focus. That combination is what makes it such a consistent part of yoga classes worldwide, for beginners and experienced practitioners alike.
In my classes, I often introduce Surya Namaskar as a full-body warm-up before deeper postures. Students who commit to even two rounds at the start of practice consistently have better spinal mobility and steadier breath control by the end.
The sequence works through the shoulders, spine, hips, hamstrings, core, wrists, chest, and legs across its 12 positions, so nothing major is left untouched. It also teaches the pattern of inhaling on expansive movements and exhaling on folding or lowering movements, which is a foundational breathing rule that carries through all other yoga postures.
For beginners, especially, it builds the habit of connecting movement to breath before they have to manage that skill in more demanding poses. Strength and flexibility tend to follow as natural byproducts rather than forced goals.
The Breath and Movement Map: Understanding Before You Move
Before stepping through the 12 positions, it helps to understand the logic of the breath. The rule is simple: inhale when the body lifts, opens, or lengthens, and exhale when the body folds, lowers, or comes inward. Knowing this means you do not have to memorize each breath separately. You can infer it from the movement.
| Step | Pose Name | Breath | Movement Type |
| 1 | Pranamasana (Prayer Pose) | Exhale | Neutral / grounding |
| 2 | Hasta Uttanasana (Raised Arms) | Inhale | Lift / open |
| 3 | Hasta Padasana (Forward Bend) | Exhale | Fold / lower |
| 4 | Ashwa Sanchalanasana (Equestrian) | Inhale | Lengthen / open chest |
| 5 | Dandasana (Plank) | Hold or exhale gently | Stabilise |
| 6 | Ashtanga Namaskarasana (Eight-Limb) | Exhale | Lower / release |
| 7 | Bhujangasana (Cobra) | Inhale | Lift/backbend |
| 8 | Parvatasana (Downward Dog) | Exhale | Invert / lengthen back |
| 9 | Ashwa Sanchalanasana (Equestrian, opposite leg) | Inhale | Lengthen / open chest |
| 10 | Hasta Padasana (Forward Bend) | Exhale | Fold / lower |
| 11 | Hasta Uttanasana (Raised Arms) | Inhale | Lift / open |
| 12 | Pranamasana (Prayer Pose) | Exhale | Neutral/close |
Study this table before your first few rounds. After a week of daily practice, the breath cues become automatic, and you stop needing to think about them separately from the movement.
Surya Namaskar Steps Explained With Breath and Body Cues
These Surya Namaskar steps are best learned at a slow pace. Do not rush to connect them. Focus on finding each shape fully before moving to the next.
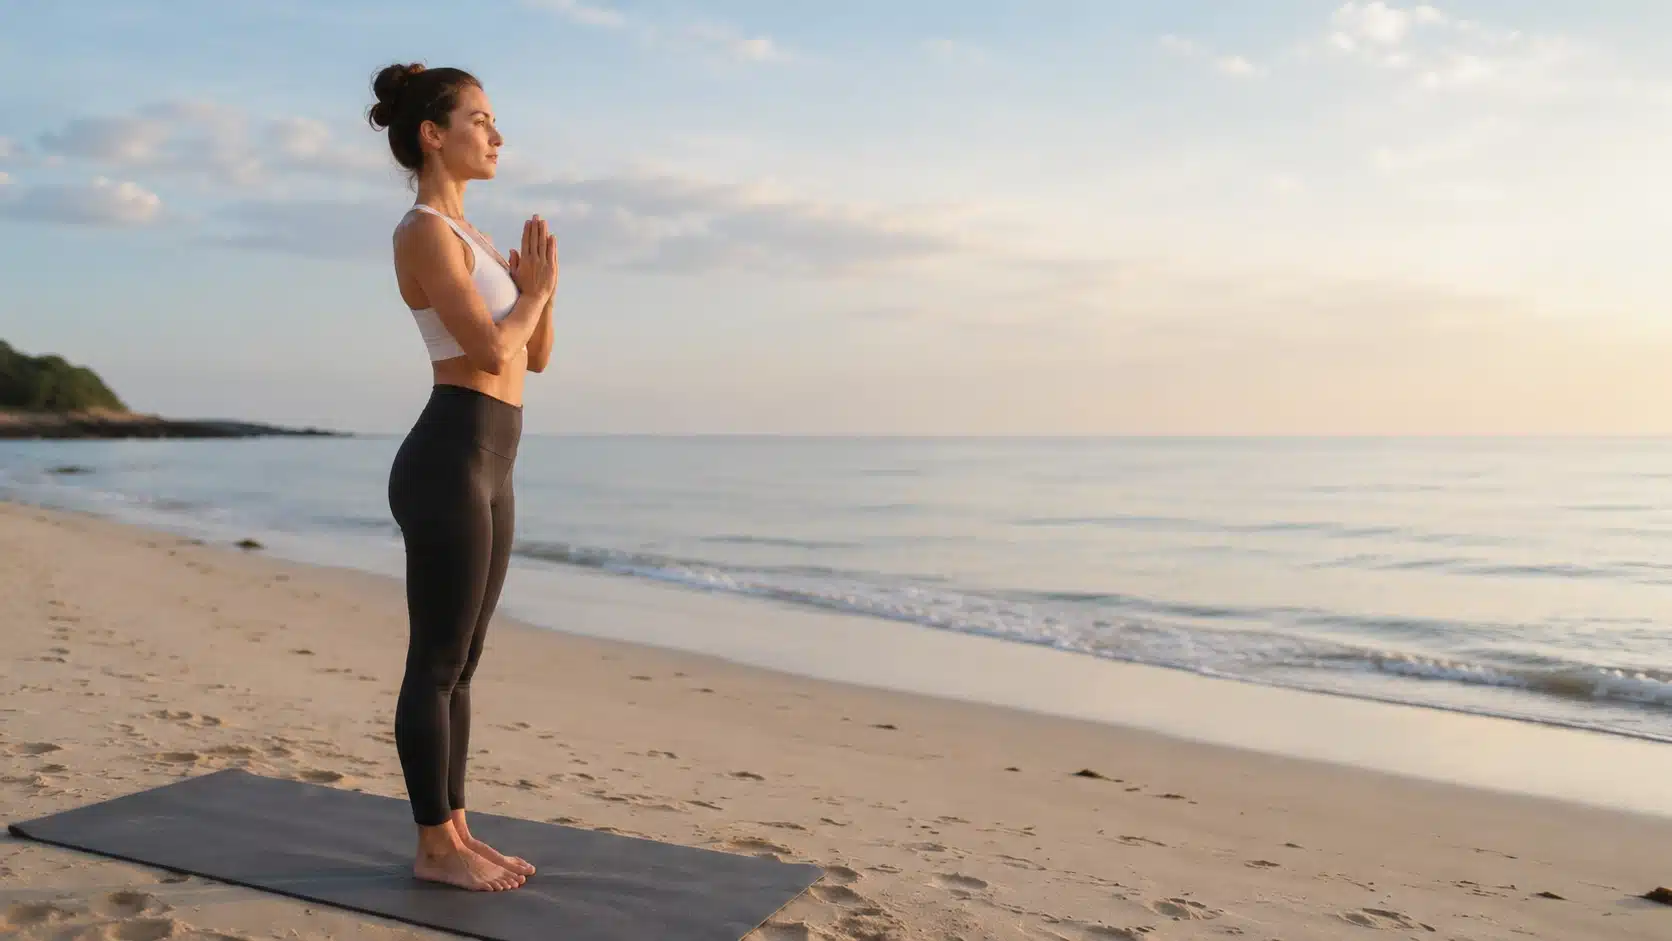
Step 1: Pranamasana (Prayer Pose)

Pranamasana sets the tone for the whole sequence. It is not a passive standing position. It is the moment when you arrive. In my classes, students who skip this pause and rush straight into the inhale tend to have scattered breath for the first several rounds. One steady exhale here settles the nervous system before the movement begins.
How to do it:
- Stand at the front of your mat with your feet together or hip-width apart.
- Take a breath in to lengthen your spine.
- As you exhale, bring your palms together in front of your chest.
- Relax your shoulders away from your ears and keep your chest open.
- Let your weight distribute evenly through both feet.
- Pause here for one full breath before moving.
| Instructor Tip: If you feel unsteady, stand with your feet hip-width apart instead of touching them. Balance is more important than form at the start. |
Step 2: Hasta Uttanasana (Raised Arms Pose)

Hasta Uttanasana creates space through the chest, ribs, and front body on an inhale. The lift should feel expansive, not compressed. Most beginners collapse through the lower back when they lean into the backbend, which compresses the lumbar spine rather than opening it. The goal is length through the whole spine first, then a gentle opening through the upper chest.
How to do it:
- From Pranamasana, inhale and lift both arms overhead.
- Keep your arms close to your ears, reaching upward rather than just raising the arms out wide.
- Gently move your pelvis slightly forward to protect the lower back.
- Lean back only as far as your thoracic spine feels comfortable, not your lumbar spine.
- Keep your gaze forward or slightly upward without crunching your neck.
| Safety Note: Do not force the backbend. If your lower back feels pinched or compressed, reach upward without leaning back at all. Length comes before the arch. |
Step 3: Hasta Padasana (Standing Forward Bend)

Hasta Padasana is a deep stretch for the hamstrings, calves, and lower back. The most common mistake here is trying to keep straight legs when the hamstrings are tight, which causes the lower back to round severely, rather than the hinge happening at the hips. Bent knees are not a compromise. They protect the lumbar spine and make the fold safer on every level.
How to do it:
- Exhale and hinge forward from your hips, not your waist.
- Keep your spine as long as possible as you descend.
- Bring your hands down beside your feet, fingertips roughly in line with your toes.
- If your hamstrings or lower back feel tight, bend your knees generously.
- Let the crown of your head drop toward the floor and release your neck completely.
| Instructor Tip: Soft knees are not a beginner workaround. I cue them for students at every level when the hamstrings need a safe range. If bending the knees is what allows the back to lengthen, it is the right choice. |
Step 4: Ashwa Sanchalanasana (Equestrian Pose)

Ashwa Sanchalanasana brings a long lunge shape that opens the hip flexors and transitions the body from standing work to floor-based movement. On the first set, the right leg steps back. On the second set, it will be the left leg. This alternation is how one full round covers both sides of the body. Students who forget this end up stepping back on the same leg twice, which is the most common sequencing mistake I see.
How to do it:
- Inhale and step your right leg back as far as feels comfortable.
- Keep your left foot flat between your hands.
- Make sure your left knee stays directly above your left ankle, not drifting forward past it.
- Lower your right knee to the mat if you need extra support through the hips.
- Place your fingertips or palms beside your front foot.
- Lift your chest forward and lengthen through the front of the right hip.
- Look slightly ahead without straining your neck upward.
| Safety Note: If the front knee drifts inward toward the midline, shorten your stance slightly. Knee alignment over the ankle is more important than how deep the lunge goes. |
Step 5: Dandasana (Plank Pose)

Dandasana is the structural center of the sequence. It asks your arms, shoulders, core, and legs to work simultaneously, which is why it is one of the most revealing positions in Surya Namaskar. If the hips drop or the lower back sags, the body is not ready to hold the full pose yet. Dropping the knees and building a modified plank is always the right progression, not a shortcut.
How to do it:
- From Equestrian Pose, step your left foot back beside your right foot.
- Place both palms firmly under your shoulders, fingers spread.
- Keep your legs straight with feet hip-width apart and toes tucked.
- Engage your core and press the floor away through your palms.
- Keep your body in one straight line from the crown of your head to your heels.
- Hold your neck neutral with your gaze slightly forward.
| Instructor Tip: If your hips drop or your lower back sags, lower your knees immediately. A modified plank with a straight body is more beneficial than a full plank with a collapsed spine. |
Step 6: Ashtanga Namaskarasana (Eight-Limb Pose)

Ashtanga Namaskarasana is a controlled descent, not a collapse. Eight points of the body touch the mat: the two hands, two knees, two feet, the chest, and the chin. The hips stay lifted above the floor throughout. This is the part most beginners rush through, dropping the chest too quickly. That speed strains the shoulders and wrists and removes the strength benefit entirely.
How to do it:
- Exhale and slowly lower your knees to the mat.
- Keep your palms planted directly under your shoulders.
- Bend your elbows, keeping them close to your ribs rather than flaring outward.
- Lower your chest toward the mat between your hands.
- Lower your chin to the mat last.
- Keep your hips raised above the floor throughout the descent.
- Move slowly. This should take several seconds, not a single drop.
| Safety Note: Dropping the chest too fast strains the shoulder joints and wrists. Keep the elbows in, the hips up, and slow the descent deliberately. |
Step 7: Bhujangasana (Cobra Pose)

Bhujangasana brings a gentle backbend that counteracts the forward folds earlier in the sequence. The lift should originate from the chest and upper back muscles, not from pressing hard into the hands. Students who lock their elbows straight and push through the arms tend to compress the lower back and lose the openness through the chest that makes this pose valuable. The baby cobra variation, with a very small lift and soft elbows, is often more effective for beginners than a full high cobra.
How to do it:
- From the Eight-Limb Pose, keep your palms beside your chest on the mat.
- Keep your legs stretched back with the tops of your feet pressing into the floor.
- Inhale and slide your chest slightly forward.
- Press lightly into your palms and lift your chest, keeping your elbows bent and close to your body.
- Relax your shoulders away from your ears.
- Keep your hips and thighs on the mat rather than lifting into a full upward-facing dog.
- Gaze forward or very slightly upward without compressing the back of the neck.
| Instructor Tip: Keep the elbows slightly bent throughout. If your shoulders move toward your ears, lower your chest an inch or two. The upper back should be doing most of the work, not the arms. |
Step 8: Parvatasana (Downward-Facing Dog)

Parvatasana creates an inverted V shape that stretches the entire back body while building strength in the arms and shoulders. It can feel intense in the hamstrings and calves at first, which leads many beginners to try to force their heels down. A long spine with bent knees is always more useful than straight legs with a rounded back. The priority is the length from hands to hips, not the position of the heels.
How to do it:
- From Cobra Pose, tuck your toes under.
- Press both palms firmly into the mat, spreading your fingers wide.
- Exhale and lift your hips up and back toward the ceiling.
- Straighten your arms without locking your elbows.
- Lengthen your spine from your wrists to your tailbone before working on leg position.
- Bend your knees as much as needed to keep the back flat.
- Let your heels move toward the floor without forcing them there.
- Relax your head between your arms so your neck is long.
| Safety Note: Do not force the heels to the floor if your hamstrings pull the back into rounding. Bent knees with a flat spine is the correct modification every time. |
Step 9: Ashwa Sanchalanasana (Equestrian Pose, Opposite Leg)

This is the transition that confuses most beginners. The right foot stepped back in Step 4. Now the right foot steps forward. This is what balances the sequence and covers both sides of the body across one round. The foot may not land perfectly between the hands on the first attempt, which is completely normal. Using a hand to guide the foot forward is not a workaround. It is standard practice while hip flexibility is still developing.
How to do it:
- From Parvatasana, inhale and look toward your hands.
- Shift your weight slightly forward to make space for the foot.
- Step your right foot forward between your palms.
- Place the right foot flat on the mat with the heel directly below the right knee.
- Stretch your left leg back with the knee lowered to the mat if needed.
- Lift your chest gently forward, opening through the front of the left hip.
- Look ahead without forcing the chin upward.
| Instructor Tip: If your foot does not reach between your hands in one step, place it as far forward as it goes and use your hand to walk it into position. Tight hip flexors make this transition hard at first. It improves within two to three weeks of regular practice. |
Step 10: Hasta Padasana (Standing Forward Bend)

The return to Hasta Padasana slows the sequence before the sequence rises again. This fold is often tighter than the first because the hips and hamstrings have been working in lunges and downward-facing dog. Do not try to go deeper here than you did in Step 3. Let the breath soften the body instead of pulling or pushing into the shape.
How to do it:
- From Equestrian Pose, exhale and step your left foot forward to meet the right.
- Bring both feet together at the front of the mat.
- Hinge forward from the hips, keeping the spine as long as possible on the descent.
- Place your hands beside your feet or rest them on your shins.
- Bend your knees generously if your hamstrings or lower back feel pulled.
- Relax your head and neck completely.
- Balance your weight equally through both feet rather than shifting into the heels or toes.
| Safety Note: Do not pull on your legs to deepen the fold. Let each exhale release the body a little further. Forced stretching in a tired hamstring can cause strain. |
Step 11: Hasta Uttanasana (Raised Arms Pose)

Hasta Uttanasana lifts the body back into standing with control, opening the chest after the folding sequence. Rising slowly is important here. Students who come up quickly sometimes feel lightheaded because the blood pressure adjusts when the head rises. Leading with the arms forward and engaging the legs before lifting the torso distributes the effort correctly.
How to do it:
- Inhale and press your feet firmly into the mat.
- Engage your legs and core before lifting your upper body.
- Reach your arms forward as you begin to rise, sweeping them up alongside your ears.
- Slowly come up from the hips, keeping the spine long throughout.
- Lift both arms overhead once you reach standing.
- Open gently through the upper chest without compressing the lower back.
- Look forward or slightly upward if the neck feels comfortable.
| Instructor Tip: Use your legs and core to lead the rise. If you feel dizzy when coming up, stop in standing and breathe for a moment before completing the arm lift. |
Step 12: Pranamasana (Prayer Pose)

Pranamasana closes the round. Use this pause to notice how your breath has changed, whether your body feels warmer, and whether you are ready to begin the second round or need an extra breath. This moment matters as much as any of the active poses. Surya Namaskar teaches rhythm, and rhythm requires space between cycles as much as it requires the movement itself.
How to do it:
- Exhale and return your body to an upright standing position.
- Bring your palms together at the center of your chest.
- Keep your spine tall and your chest relaxed.
- Let your shoulders soften away from your ears.
- Balance your weight evenly through both feet.
- Relax your face, jaw, and neck completely.
- Observe your breath for one full cycle before starting the next round.
| Instructor Tip: Take one full breath before the next round. The second round begins on the left side: step the left leg back in Step 4, and bring the left leg forward in Step 9. |
Reading through the steps builds understanding. Watching the transitions reinforces how they flow together. Follow this video for a guided walkthrough of the full Surya Namaskar sequence:
Common Mistakes That Disrupt the Flow
Most problems in Surya Namaskar come from rushing, skipping the breath, or pushing further into a pose than the body is currently ready for. These are the mistakes I correct most often in classes.
- Losing the breath timing: The inhale and exhale cues are not decorative. They tell your nervous system when to open and when to release. When the breath gets dropped, the sequence becomes a series of disconnected shapes rather than a flowing practice. If you lose the breath, slow down before you lose the order.
- Letting the front knee collapse inward in the lunge: In Steps 4 and 9, the front knee should track above the ankle and in line with the second toe. Collapsing inward creates lateral knee stress that compounds over many rounds. Shorten the stance if alignment cannot be maintained.
- Dropping the hips in Plank: A sagging lower back in Plank compresses the lumbar vertebrae and reduces the core engagement that the pose is training. Lower the knees at any point, the hips drop.
- Forcing the heels to the floor in Downward Dog: Tight calves and hamstrings mean the heels simply will not reach the mat in early practice. Pressing them down before the flexibility is there rounds the lower back. Bend the knees and prioritize spinal length instead.
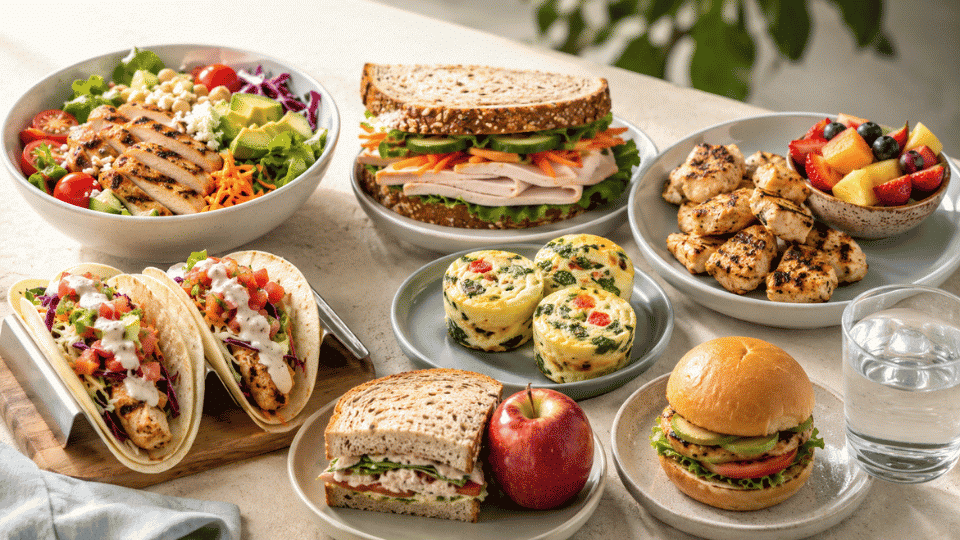
- Practicing on a full stomach: The forward bends and plank positions are uncomfortable when the digestive system is active. Leave at least two to three hours after a full meal before starting the sequence.
What Are the Benefits of Surya Namaskar?

Surya Namaskar offers a range of physical and mental benefits when practiced regularly and with attention to alignment. These are not promises tied to a single session. They are outcomes that build gradually through consistent practice.
On the physical side, the forward folds, lunges, and backbends develop flexibility across the hamstrings, hips, shoulders, chest, and spine. Plank, Eight-Limb lowering, and the transitions between poses build strength in the arms, shoulders, core, legs, and back. The sequencing of movement and breath also trains the cardiovascular system at low to moderate intensity, particularly at faster tempos and higher round counts.
On the mental side, repeating the same sequence daily trains sustained focus in a way that isolated posture practice does not. Students who practice Surya Namaskar regularly before a longer session consistently report calmer breath and better concentration through the rest of the class. The yoga for mobility gains from Surya Namaskar also tend to make the hips, thoracic spine, and shoulders more responsive during other movement practices.
Students recovering from extended periods of inactivity often find Surya Namaskar a good reintroduction to structured movement because the breath-based structure naturally moderates pace. If you want a gentler version with similar whole-body benefits, the restorative yoga approach offers complementary practice on rest days.
How Many Rounds Should You Do and How Often?
The right number of rounds depends on your current fitness level, recovery capacity, and whether Surya Namaskar is your only movement for the day or part of a longer session. More rounds are not automatically better. Cleaner rounds at the right volume are.
| Level | Rounds | Frequency | Primary Focus |
| Beginner | 2 to 4 slow rounds | 3 to 4 days weekly | Learn the order, breath cues, and transitions |
| Comfortable beginner | 4 to 6 rounds | 4 to 5 days weekly | Keep breath steady through every step |
| Intermediate | 6 to 12 rounds | Most days | Build stamina without losing alignment |
| Experienced | 12 or more rounds | Based on recovery | Monitor wrist, knee, back, and shoulder fatigue |
Start at the lower end and add rounds only when the breath stays smooth throughout. If your breathing becomes ragged or shallow before the end of a round, that is the signal to reduce the number rather than push through. The most common mistake I see intermediate practitioners make is adding rounds before they have stabilised breath control, which turns a meditative sequence into anxious cardio.
For beginners interested in building a structured daily practice, a 28-day yoga challenge format with gradual round increases week by week is a reliable way to build consistency without overloading the body.
Surya Namaskar A and B: How They Differ From the Classical Version
Students who encounter different Surya Namaskar sequences in class or online are often confused about why the poses seem different from what they learned. The three versions share the same underlying logic but use different postures and transitions.
The classical Hatha version taught in this guide uses Eight-Limb Pose (Ashtanga Namaskarasana) as the lowering posture and Cobra (Bhujangasana) as the backbend. It is the most accessible version and the best starting point for beginners.
Surya Namaskar A, from the Ashtanga tradition, replaces Eight-Limb Pose with Chaturanga Dandasana (a low plank hold) and replaces Cobra with Upward-Facing Dog. Both require significantly more upper body strength and shoulder stability. Most yoga teachers recommend at least three to six months of classical Surya Namaskar before attempting the A series regularly.
Surya Namaskar B adds Warrior I (Virabhadrasana I) as an additional pose, lengthening the sequence. It is used in Ashtanga Vinyasa classes and builds more leg strength and hip stability than the classical or A versions. This version is not appropriate for beginners.
Frequently Asked Questions About Surya Namaskar Steps
These are the questions I hear most often from students when I introduce this sequence in class.
How many calories does Surya Namaskar burn per round?
The calorie burn depends on your body weight, pace, and intensity. For a person weighing around 150 pounds, one round of Surya Namaskar burns approximately 13 to 17 calories at a moderate pace. At 12 rounds, that translates to roughly 156 to 204 calories, comparable to a moderate-intensity walk. Faster tempos and more rounds increase the cardiovascular demand. These numbers vary considerably based on individual factors, and Surya Namaskar should not be approached primarily as a calorie-burning tool. The breath control and structural benefits are the more reliable and consistent outcomes.
Is it better to do Surya Namaskar in the morning or evening?
Morning is traditionally recommended, ideally on an empty stomach or at least two to three hours after eating. The practice aligns with the body’s natural cortisol cycle, which peaks in the early morning hours and supports physical readiness for movement. That said, practicing in the evening is better than not practicing at all. If morning practice is not consistent for you, establish an evening routine first and let the timing adjust as the habit builds.
Can Surya Namaskar help with back pain?
For mild to moderate lower back stiffness, Surya Namaskar can help by improving spinal mobility, strengthening the core muscles that support the lumbar spine, and releasing tension through the hamstrings and hips. The sequence should be done slowly, with particular attention to bending the knees in forward folds and keeping the spine long rather than rounded. Anyone with acute back pain, disc herniation, or spinal stenosis should get medical clearance before starting. Those managing chronic back pain may find that yoga poses for back pain provide useful complementary support alongside Surya Namaskar.
How long does one round of Surya Namaskar take?
At a slow beginner pace, one round takes three to five minutes. At an intermediate pace with normal breath timing, one round takes one to two minutes. At an advanced flowing pace, one round can be completed in under a minute. Beginners should not be trying to match the pace of intermediate practitioners. The breath should always be the guide for pace, not time targets.
Do I need a yoga mat for Surya Namaskar?
A yoga mat is strongly recommended because it provides grip during Plank, Cobra, and Downward Dog. Without grip, the hands and feet slip during transitions, which increases joint strain risk. If you do not have a mat, use a clean non-slip surface. Avoid smooth floors, rugs with fringe, or any surface where the hands can move during load-bearing positions.
Should Surya Namaskar be practiced barefoot?
Yes. Bare feet allow you to feel the ground accurately, spread the toes for balance, and grip the mat during transitions. Socks create a slip risk, particularly during Downward Dog and Plank. Yoga-grip socks are an acceptable alternative in cold environments, but standard socks should not be worn on a yoga mat.
Can Surya Namaskar be done during periods?
Many practitioners do gentle Surya Namaskar without difficulty during menstruation. Others prefer rest or slower stretching during the first two days. The positions most commonly recommended to avoid or modify during heavy flow are deep inversions. Downward Dog in Surya Namaskar is a mild inversion and is generally tolerable, but listen to your body and reduce the round count if fatigue, cramping, or dizziness is present. If you have a condition such as endometriosis or PCOS, consult your doctor before continuing strenuous practice during your cycle.
What is the difference between one round and one set of Surya Namaskar?
One set consists of 12 poses completed on one side: the right leg steps back in Step 4 and the right leg returns in Step 9. One full round consists of two sets: one starting with the right leg and one starting with the left leg. A full round, therefore, covers both sides of the body and involves 24 total movements before returning to the Prayer Pose to begin again.
Final Verdict
Surya Namaskar works best when you treat it as a steady breath-led practice, not a race through poses.
You have learned how the 12 postures connect, where to place your body, how to breathe, and when to modify. That matters because small changes, like bending your knees or lowering them in a plank, can make the sequence safer and more useful.
I suggest starting with a few slow rounds and building only when your breath stays calm. With regular practice, the Surya Namaskar steps can improve strength, flexibility, posture, and focus.
Try two rounds today, then share which step feels hardest for you.