
Getting up from a chair can feel simple until your legs start asking for help. One small movement can affect balance, confidence, and how safe you feel at home.
The sit to stand exercise trains the same pattern you use when rising from a chair or other everyday seat. It is one of the most practical standing exercises for seniors because it needs only a sturdy chair and a little space.
I like this move because it feels simple, but it teaches real strength you can use daily. You do not need a gym or special equipment. You need safe setup, clear form, and steady practice. Start with the version that feels safe today.
The Chair Setup That Makes Sit to Stand Easier
The sit to stand exercise is a chair-based movement where you rise from a seated position and lower yourself back down with care. It is also called a chair rise or chair stand.
Your setup matters because the chair, feet, and hips decide how easy the movement feels.
Sit near the front third of a sturdy chair. Keep both feet flat on the floor and place them about hip-width apart. Your ankles should sit roughly below your knees, not far out in front.
Chair height also changes the difficulty. A higher chair makes the movement easier because your knees and hips do not bend as much. A lower chair makes it harder because your legs work through a deeper range.
Start with a standard chair if it feels comfortable. Use a higher chair or add a firm cushion if you feel weak, unsteady, or have mild knee discomfort. Save lower chairs for later, once the basic version feels easy and steady.
Avoid very low sofas, deep chairs, or soft seats at first. They can make standing harder and may cause your form to break down.
Sit to Stand Exercise Step-by-Step
The video shows the sit to stand exercise as a simple chair movement that strengthens the quadriceps and glutes.
These muscles help with daily actions like standing up, sitting down, squatting, and climbing stairs. Stronger lower-body muscles may also support better balance and safer movement.
Use a sturdy chair and keep the movement slow. The goal is not to stand up fast. The goal is to stand and sit with steady form.
Step 1: Sit at the Front Edge of the Chair
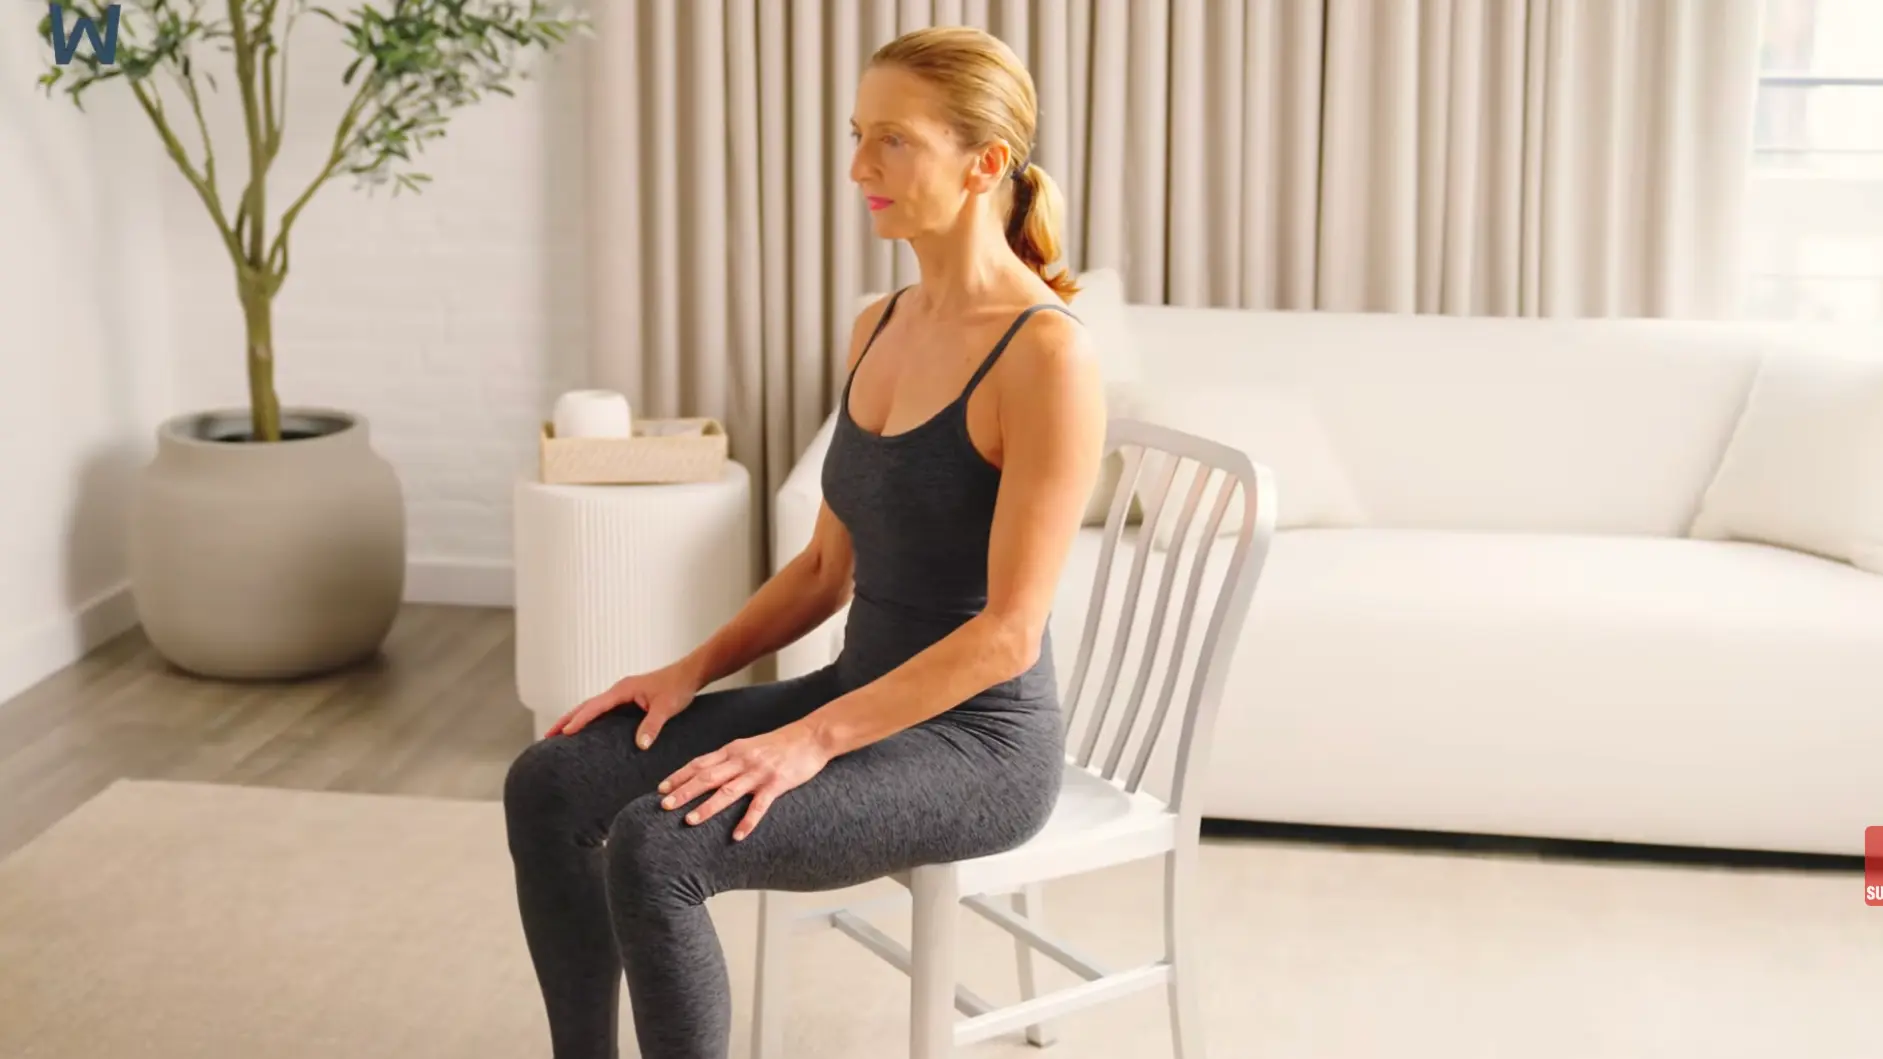
Start by sitting near the front edge of a sturdy chair. Do not sit too far back, because that can make it harder to lean forward and stand.
Your body should feel balanced before you move. Keep your feet flat on the floor and your weight even on both sides.
Step 2: Set Your Hips, Knees, and Feet
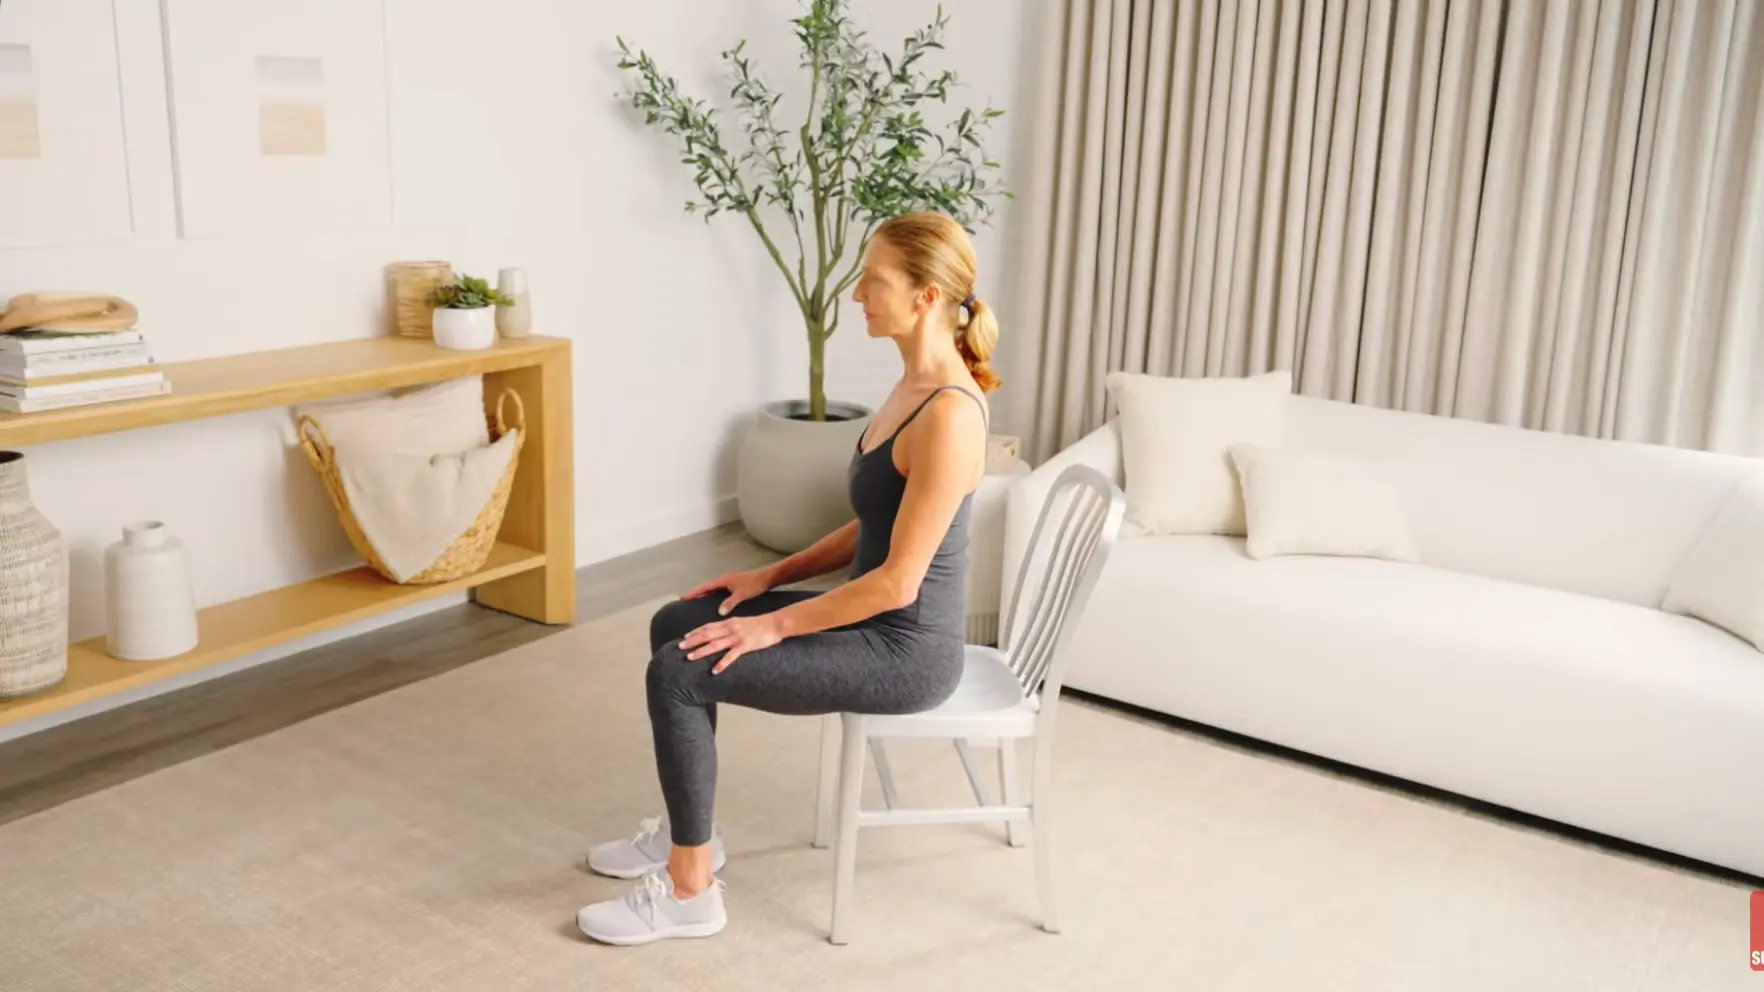
Your hips and knees should both be at about a 90-degree angle. Keep your knees and feet about hip-width apart.
This setup gives your legs a better position to push from. If your feet are too far forward or too close together, the movement may feel harder or less steady.
Step 3: Bring Your Arms Forward
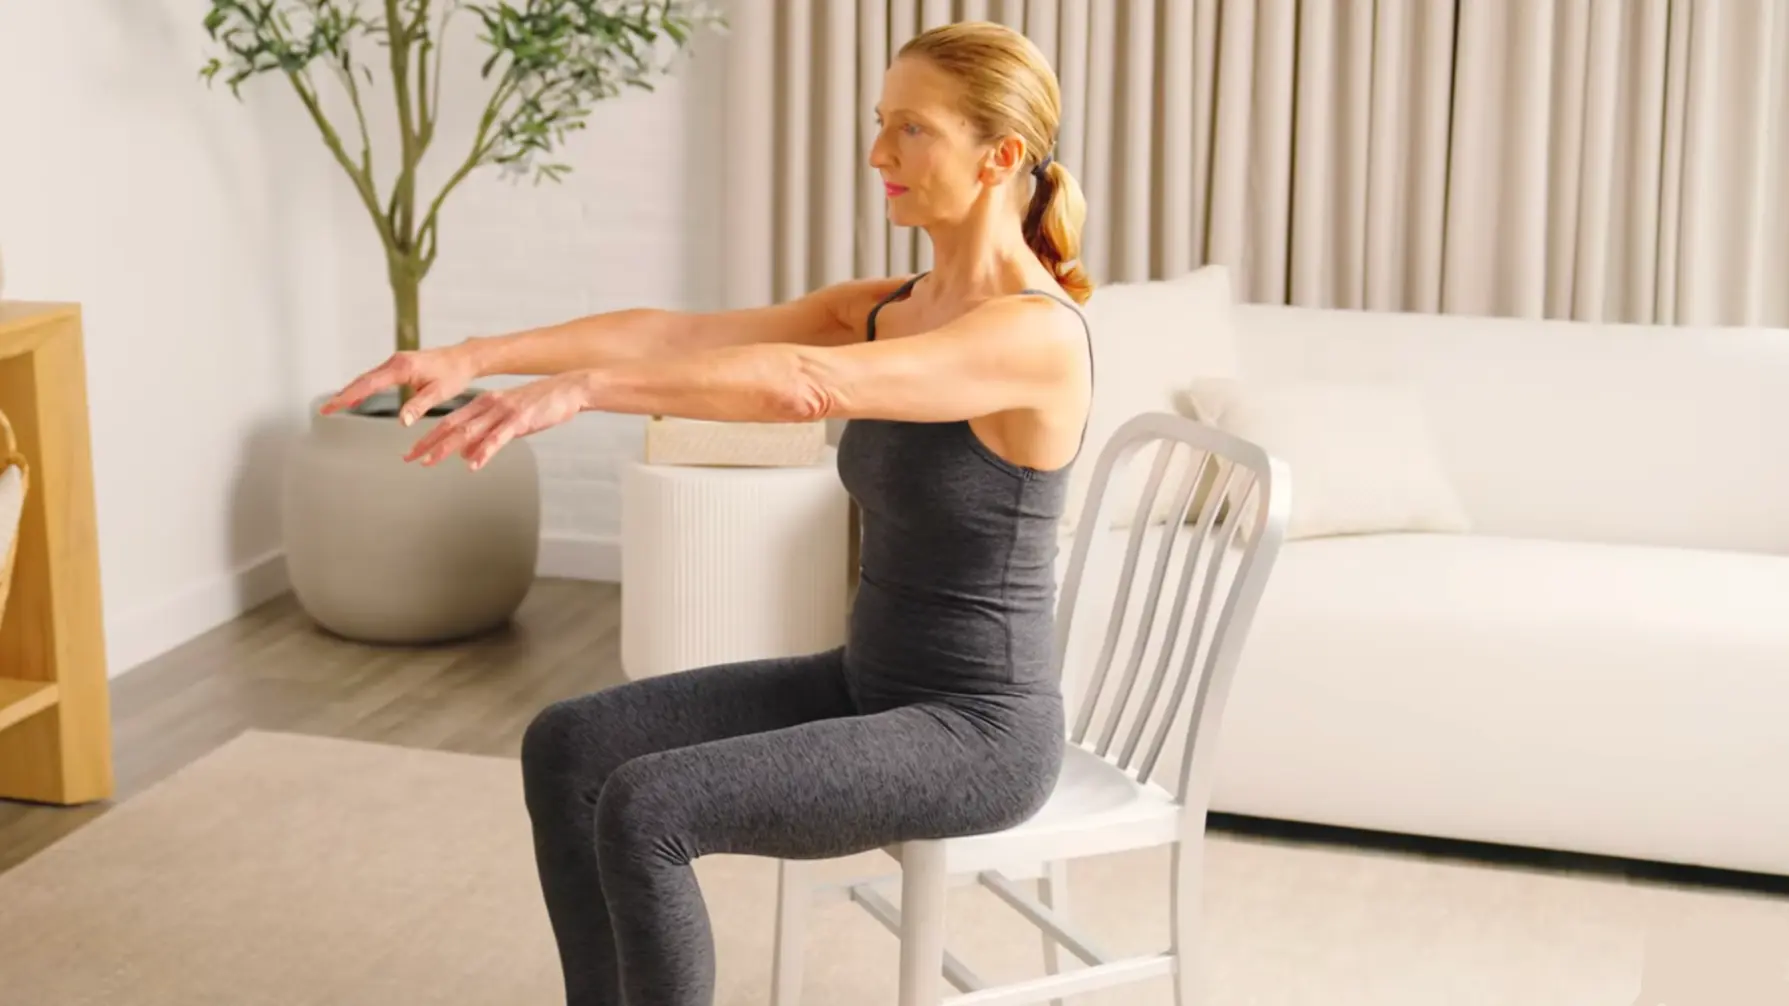
Extend your arms straight out in front of you if you can do so safely. This helps you balance without pushing from the chair.
If balance feels uncertain, keep your hands closer to your thighs or use the chair arms for light support. Safety matters more than keeping the arms forward.
Step 4: Shift Your Weight Forward
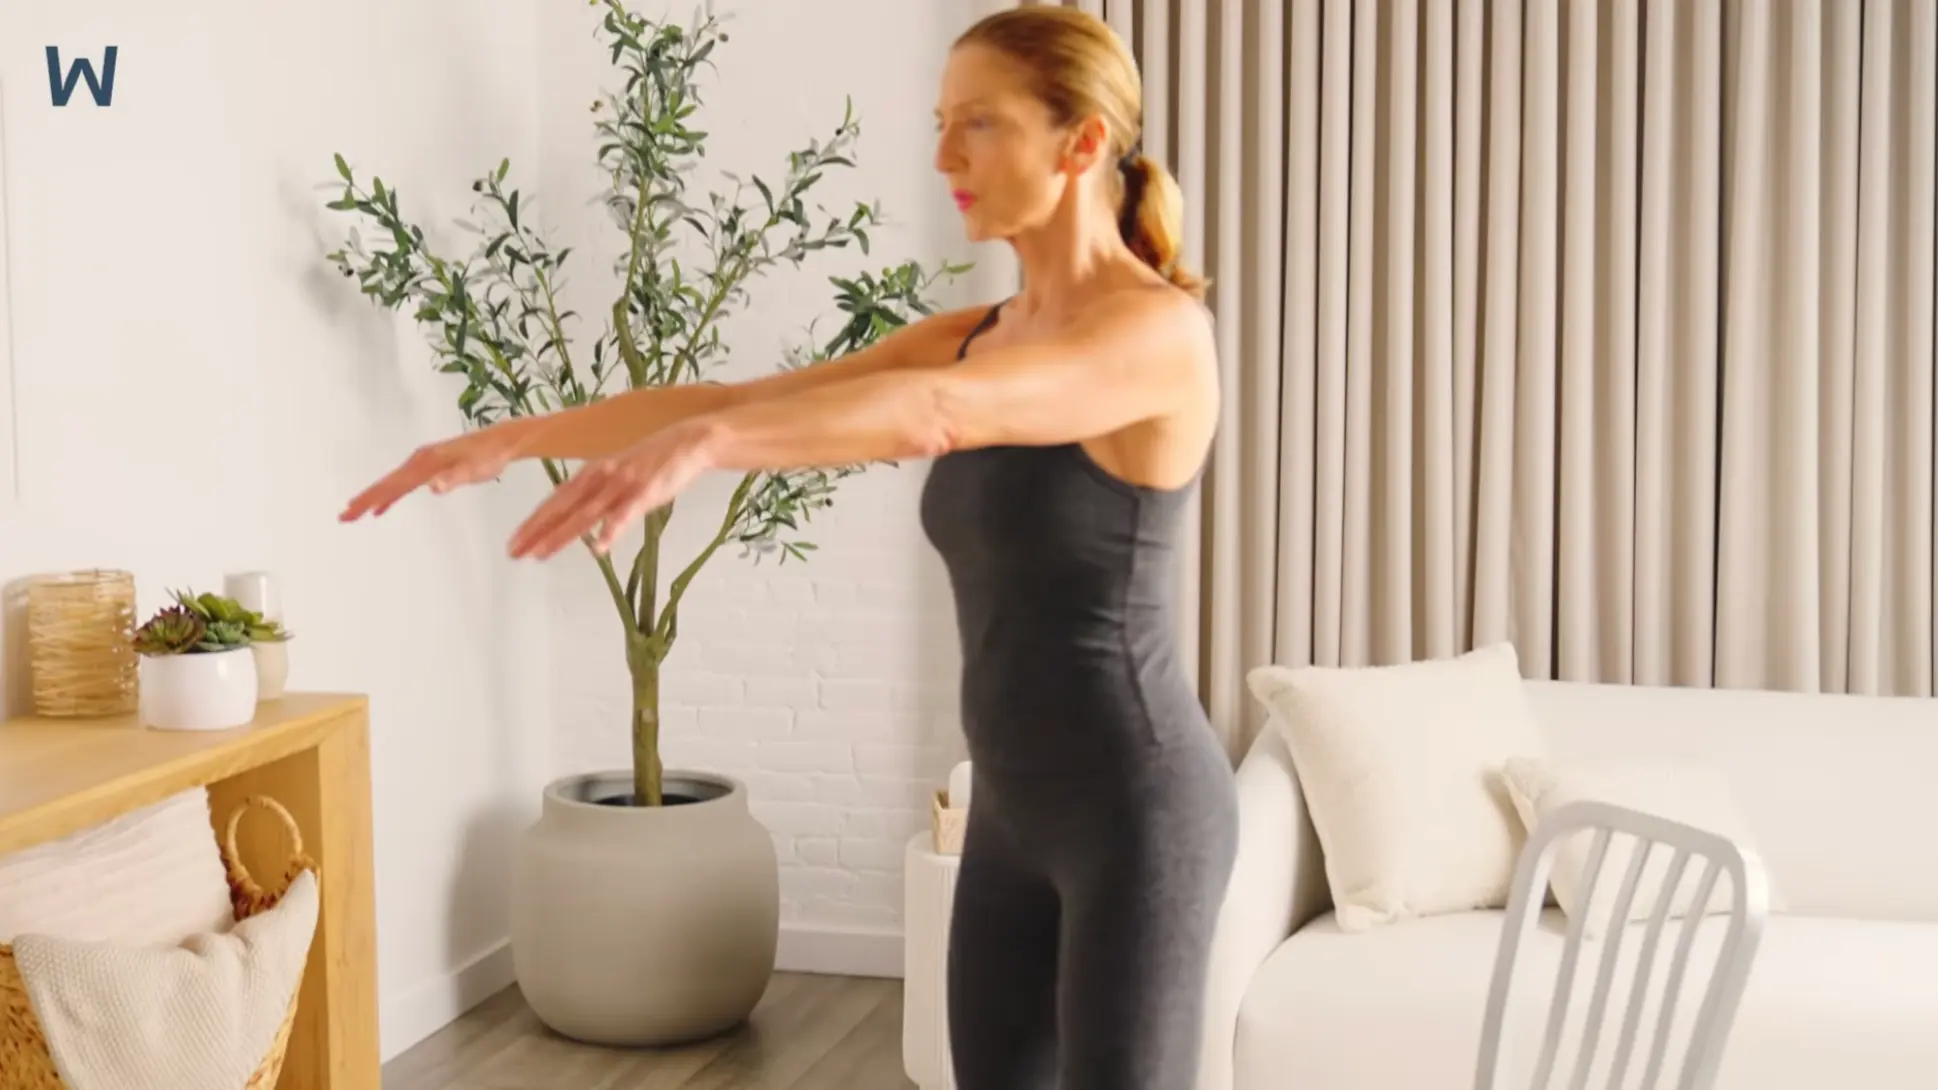
Lean your body weight forward over your toes before you stand. Think of bringing your chest forward while keeping your back long.
The movement should come from hinging at your hips instead of curling through your back.
Step 5: Stand Up by Pushing Through Your Heels

Push through your heels and stand up with control. Keep your knees pointing in the same direction as your toes as you rise.
Exhale as you stand. At the top, stand tall without locking your knees or leaning backward.
Step 6: Lower Back Down Slowly
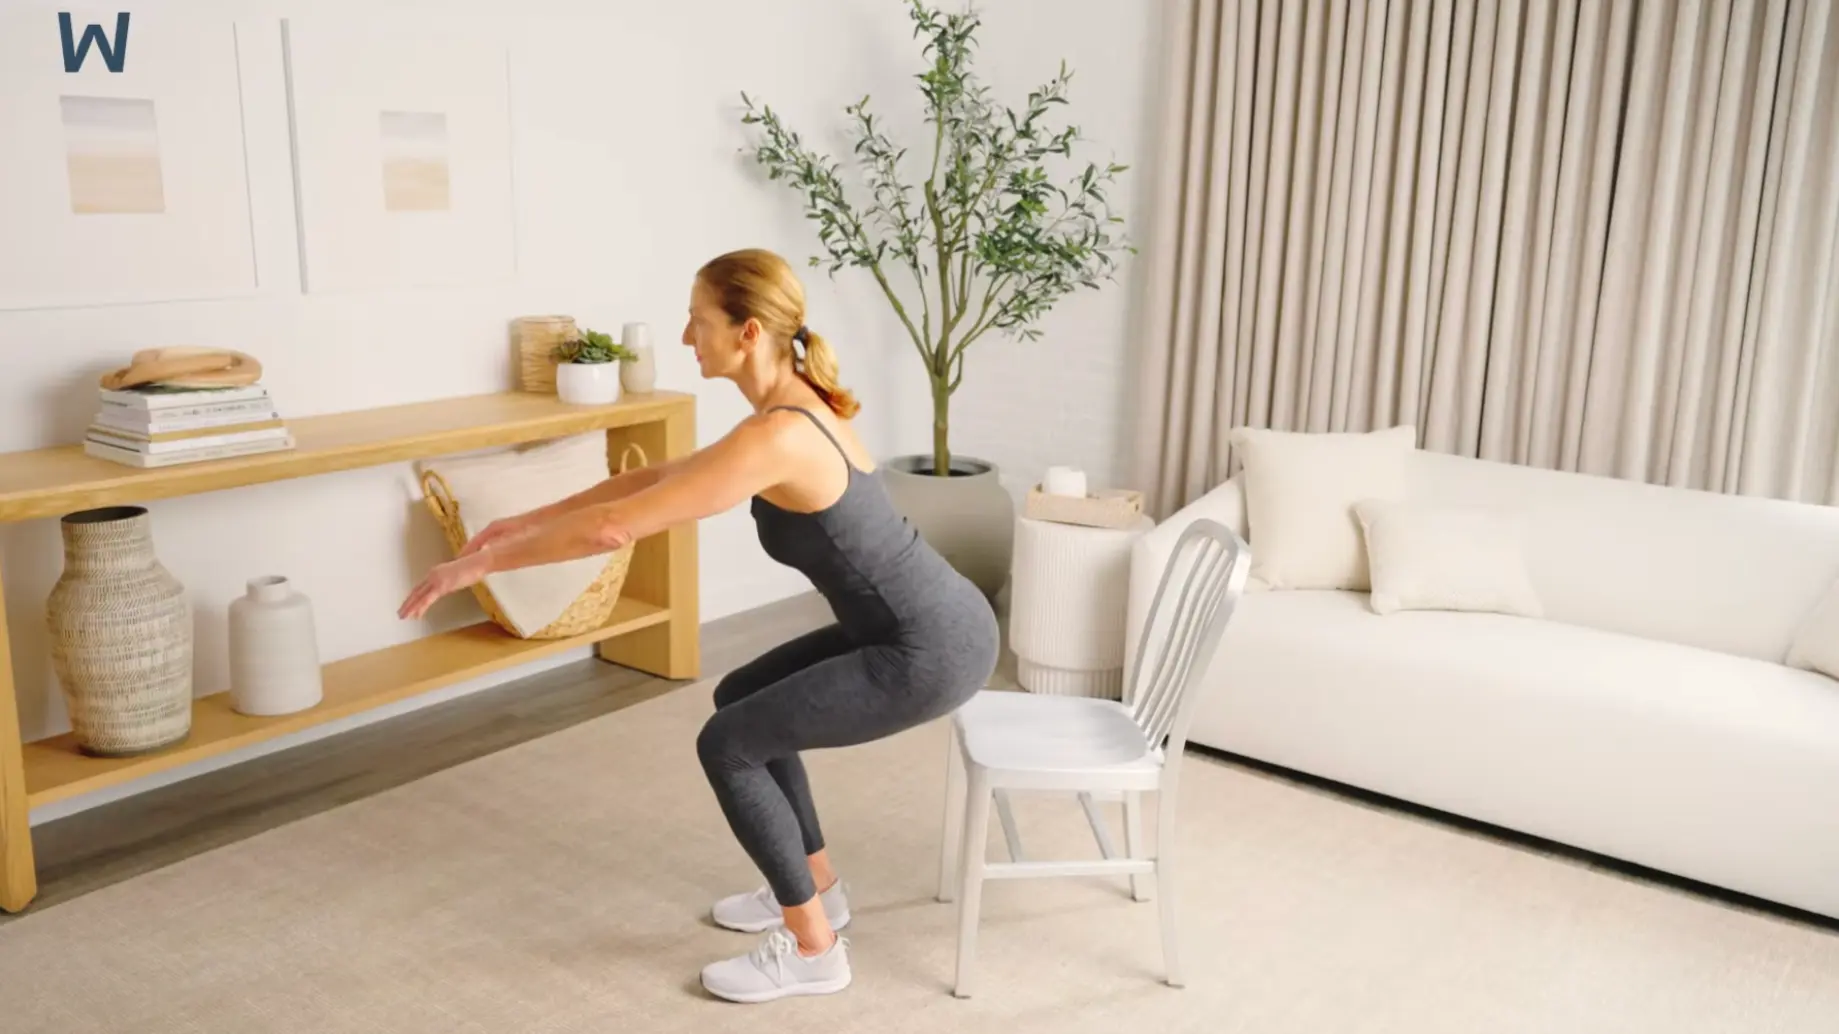
Slowly lower yourself back to the chair. Bend at your hips and knees as you sit down.
Inhale as you lower. Try to land softly instead of dropping into the chair. The lowering part is just as important as standing up.
Start with 5 to 8 slow reps. If your form stays steady, build toward 10 to 15 reps. Stop if you feel sharp pain, dizziness, chest discomfort, or loss of balance.
Watch the video once before you begin, then follow the steps below slowly so you can match the setup, breathing, and controlled lowering shown in the demonstration.
Sit to Stand Exercise Form Cues
The cue I come back to most often is this: steady form before more reps. Keep your feet grounded, chest lifted, and knees lined up as you move.
Lean forward enough to bring your weight over your feet, but avoid rounding your back or throwing your body upward.
You should feel your thighs and glutes working as you stand. If your knees hurt, your balance feels shaky, or you drop back into the chair, choose an easier version and rebuild the movement slowly.
- Think “nose over toes” before you stand.
- Push through your heels instead of only your toes.
- Keep your knees pointing in the same direction as your toes.
- Keep your chest open and your back long.
- Stand tall without locking your knees.
- Sit down quietly instead of dropping into the chair.
These small adjustments help you get more from each rep without placing extra strain on your knees, hips, or lower back.
Sit to Stand Exercise Variations and Modifications
Not everybody starts with the same strength, balance, or confidence.
These modifications make the movement easier to access, while the progressions give you a clear path forward when the basic version feels steady.
1. Beginner Variation: Hands-on-Thighs Support
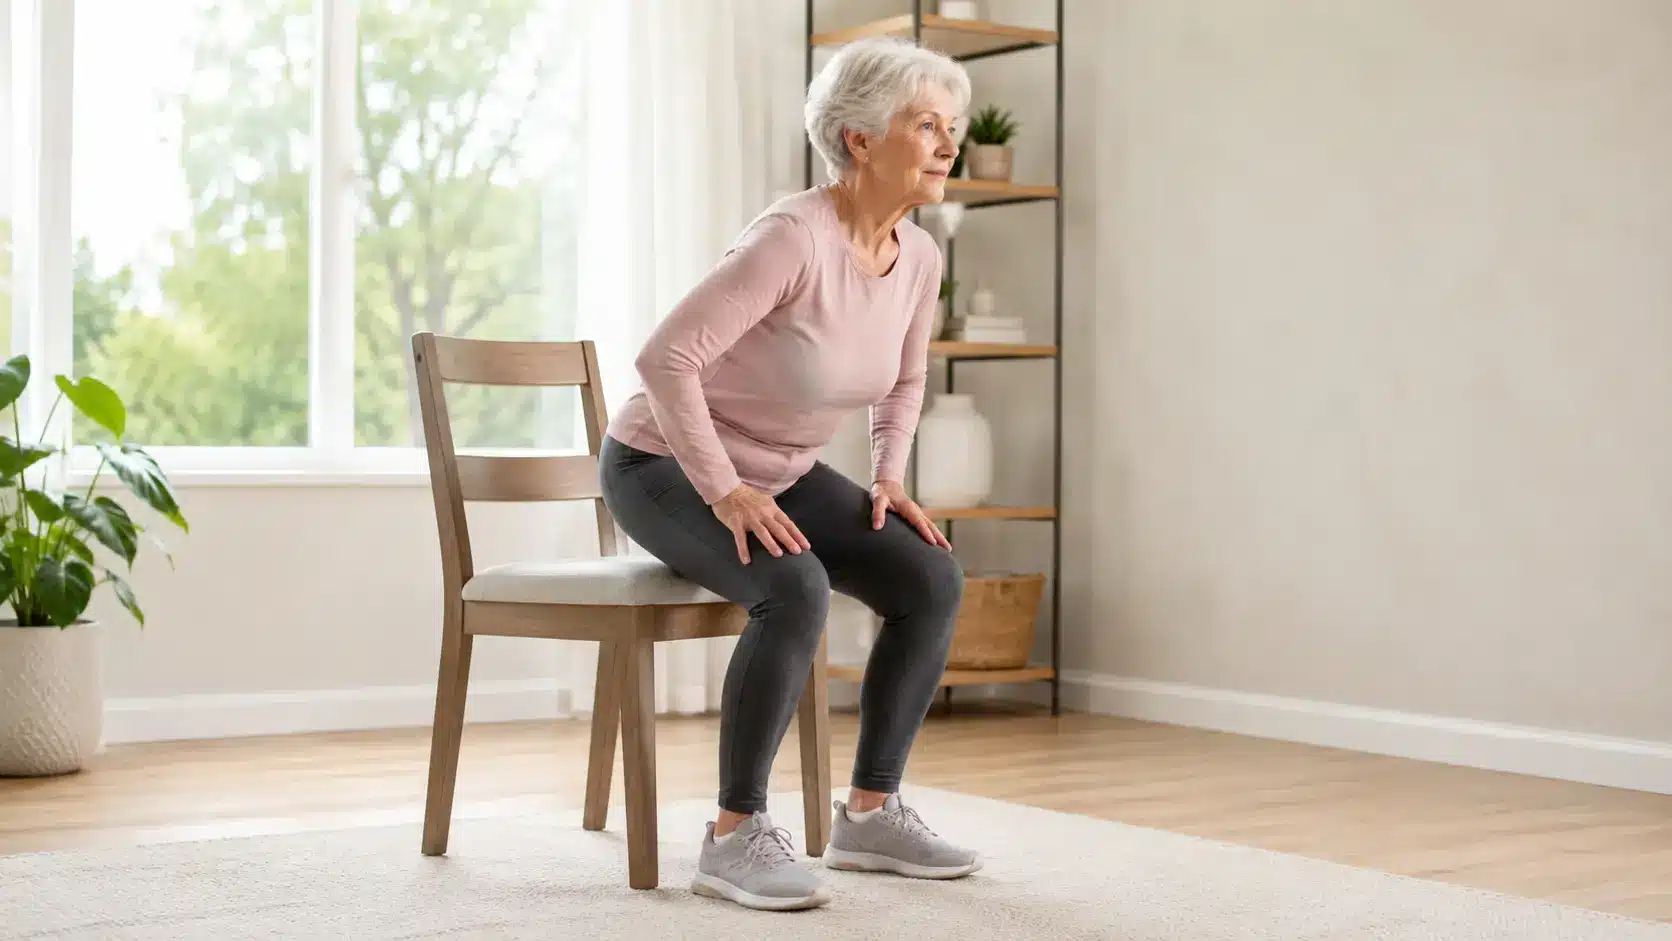
This variation is a good starting point if standing up without help feels too hard. Place your palms on your thighs and press lightly as you rise from the chair.
The goal is not to let your arms do all the work. Your hands should only give enough support to help your legs complete the movement. Over time, try to press less through your hands.
Goal: Build confidence and leg strength with light support
Sets: 1 to 2 sets of 3 to 5 reps
Focus: Less arm pressure each week
2. Chair-Arm Support: Safer Assisted Version

This variation works well if balance is your main concern or if your legs feel weak at the start. Sit in a sturdy chair with arms and use the armrests to help you stand.
Push evenly through both arms while still pressing through your feet. As your strength improves, use less pressure from your hands.
Goal: Improve standing with stable support
Sets: 1 to 2 sets of 5 to 8 reps
Focus: Stable push-off
3. Raised Seat Sit to Stand: Gentle Knee Option

This version makes the exercise easier by shortening the distance you need to move. Place a firm cushion or folded blanket on the chair to raise the seat height.
A higher seat reduces knee bend and makes the movement more comfortable for beginners or anyone with mild knee discomfort.
Goal: Reduce knee strain and make standing easier
Sets: 1 to 3 sets of 5 to 8 reps
Focus: Comfortable knee bend
4. Counter-Supported Sit to Stand: Balance-Friendly Version
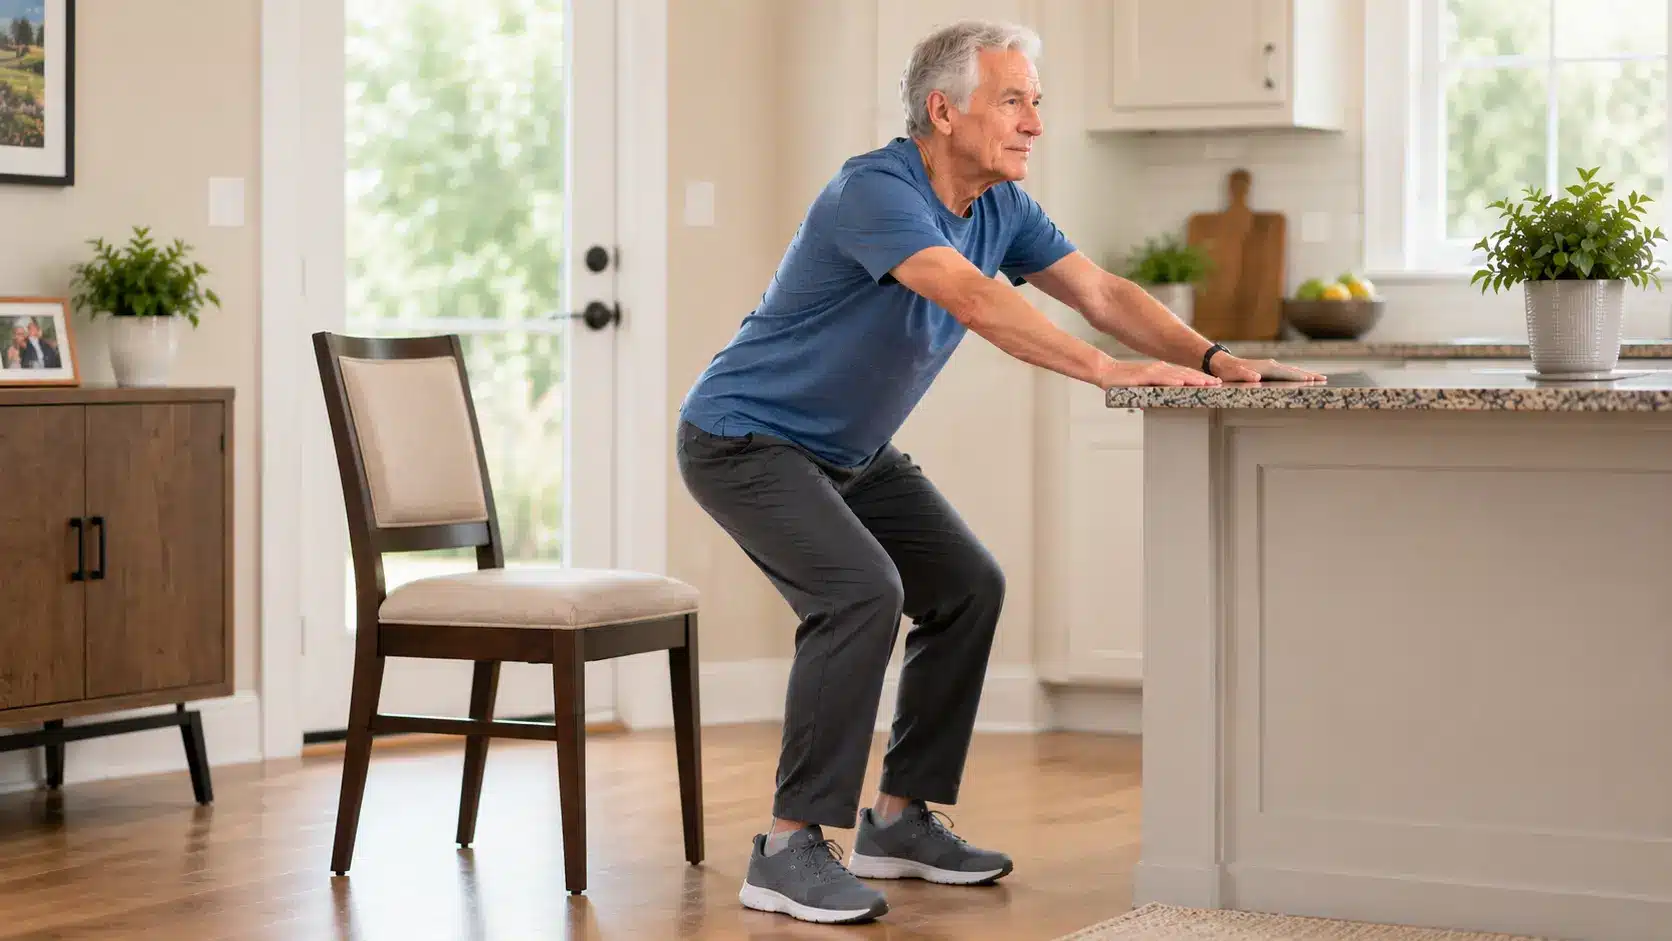
This variation adds extra balance support. Place the chair near a counter, heavy table, or walker. Lightly hold the support as you stand and sit.
This is helpful if you feel unsteady or nervous during the movement. The support should help you stay balanced, but your legs should still do most of the lifting.
Goal: Practice with better balance
Sets: 1 to 2 sets of 3 to 8 reps
Focus: Light hand support
5. Arms-Crossed Sit to Stand: Strength Progression

Once the basic version feels steady, cross your arms over your chest. This removes hand support and asks your legs and core to do more work.
Keep the same slow pace. Lean forward from the hips, press through your heels, and stand tall. If you start rocking or dropping back into the chair, return to an easier version.
Goal: Build lower-body strength without hand support
Sets: 1 to 3 sets of 6 to 10 reps
Focus: No-hand strength
6. Slow-Lowering Sit to Stand: Control Progression
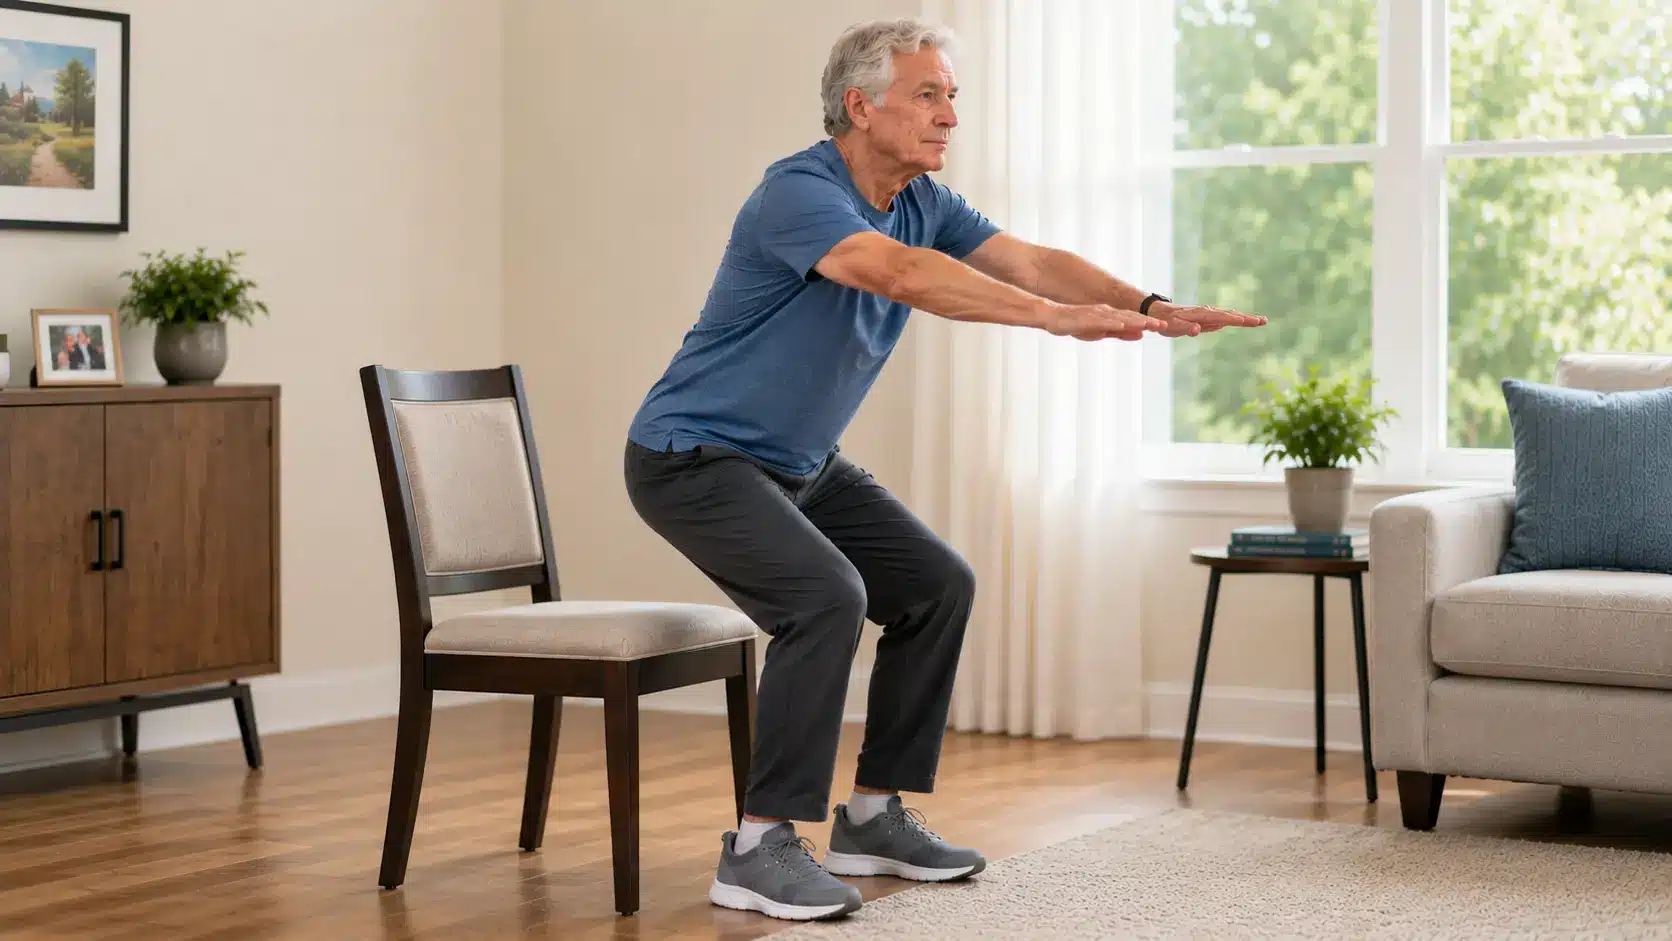
This version focuses on the lowering phase. Stand up normally, then take 4 to 5 seconds to sit back down.
The slow descent makes your thighs and glutes work harder while teaching better control. It is useful because many seniors struggle more with sitting down safely than standing up.
Goal: Strengthen the lowering phase
Sets: 1 to 2 sets of 5 to 8 reps
Focus: Controlled descent
7. Pause-Before-Sitting Variation: Stability Challenge
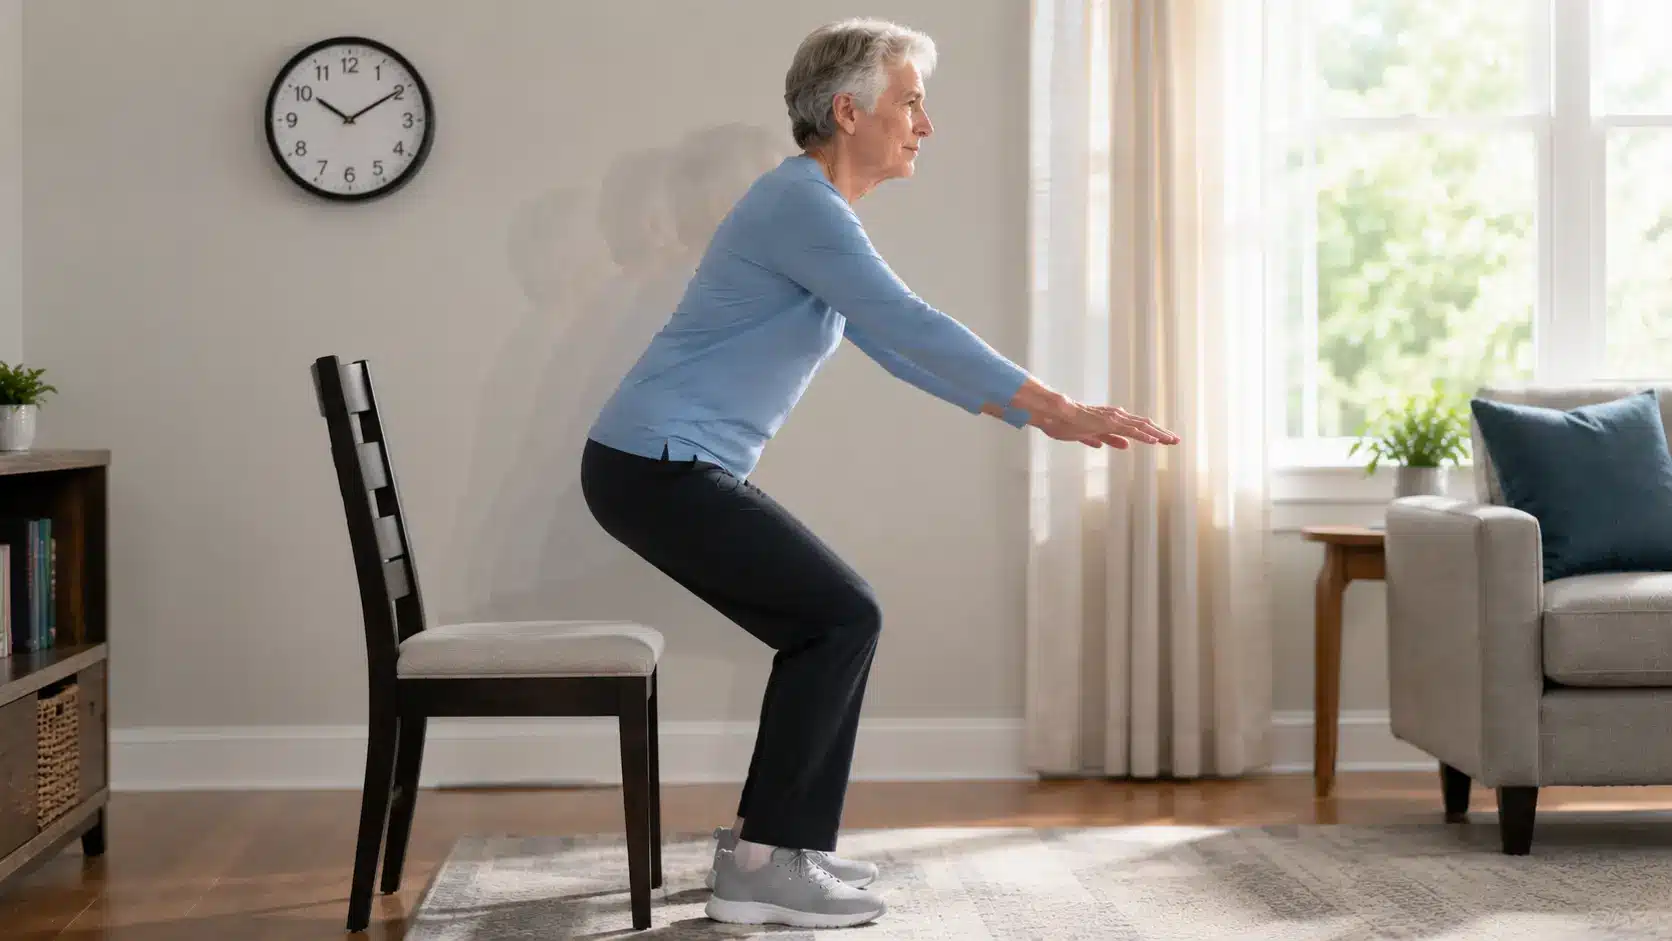
Lower yourself until you are just above the chair, then pause for 1 second before sitting down softly.
This variation builds strength around the knees and hips near the hardest part of the movement. Keep the pause short and avoid holding your breath.
Goal: Build strength near the seat
Sets: 1 to 2 sets of 4 to 6 reps
Focus: Seat-level control
8. Staggered-Stance Sit to Stand: Single-Leg Strength Prep
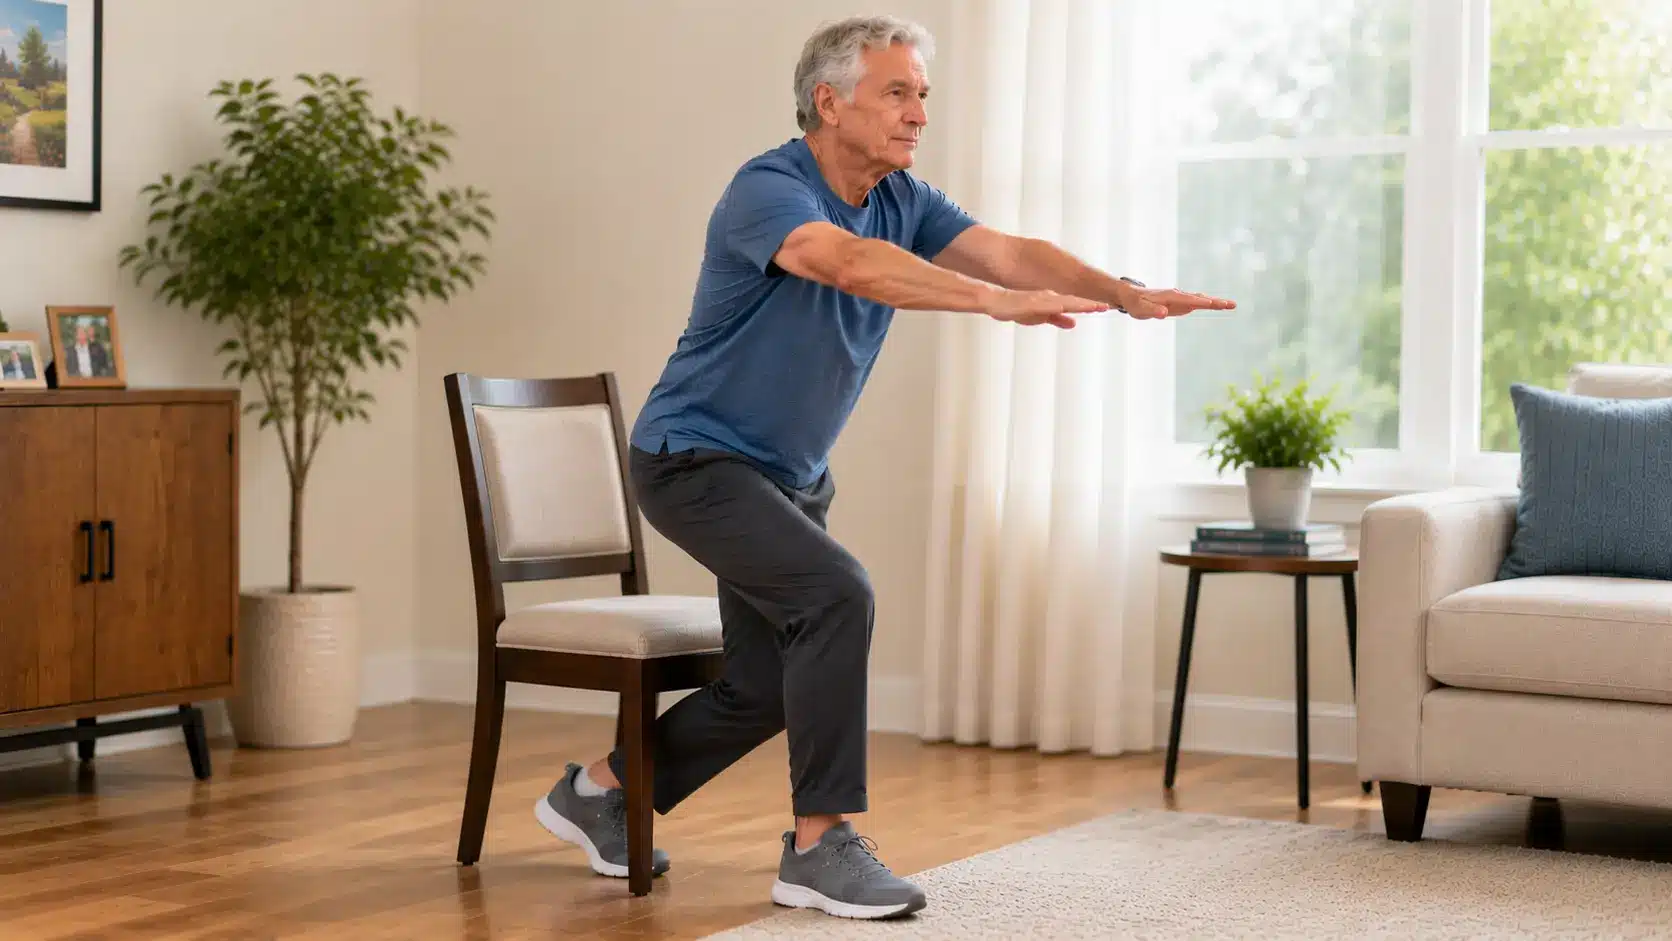
Place one foot slightly behind the other before standing. Let the front leg do more of the work while the back foot helps with balance.
This is harder than a regular sit to stand but safer than a full single-leg version. It helps build side-to-side strength and steadier movement.
Goal: Build more strength in one leg at a time
Sets: 1 to 2 sets of 4 to 6 reps each side
Focus: One-leg emphasis
Try only one harder variation at a time. If your form breaks down, return to the version that feels safe and steady.
Which Sit to Stand Version Should You Choose?
Use this quick chart if you are not sure where to start.
| If You Feel | Try This Version |
|---|---|
| Weak legs | Hands-on-thighs support |
| Poor balance | Counter-supported sit to stand |
| Knee discomfort | Raised seat sit to stand |
| Basic version feels easy | Arms-crossed sit to stand |
| You drop into the chair | Slow-lowering sit to stand |
| One leg feels weaker | Staggered-stance sit to stand |
Choose the version that lets you move with steady form. The best option is the one you can repeat safely.
How to Progress Without Losing Form
Once the basic version feels steady, you can slowly make the exercise harder. Do not rush into a new variation just because one day feels easy.
Your reps should stay smooth, your knees should feel comfortable, and you should be able to sit back down without dropping.
Use this 4-week plan as a starting point:
| Week | Focus | What to Do |
|---|---|---|
| Week 1 | Build confidence | Use hands on thighs, 3 to 5 reps |
| Week 2 | Use less support | Use fingertips only, 5 to 8 reps |
| Week 3 | Build leg strength | Try arms crossed, 8 to 10 reps |
| Week 4 | Add control | Try slow lowering or a second set |
Repeat a week if your balance feels poor, your knees hurt, or your reps become messy. Progress should feel steady, not forced.
If your knees hurt, make the movement smaller and higher. Use a taller chair or add a firm cushion so your knees do not bend as deeply. Keep your knees lined up with your toes, reduce how far you lower, and stop if pain is sharp, worsening, or lasts after exercise.
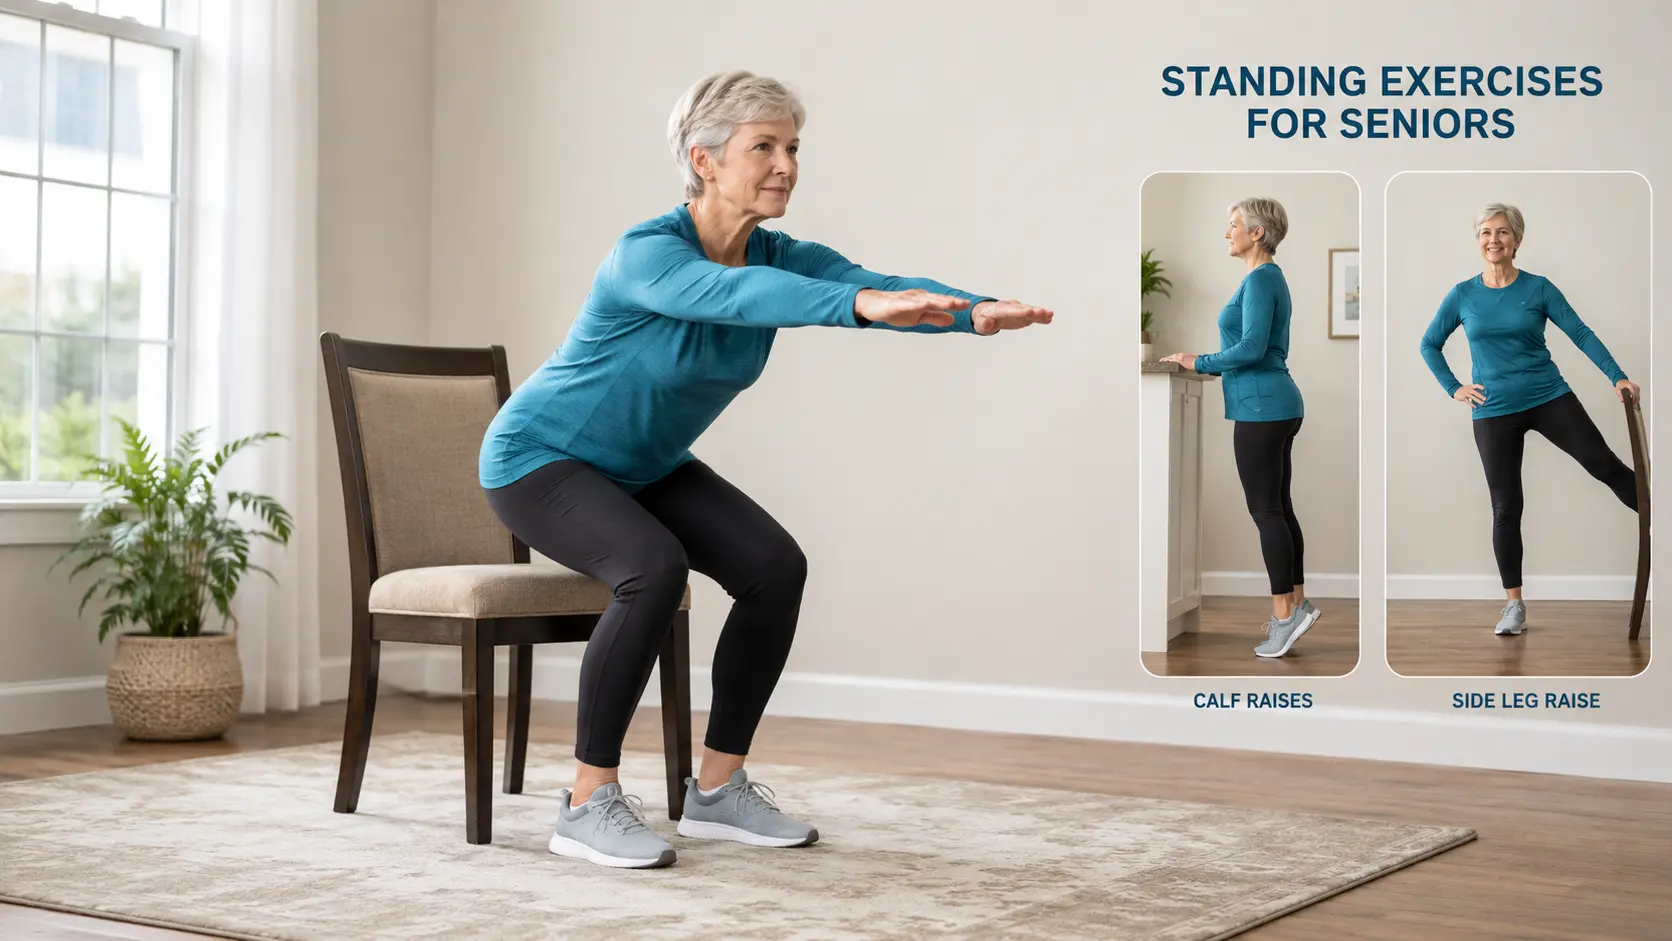
Once this movement feels steady, you can add one or two simple standing exercises for seniors, such as marching in place, calf raises, side leg raises, wall push-ups, or heel-to-toe walking. Keep a chair, wall, or counter nearby for support.
Common Mistakes Beginners Make and How to Fix Them
Most problems with the sit to stand exercise come from rushing, poor setup, or using momentum instead of steady form. These mistakes are common, but they are easy to fix once you know what to check.
| Mistake | Why It Happens | How to Fix |
|---|---|---|
| Plopping into the chair | Lowering feels harder | Sit down slowly |
| Knees caving inward | Weak hip control | Keep knees aligned with toes |
| Feet too far forward | Poor setup | Move feet closer under knees |
| Rounding the back | Leaning from the spine | Hinge from the hips |
| Holding the breath | Tension during effort | Exhale as you stand |
| Moving too fast | Rushing reps | Slow down |
| Using arms too much | Legs are weak | Use light hand support |
| Locked knees | Standing too stiffly | Keep a soft knee bend |
| Progressing too soon | Advancing too quickly | Master form first |
None of these mistakes means you are doing the exercise wrong forever. They are just habits that show up when the body is tired, unsure, or moving too fast. Slow down, check your setup, and rebuild the movement one rep at a time.
Frequently Asked Questions
Can I do this every day?
You can practice a few easy reps daily if your body feels good, but harder sets need rest. For strength work, two to four days per week is enough for most beginners.
Should I use my hands or avoid them?
Use your hands when you need support. Press lightly on your thighs or chair arms, then reduce hand pressure over time. Good form matters more than doing the exercise without help.
What kind of chair works best?
Use a sturdy chair that does not roll, slide, or sink. A dining chair often works well. Avoid soft sofas or deep chairs because they make standing harder and can affect form.
When should I stop the exercise?
Stop if you feel sharp pain, dizziness, chest discomfort, or loss of balance. Mild thigh effort is normal, but the movement should not feel unsafe or painful.
To Sum Up
The sit to stand exercise gives seniors a direct way to practice a movement used many times each day. A steady chair, clear foot position, and the right variation can make each rep safer and easier to repeat.
I would start with the version that matches your balance today, then add challenge only when your form stays clean. Keep your knees lined up, sit down quietly, and use support when needed.
Add other standing exercises for seniors only after the basic movement feels steady. This keeps the focus on control, not on doing more than your body is ready for.
Choose a sturdy chair, place it near support, and try your safest version today.