

| Exercise Type | Core Training / Isometric Deep Core Exercise |
| Muscles Targeted | Transverse abdominis (primary), internal obliques, pelvic floor, diaphragm, multifidus |
| Difficulty | Beginner |
| Equipment | None required |
| Best For | Deep core activation, posture support, core awareness, pre-workout priming |
| Avoid If | Pregnancy, hernia, recent abdominal surgery, high blood pressure, dizziness, or sharp abdominal pain |
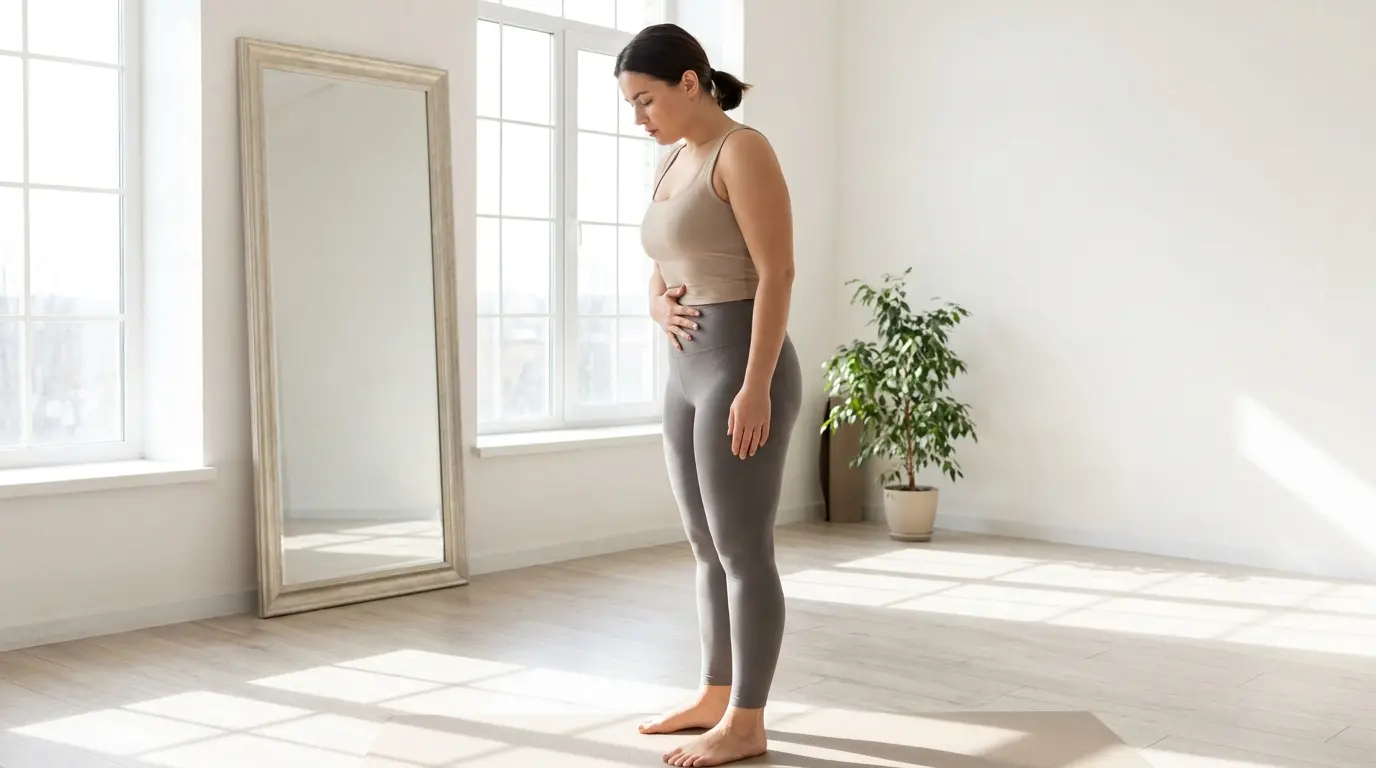
The stomach vacuum exercise is one of the few core drills that targets the deep abdominal wall without a single crunch.
In my own training, I have found it one of the most underused tools for building genuine core stability: not just the muscles you can see, but the ones that actually hold the trunk together from the inside.
When done correctly, the stomach vacuum workout trains the transverse abdominis, the deepest layer of your abdominal wall.
This guide walks you through the mechanism, the proper technique, the variations that suit different levels, and the common mistakes I see repeatedly that reduce its effectiveness.
I have also included a research-backed section on what the stomach vacuum exercise actually does and what it does not do, so you can use it where it genuinely helps.
| Disclaimer: This article is for informational and educational purposes only. It does not constitute medical advice. Always consult a qualified healthcare provider before starting a new exercise, nutrition, or wellness program, particularly if you are pregnant, have high blood pressure, a hernia, recent abdominal surgery, or any existing health condition. |
What is the Stomach Vacuum Exercise?
The stomach vacuum exercise is an isometric core drill in which you draw the belly inward and hold the contraction without moving the spine.
It is also known clinically as the abdominal drawing-in maneuver (ADIM), a term used in physical therapy settings where it has a solid body of research behind it.
The primary target is the transversus abdominis (TVA), which sits beneath the rectus abdominis and the obliques. Unlike the muscles that produce visible movement, the TVA’s job is stabilization.
It maintains intra-abdominal pressure, supports the lumbar spine, and activates as a brace before limb movements occur.
A 2019 study published in the Journal of Physical Therapy Science found the ADIM more effective at isolating the transversus abdominis than general abdominal bracing in subjects with chronic low back pain.
What makes the stomach vacuum different from sucking in your stomach is the quality of contraction.
Sucking in is typically a chest-driven movement that compresses the upper abdomen without generating real deep core tension.
A proper stomach vacuum keeps the ribs down, the breath steady, and the contraction centered in the lower belly, specifically at and below the navel.
This exercise can be performed lying down, seated, standing, or on hands and knees. For most beginners, the lying position is the best entry point because the floor provides full body support and makes it easier to feel the transversus abdominis engage.
Benefits of Stomach Vacuum Exercise
The stomach vacuum exercise is a control drill, not a fat-loss shortcut.
When I program it for clients, I frame it as a skill they are building, one that pays off when they move on to planks, squats, eccentric quad exercises, and other compound work where deep core stability directly affects performance.
- Activates the transverse abdominis: The TVA is the deepest layer of the abdominal wall and the primary stabilizer of the lumbar spine. Most conventional ab exercises do not effectively target it. The stomach vacuum does.
- Supports posture and lower-back stability: A 2019 study in the Journal of Physical Therapy Science found that ADIM training improved lumbar stability in participants with chronic low back pain. Strengthening the TVA helps the pelvis and trunk stay steadier during sitting, standing, and lifting. If you are working on lower back pain relief, adding stomach vacuums to your routine gives the deep stabilizers more capacity to protect the spine.
- Improves mind-muscle connection: Most people have very little awareness of their deep core. Practicing the stomach vacuum teaches you to feel the TVA activating, which transfers to better bracing in all other exercises.
- Coordinates with pelvic floor function: The transverse abdominis and pelvic floor work as a unit. Practicing deep core contractions with steady breathing also improves pelvic floor activation, a benefit physical therapists frequently apply in rehabilitation contexts.
- Builds waist control and midsection tension: Regular practice helps you hold the midsection with steadier tension during movement, which can reduce the appearance of a distended belly and improve how the trunk looks under load.
- Requires no equipment and minimal time: Five to fifteen minutes added to a morning routine, before a workout, or during a rest period is enough to see gradual improvements in deep core awareness over two to four weeks.
| Trainer Tip: The quality of the contraction matters far more than how deeply you pull. I tell clients to aim for a 60 to 70% effort hold: firm enough to feel the TVA engage, but not so hard that the shoulders hike up or the breath stops. That controlled mid-range tension is where the real training stimulus lives. |
The Muscles Behind the Stomach Vacuum
Understanding which muscles the stomach vacuum exercise targets helps you feel the right area contracting and tells you when the movement is drifting off course.
The transversus abdominis is the primary muscle trained. It originates from the thoracolumbar fascia, the inner surface of the lower six ribs, and the iliac crest, and it inserts into the linea alba at the midline.
Its fiber orientation runs horizontally, which is why it provides a compression and stabilization function rather than producing flexion or rotation.
When it contracts, it reduces the diameter of the abdominal cylinder and increases intra-abdominal pressure. That is exactly the mechanism you need for spinal protection during lifting.
Secondary muscles that contribute include the internal obliques, the diaphragm (which must move in coordination with the TVA to maintain breathing during the hold), the pelvic floor, and the multifidus, which are the small deep muscles that help stabilize the spine from the pelvis up to the neck.
This combination makes the stomach vacuum a genuine deep core exercise, not just an aesthetic drill.
How to Do the Stomach Vacuum Exercise Properly
Each step below follows the same flow as a short guided session. Move slowly through each one. A clean stomach vacuum should feel steady in the abdomen, not forced through the chest or neck.
Step 1: Set Your Starting Position and Breathe In
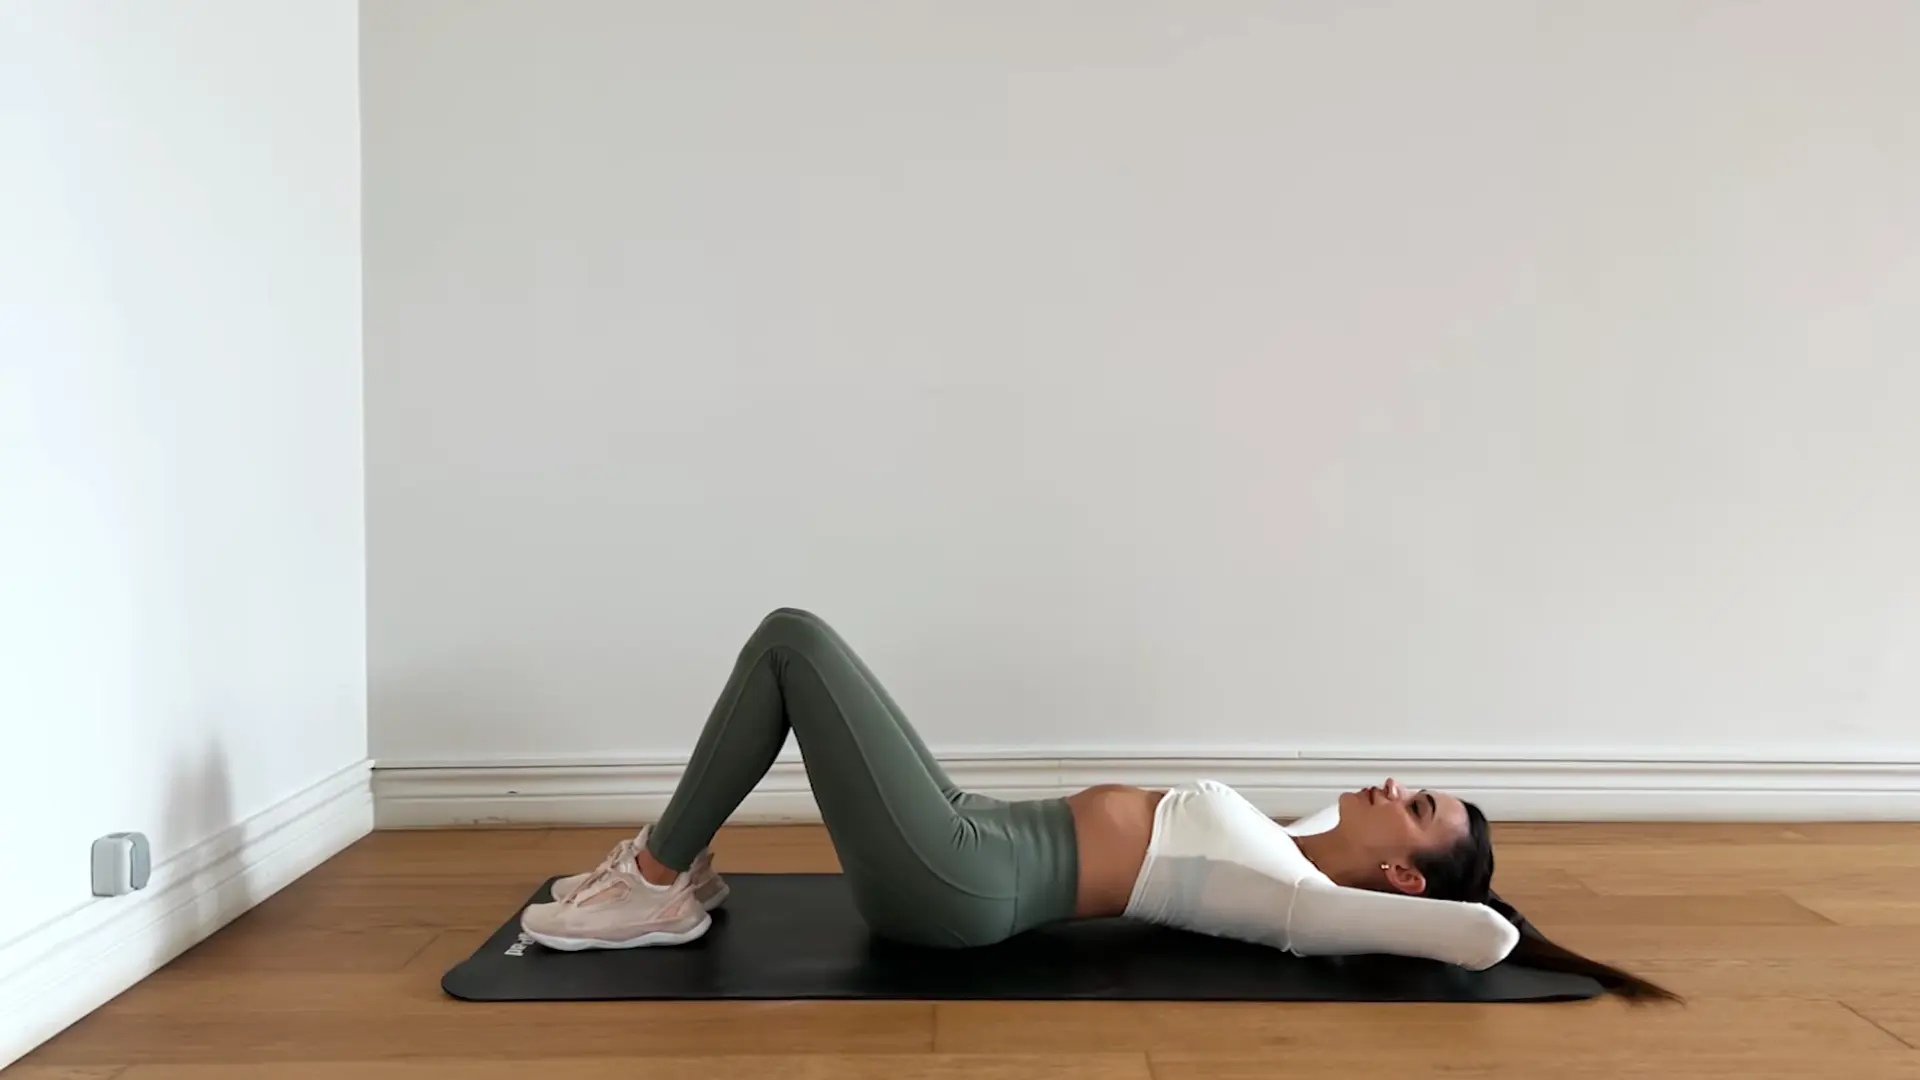
Lie on your back with your knees bent and feet flat on the floor. Place two fingers an inch below your navel.
This is roughly where you should feel the transversus abdominis engage during the contraction. Inhale slowly through your nose for three to five seconds, letting the rib cage and lower belly expand naturally.
Keep the shoulders down and the neck relaxed. This preparatory breath is important. It sets the position of the diaphragm and gives you a reference point for how much air the lungs hold before the exhale.
Step 2: Exhale and Draw the Belly Inward
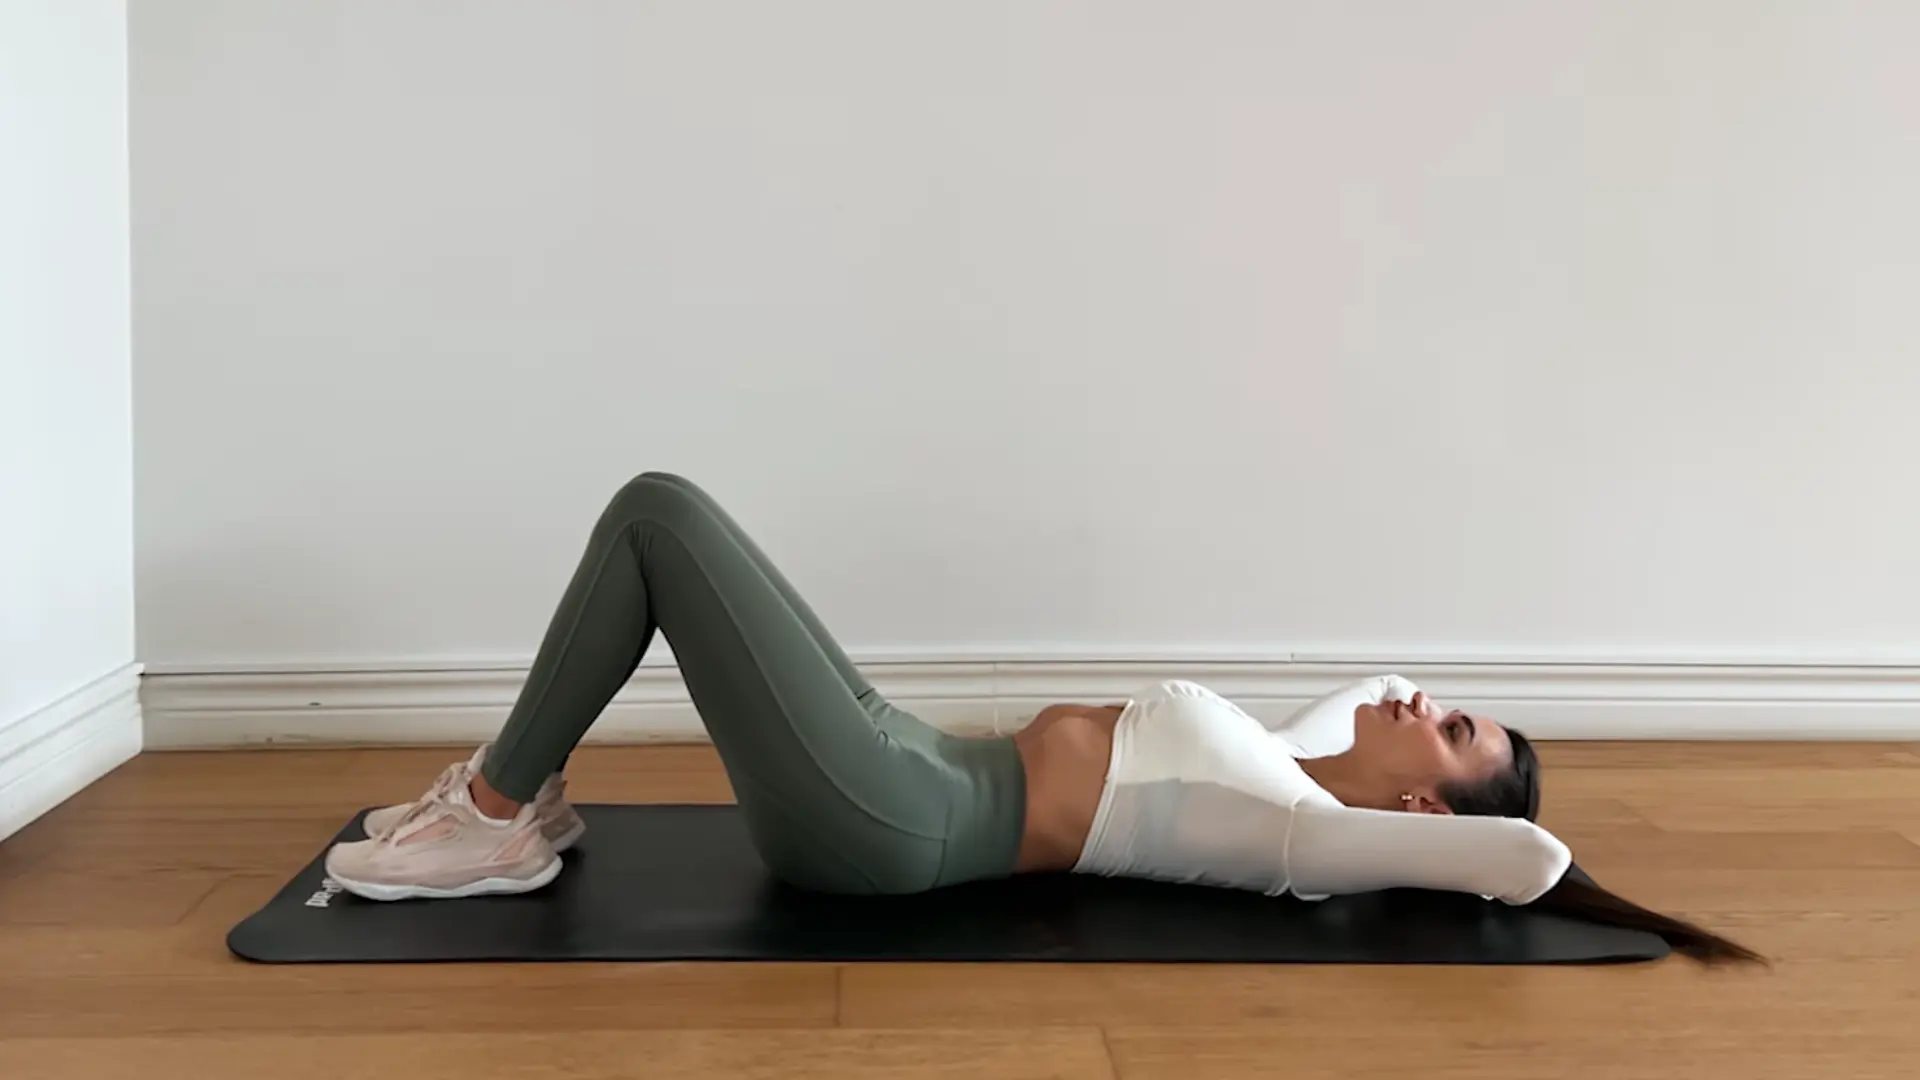
Exhale slowly through pursed lips and, as the air leaves the lungs, draw the belly button toward the spine.
The image I use with clients is imagining the navel being pulled back through the floor. Keep the ribs soft.
They should not lift or flare as the contraction develops. The movement is entirely in the abdomen, not the chest or neck.
Do not confuse this with simply sucking the stomach in hard. The contraction should feel like a controlled drawing inward, not a gasp or a squeeze.
Your fingers below the navel should feel a light firming of the tissue as the TVA activates.
Step 3: Hold the Contraction With Steady Breathing
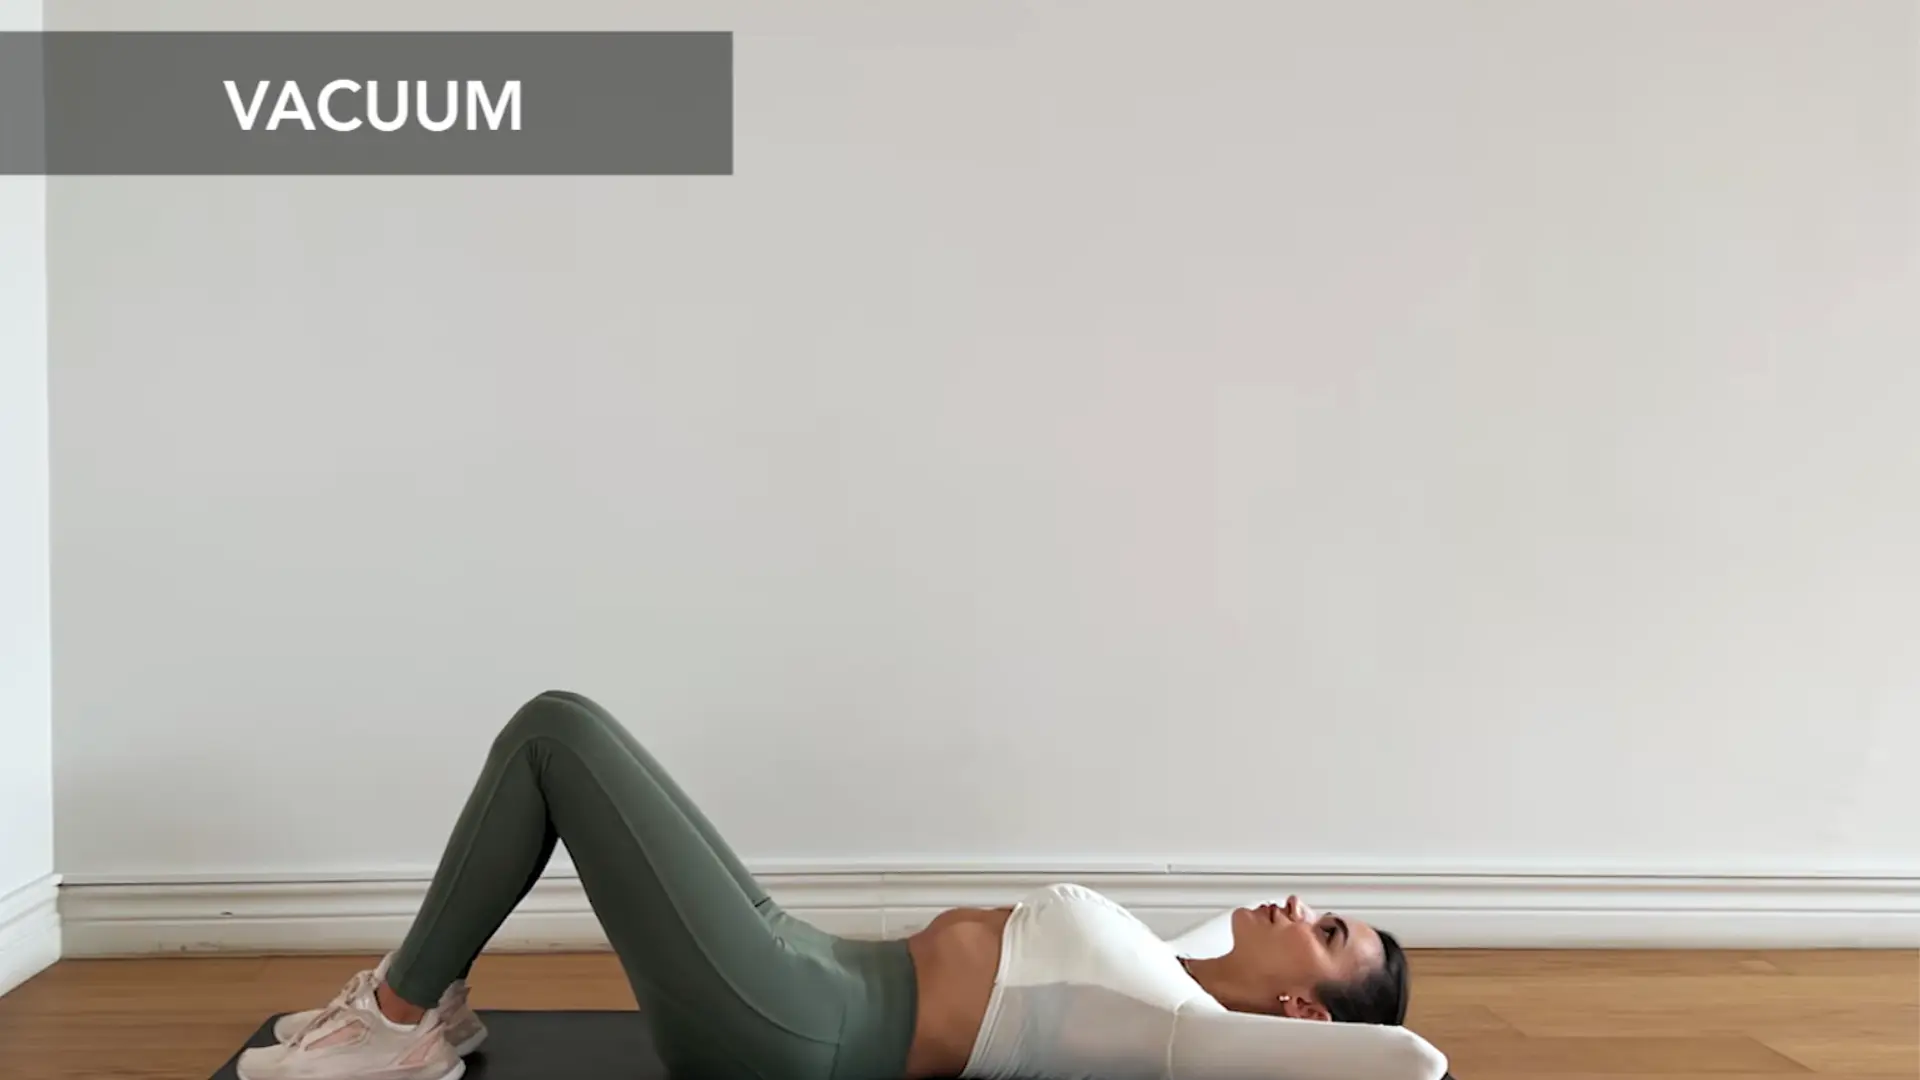
Once the belly is drawn in, hold the contraction and try to breathe steadily with small, shallow breaths. Beginners typically hold for 5 to 10 seconds before releasing.
As you build control over two to four weeks, extend to 20 to 30 seconds per hold.
The key indicator that you are doing this correctly is that you can still breathe during the hold.
If you find yourself holding your breath, you have likely switched to a hard stomach-sucking strategy rather than an actual TVA contraction. Reset, reduce the intensity by about 30%, and try again.
Step 4: Release, Rest, and Repeat
Inhale to release the contraction. Let the belly expand back to its natural position without forcing the breath. Take 30 to 60 seconds of rest between repetitions.
Use that time to relax the neck, face, and shoulders completely. Three to five clean repetitions per session is enough for beginners; rushing to add reps before the contraction feels controlled will not speed progress.
Step 5: Progress to a Seated Position With a Gentle Twist
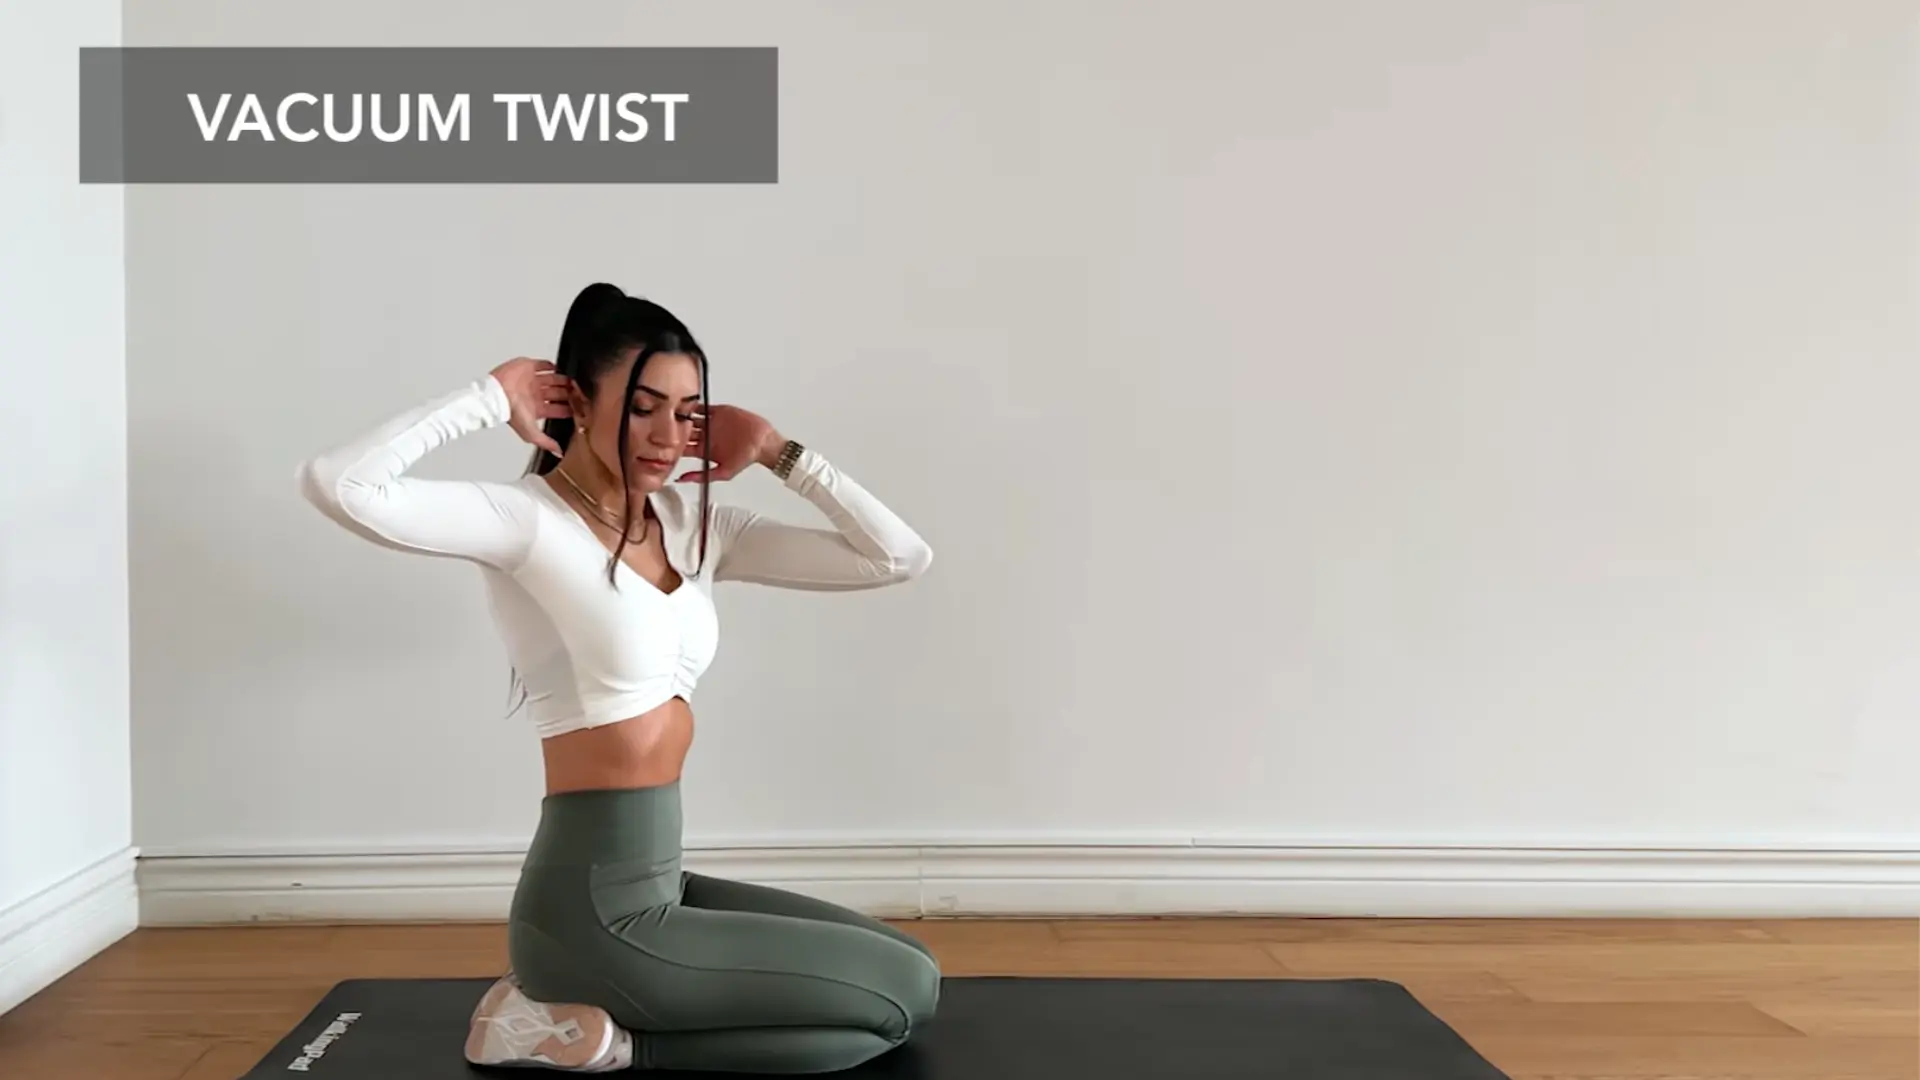
Once the lying version feels controlled, move into a seated position. Sit tall with feet flat on the floor and hands resting lightly on the abdomen.
Exhale, draw the belly inward, and slowly rotate the upper body a few degrees to one side while maintaining the contraction. Return to center and release.
This introduces rotational stability and helps the deep core learn to stay active during movement, which is a more functional demand than a static hold alone.
Check out the video below for a full video tutorial.
Key Form Cues to Remember
Small cues are the difference between a stomach vacuum that builds real TVA strength and one that just gives you a sore neck. These are the reminders I return to most often when teaching this exercise for the first time.
- Pull the belly inward, not upward toward the chest.
- Keep the ribs soft and down, not flared.
- Relax the neck, jaw, and shoulders.
- If any of them tighten, the effort has left the deep core.
- Do not hold your breath; the ability to breathe during the hold is what separates a real TVA contraction from breath-holding.
- Keep the lower back in contact with the floor during lying variations.
- Release the contraction slowly rather than letting it collapse.
- Stop before the body begins to strain.
- The stomach vacuum is a precision drill, not an endurance test.
A cue that works well for most people: imagine zipping up the lower belly from the inside, starting just above the pubic bone. You should feel a buildup of deep tension in that region without anything else in the body changing.
Stomach Vacuum Exercise Variations
Different positions change how much feedback you get from the exercise and how much demand it places on the core.
These five variations cover the full range from beginner to more advanced, and they give you a clear progression path once the basic lying version feels consistent.
1. Lying Stomach Vacuum: Best Entry Point
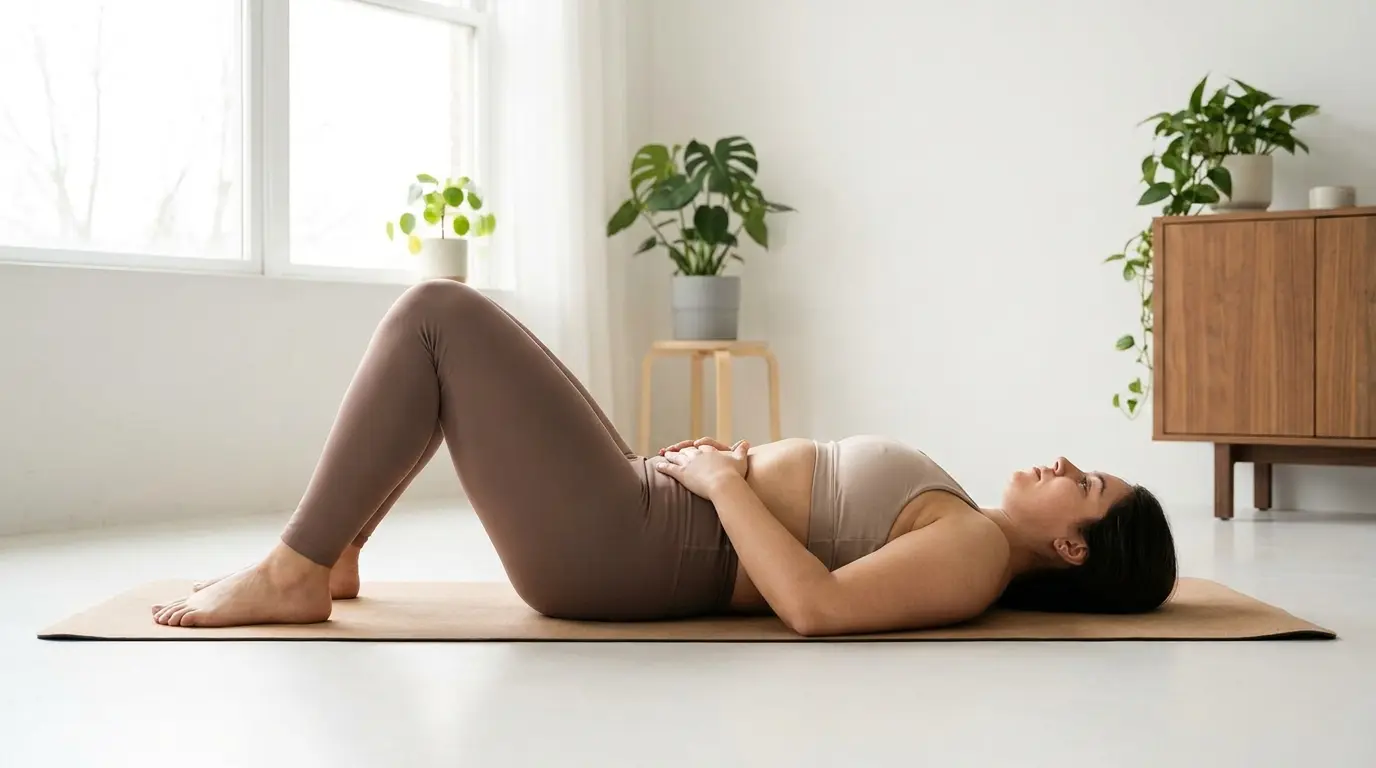
Lie on your back with knees bent and feet flat. This is the easiest position to learn the contraction because the floor eliminates postural demands and gravity makes the belly easier to draw inward.
It is also the variation I always start clients with, regardless of their fitness level, because it produces the clearest feedback about which muscles are activating.
Goal: Learn to engage the transversus abdominis with full-body support.
Sets: 2 to 3.
Hold: 5 to 10 seconds to start, building to 20 to 30 seconds over two to four weeks.
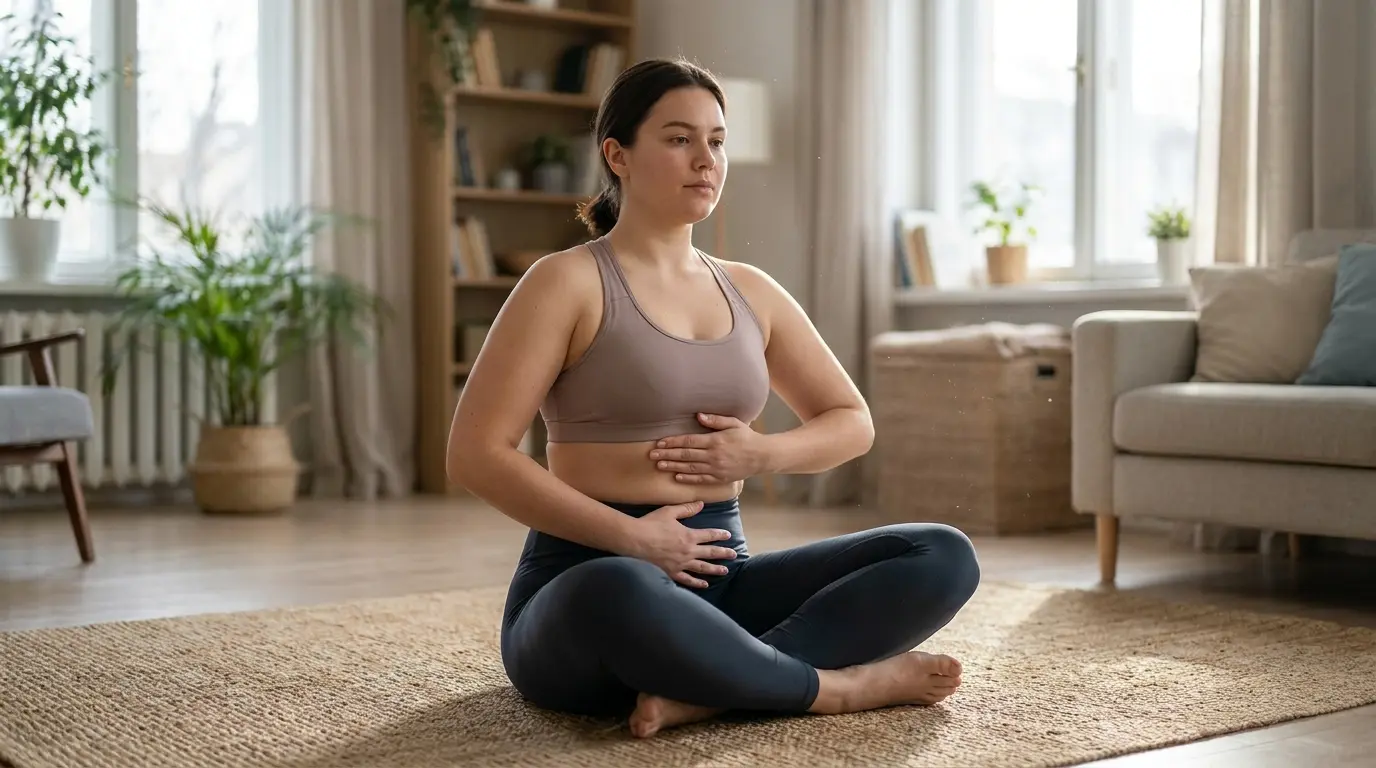
2. Seated Stomach Vacuum: Posture Carryover
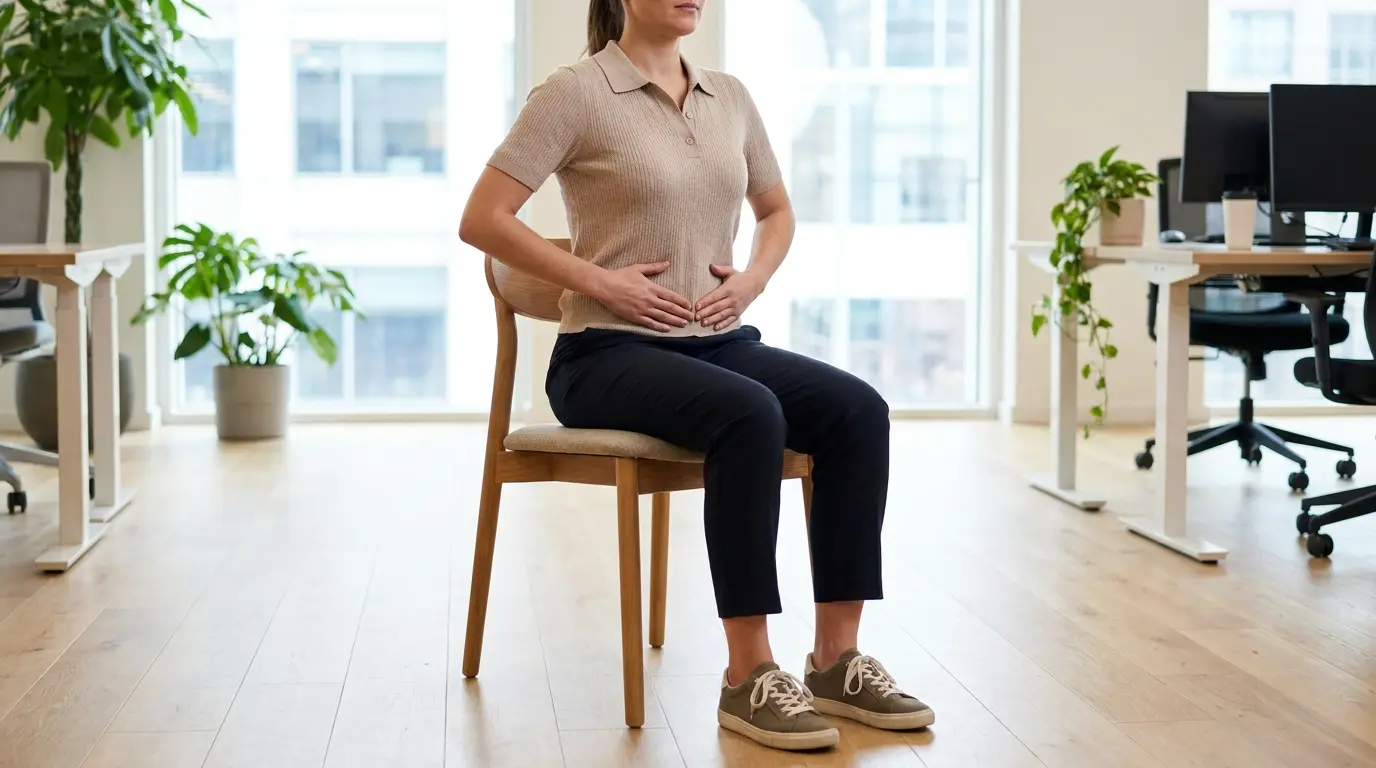
Sit tall on a chair with feet flat and hands resting lightly on the abdomen. This position trains the deep core to stay active in the posture most people hold for hours each day: seated at a desk or table.
The challenge increases because you must now maintain spinal alignment without the support of the floor.
Students who struggle with chronic slouching often find that two weeks of seated vacuums produce a noticeable change in their default sitting posture.
Goal: Build deep core control in an upright position.
Sets: 2 to 4.
Hold: 10 to 20 seconds.
3. Standing Stomach Vacuum: Functional Application
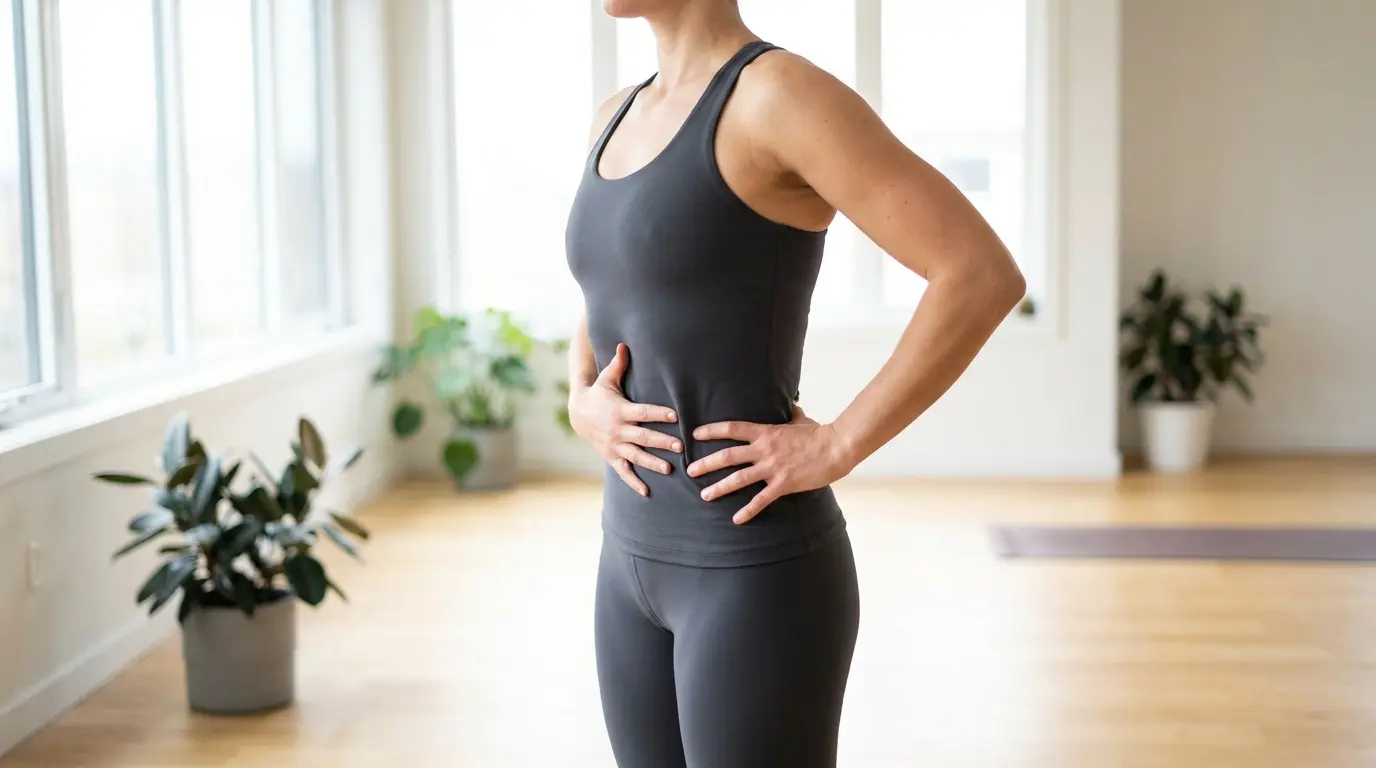
Stand with feet hip-width apart and one hand on the lower abdomen for feedback. Exhale, draw the belly inward, and hold while keeping the chest from lifting.
This is the version that transfers most directly to daily movement, including walking, lifting, and carrying, because it trains the TVA to activate in the position you use most.
Move here only after the lying and seated versions feel controlled.
Goal: Train deep core stability during upright activity.
Sets: 2 to 4.
Hold: 10 to 20 seconds.
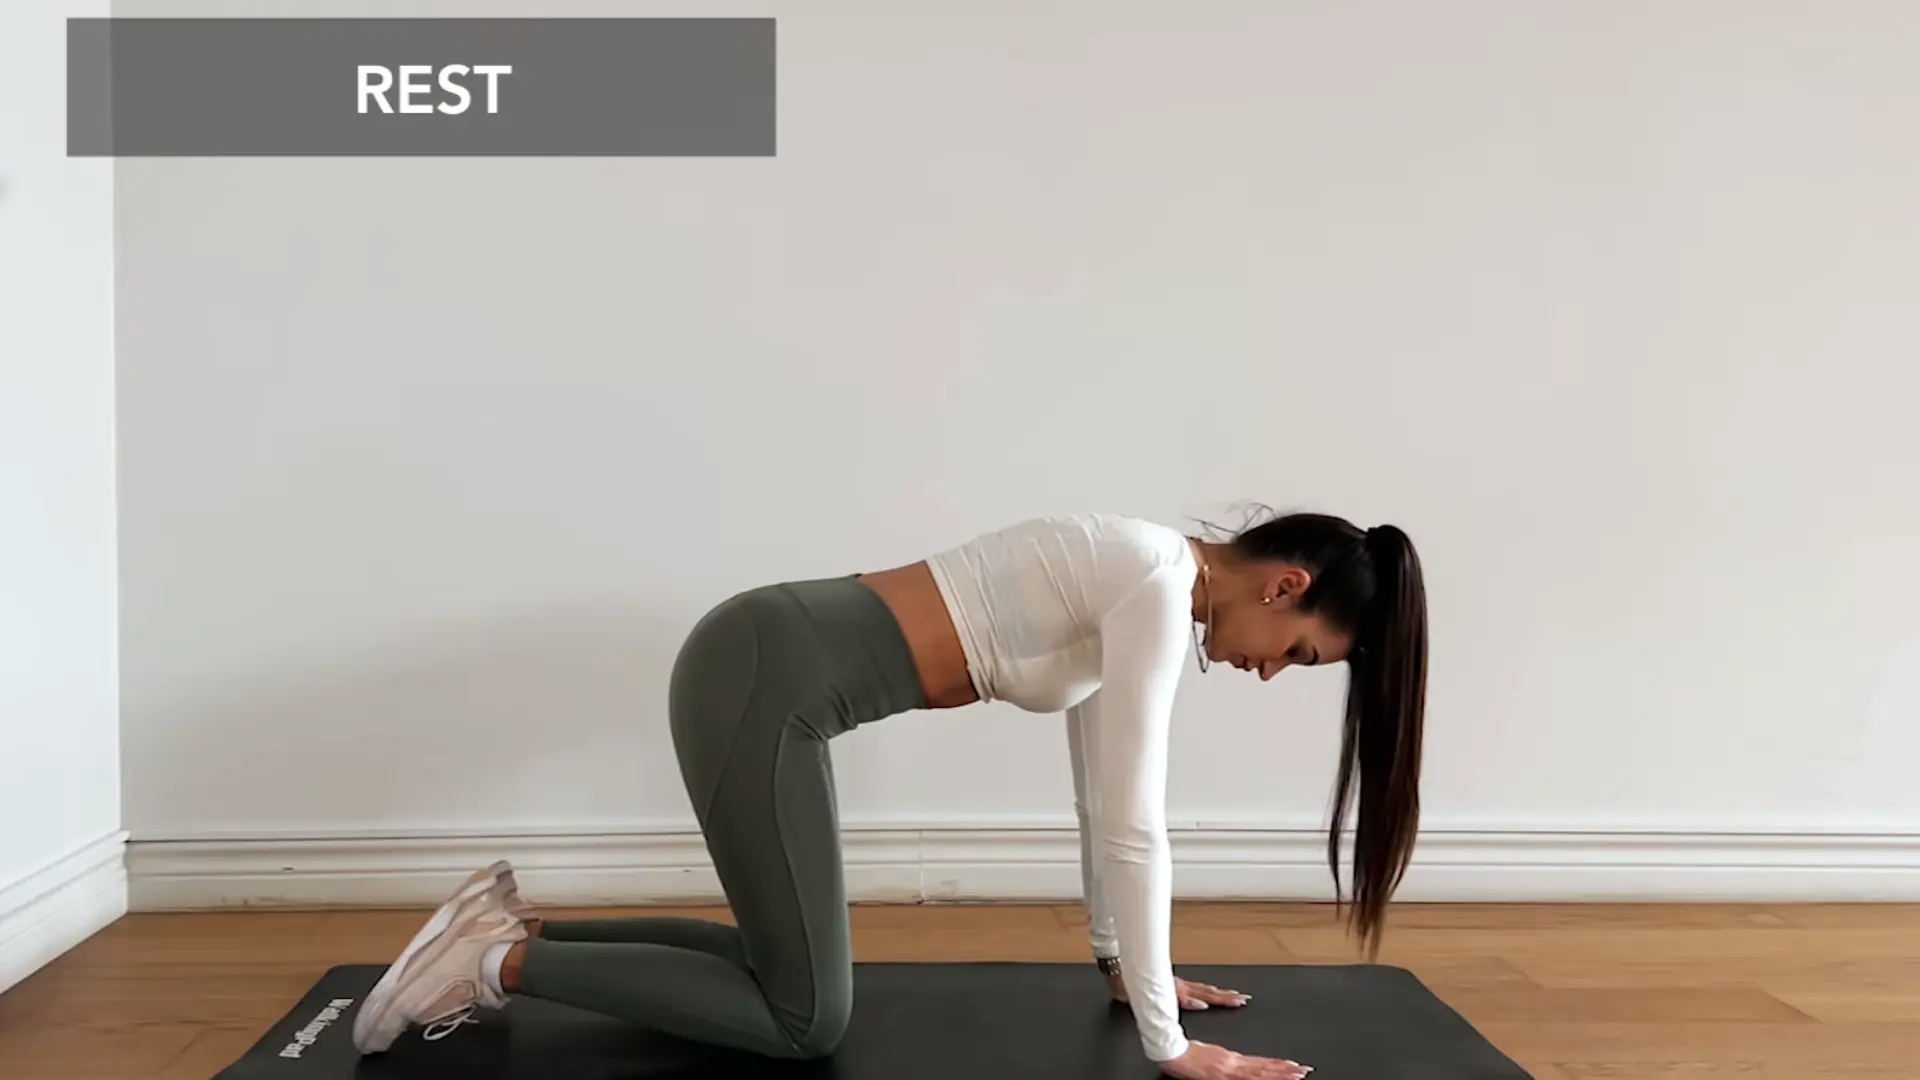
4. Kneeling (Quadruped) Stomach Vacuum: Lower Belly Awareness

Start on hands and knees with a neutral spine: hips over knees, shoulders over wrists, no rounding or sagging through the lower back.
Exhale and draw the belly button toward the ceiling. This position uses gravity to clarify the contraction: the belly naturally hangs downward, making it very easy to feel when you are genuinely pulling it inward versus just tensing the surface muscles.
It is also the variation most commonly used in physical therapy for lumbar stabilization training.
Goal: Feel the lower belly contraction more clearly; also used in rehab contexts.
Sets: 2 to 3.
Hold: 10 to 15 seconds.
5. Breathing Stomach Vacuum: Endurance Builder
Once the basic contraction feels consistent, practice drawing the belly inward and then taking small, calm breaths while maintaining the hold.
This trains the diaphragm and TVA to work simultaneously, which is exactly what they need to do during compound movements like squats, deadlifts, and carries.
Use this variation only after the static versions feel clean. If the breathing becomes labored or the contraction collapses on each inhale, reduce the hold intensity and rebuild.
Goal: Build core endurance and diaphragm-TVA coordination.
Sets: 2 to 3.
Hold: 20 to 40 seconds with steady breathing throughout.
Beginner Stomach Vacuum Workout Plan
This beginner stomach vacuum workout builds deep core awareness progressively. Start with the lying variation, prioritize clean form over longer holds, and only advance the hold time when every rep in a session feels fully controlled.
| Exercise | Sets | Reps / Hold Time |
|---|---|---|
| Lying Stomach Vacuum | 2 | 3 to 5 reps, 5 to 10 sec hold |
| Seated Stomach Vacuum | 2 | 3 to 5 reps, 5 to 10 sec hold |
| Dead Bug | 2 | 8 to 10 reps per side |
| Plank | 2 | 20 to 30 seconds |
| Cat-Cow Breathing | 1 | 5 slow breaths |
The dead bug and plank are included because the deep core control you build with stomach vacuums transfers directly to both.
In the dead bug, the TVA must stay active as the limbs move; in the plank, it provides the compression that keeps the hips level.
Pairing vacuums with these two exercises reinforces the muscle pattern in multiple positions within the same session.
Progression guidelines: Start with 5 to 10-second holds in weeks one and two. Add 2 to 5 seconds to each hold in week three. Move from lying to standing stomach vacuums once you can hold for 20 seconds with steady breathing and no compensation in the neck or shoulders. After four weeks of consistent practice, add the breathing stomach vacuum variation to build diaphragm-TVA coordination.
How Long Until You See Results From Stomach Vacuums?
This is the question I get most consistently from people who start this drill. The honest answer is: it depends on what result you are measuring.
For deep core awareness, meaning the ability to feel and intentionally activate the TVA, most people notice a clear improvement within two to three weeks of daily practice. The brain-muscle connection develops relatively quickly once you know what you are looking for.
For postural changes and reduced lower-back tension during prolonged sitting or standing, expect four to six weeks of consistent practice before the difference becomes noticeable outside of training sessions. The TVA has to strengthen enough to maintain baseline tone automatically, not just when you consciously contract it.
For visible midsection changes, stomach vacuums contribute to a tighter, more controlled-looking waistline over time, but this comes from the combination of improved muscle tone and better postural alignment, not from any direct reduction of belly fat. Anyone promising visible fat loss from stomach vacuums alone is overstating what the exercise does.
Stomach Vacuum Compared to Other Core Exercises
The stomach vacuum exercise addresses a part of the core that most conventional ab exercises leave untrained. Understanding where it fits helps you build a complete program rather than relying on it for everything.
| Exercise | Primary Target | Difficulty | Key Role |
|---|---|---|---|
| Stomach Vacuum | Transverse abdominis | Beginner | Deep core activation with minimal movement |
| Plank | Core endurance (all layers) | Beginner to moderate | Anti-extension stability under load |
| Dead Bug | Core stability during limb movement | Beginner | Trains trunk stiffness while arms and legs move |
| Crunches | Rectus abdominis | Beginner | Spinal flexion strength |
| Leg Raise | Lower abs and hip flexors | Moderate | Demands high TVA activation to protect lumbar spine |
| Ab Wheel Rollout | Anti-extension strength | Advanced | Maximum deep core demand; requires TVA mastery first |
The stomach vacuum is the foundation layer. Getting good at it makes the plank, dead bug, and leg raise more effective because you already know how to engage the deep core.
I recommend pairing it with back pain relief exercises and lower-body work. The back stiffness exercises on this site pair particularly well because both address the stabilizing role of the deep trunk.
Common Mistakes in the Stomach Vacuum Exercise
These mistakes do not make the exercise dangerous, but they do make it largely ineffective. Each one shifts the effort away from the transversus abdominis and into muscles that do not benefit from this kind of training.
- Holding the breath instead of contracting the TVA: The most common error. If you can hear yourself holding your breath during the hold, you are not doing a stomach vacuum. You are creating intra-abdominal pressure by closing the glottis. The TVA contraction must allow breathing to continue. Reduce the intensity until you can breathe through the hold at all times.
- Pulling only the upper stomach in: The contraction should be felt at and below the navel, not at the solar plexus. If only the upper abdomen moves, place your fingers just inside the hip bones and focus on pulling the tissue under those fingers inward. That is the TVA.
- Tensing the neck, jaw, and shoulders: When any of these areas tighten, the effort has escaped the core. I see this most in people who are trying too hard on their first attempts. Reduce the depth of the contraction by about 30% and check that the face and neck are completely relaxed before holding.
- Allowing the lower back to arch: The lumbar spine should stay in a neutral position, not pressed flat into the floor and not arched away from it. An arching back during the lying vacuum usually means the effort is going into the hip flexors instead of the TVA. Bend the knees more if needed, and consciously maintain a neutral spine throughout the hold.
- Adding reps before the contraction is clean: Five controlled reps produce more TVA development than fifteen sloppy ones. Once the form breaks down, meaning neck tension, breath-holding, or upper-belly pulling, the session should stop, or the hold time should be reduced.
- Practicing immediately after a large meal: The transversus abdominis wraps around the abdominal contents. A full stomach makes the inward draw uncomfortable and reduces how effectively the muscle can contract. Practice before meals or at least two hours after eating.
Does the Stomach Vacuum Exercise Burn Belly Fat?
No. The stomach vacuum exercise does not directly burn belly fat or reduce waist circumference through fat loss.
What it can do is strengthen the transversus abdominis so that the deep core holds more tension at rest and during movement, which can improve how the midsection looks and feels over time.
Some people also notice that better TVA activation reduces the forward protrusion of the lower belly, but this is a postural and muscular change, not a fat-loss effect.
Belly fat reduction is determined primarily by a sustained caloric deficit over time, combined with adequate protein intake, regular strength training, and sufficient sleep.
Stomach vacuums support a strong training foundation, but they do not replace any of those factors.
If you are working on both core strength and body composition, use stomach vacuums as part of your core routine alongside the mobility and flexibility work that keeps the hips and lower body moving well.
A functional, strong body requires both the deep stability the vacuum builds and the range of motion that stretching supports.
Frequently Asked Questions
These are the questions I hear most often from people starting this exercise for the first time.
How to do a stomach vacuum properly without losing form?
The most reliable check is the breathing test: if you can take a small breath during the hold without the contraction collapsing, your form is solid. If breathing causes the belly to pop forward or requires you to release the contraction entirely, the hold is too hard. Reduce the effort to about 60 percent of maximum, maintain steady breathing, and build from there. Using the lying position with your fingers below the navel also gives clear tactile feedback. You should feel the tissue firm without any change in the chest or neck.
How to vacuum your stomach if you have never felt the TVA activate?
Start lying flat with knees bent. Place two fingers one inch below the navel and one inch inside the hip bones on either side. Take a full breath in. As you exhale, focus all your attention on the tissue under your fingers and try to make it move away from you, not by pushing with the muscles, but by imagining it being drawn toward the ceiling. Even a slight firming or hollowing under the fingers means the TVA is engaging. Practice that sensation three to five times before trying to hold a longer contraction. Once you can feel it reliably in the lying position, the seated and standing versions become much easier.
Can stomach vacuums lose belly fat?
No, the stomach vacuum exercise does not directly cause fat loss. It strengthens and tones the transverse abdominis, which can improve how the midsection looks and functions, but it does not burn stored fat from the waist. Reducing belly fat requires a consistent caloric deficit, adequate protein, and regular full-body training. The stomach vacuum supports that program as a core training tool but cannot replace it.
How do you do stomach vacuums step by step for the first time?
Lie on your back with knees bent and feet flat. Place fingers below the navel for feedback. Inhale slowly through the nose. Exhale through pursed lips and draw the belly button toward the spine as the air leaves. Hold the contraction for 5 seconds while breathing. Inhale to release and rest for 30 seconds. Repeat three to five times. That is one complete session. Focus on keeping the neck and shoulders relaxed throughout, and stop if you feel any pressure in the face or head.
Can you do stomach vacuums every day?
Yes, the stomach vacuum exercise can be practiced daily because it is isometric, low-load, and targets a muscle with high endurance fiber composition. Most practitioners use it three to five days per week as part of a morning routine or pre-workout warm-up. Daily practice is appropriate as long as the form stays clean and no discomfort develops. If you notice fatigue or reduced contraction quality, take a rest day and return the following session.
Can stomach vacuums during your period cause discomfort?
Gentle stomach vacuums are generally fine during menstruation as long as they feel comfortable. Keep holds shorter, around five to ten seconds, and avoid pulling with any intensity that creates pelvic pressure or cramping. On days with heavy flow, significant cramping, or pelvic discomfort, it is reasonable to skip the exercise entirely and return when the body feels ready. Sharp or unusual pelvic pain during the exercise is always a reason to stop and consult a healthcare provider.
Should you warm up before stomach vacuums?
A specific warm-up is not required, but a few minutes of slow breathing, gentle cat-cow movements, or light walking helps the diaphragm and abdominal muscles release before you ask them to contract precisely. I typically have clients spend two to three minutes doing relaxed diaphragmatic breathing before their first vacuum rep. It noticeably improves the quality of the contraction compared to going straight into it from a desk chair or first thing after waking.
Summing Up
My verdict on the stomach vacuum exercise: worth it for most people, and underused in most training programs.
It does something that planks, crunches, and leg raises cannot: it teaches you to feel and control the transversus abdominis with precision. That awareness transfers to every other exercise you do.
In my own training and with the clients I program for, the two weeks immediately after learning the lying vacuum consistently produce better bracing quality during squats, carries, and back exercises.
Start with the lying-stomach vacuum workout, build holds from 5 seconds to 20 seconds before moving on, and pair it with dead bugs and planks to reinforce the deep core pattern in multiple positions.
If lower-back stability is your main goal, the quadruped variation produces the clearest TVA activation and mirrors the positions used in clinical rehabilitation. That is where I would have you start this week.
Sources
- Springer RA, Pappas E, et al., “Transversus Abdominis Activation During the Abdominal Drawing-In Maneuver in Multiple Postures.” Journal of Physical Therapy Science, 2019. PubMed
- Bjerkefors A, et al., “Abdominal muscle activation in various positions: a 2022 multi-posture study.” Journal of Electromyography and Kinesiology, 2022. PubMed
- American College of Sports Medicine, “Core Stability and Low Back Pain.” ACSM Health and Fitness Journal. ACSM
- Healthline, “The Stomach Vacuum Exercise: How To Do It Right.” healthline.com