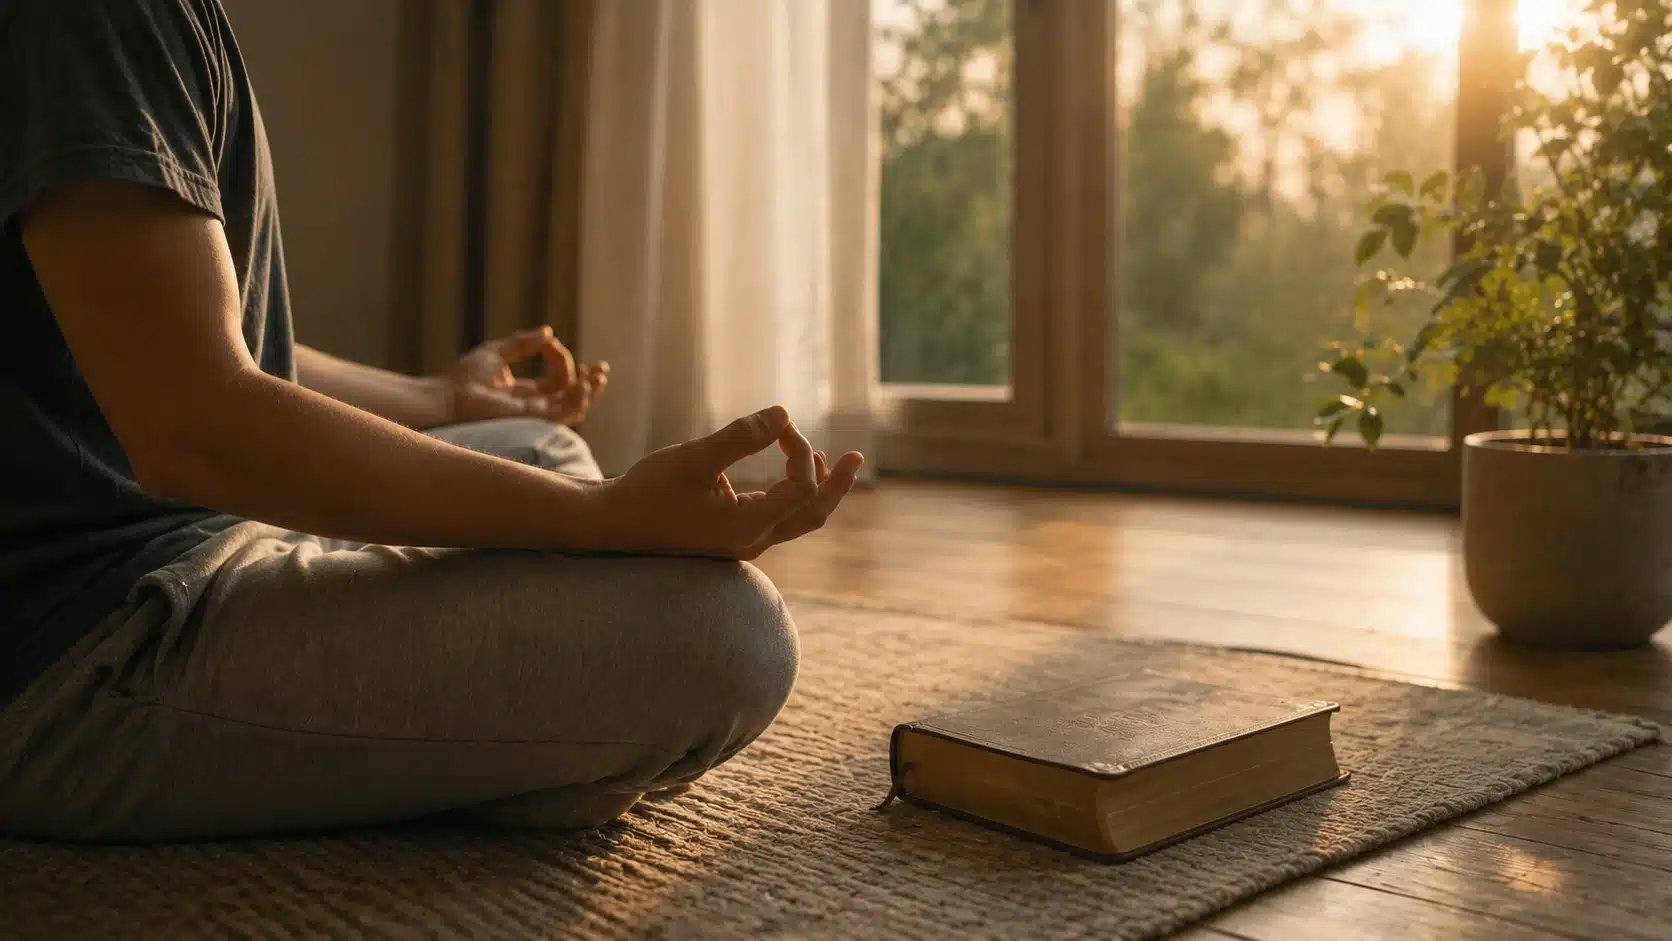
I found yoga for back pain during a particularly frustrating period in my teaching career, when a recurring lower back ache was making it hard to demonstrate poses on the mat.
I had tried rest. I had tried stretching harder. Neither worked. What finally helped was slowing everything down and learning which movements my spine actually needed, and which ones I had been forcing on it without realizing.
That experience shapes how I teach yoga for back pain today. The best poses for a sore back are not the deepest ones. They are the ones you can do consistently, with enough body awareness to know when to ease off.
This guide walks you through exactly that: the most effective yoga poses for back pain relief, how to modify them for your body, a 15-minute routine to start with, and the progression path to follow as your back gets stronger. If you are also dealing with general tension or recovering from fatigue, restorative yoga poses pair well with a back pain practice.
Why Yoga Helps With Back Pain (What the Research Actually Shows)
Most people assume yoga helps back pain purely through stretching. Stretching is part of it, but there is more happening. A 2021 meta-analysis published in PLOS ONE reviewed 21 randomized controlled trials and found that yoga produced meaningful reductions in pain intensity and functional disability for adults with chronic low back pain.
What makes yoga useful for back pain is that it works across several systems at once. Gentle spinal movements guide your lumbar vertebrae through controlled ranges of motion without loading them the way standing or sitting does.
Hip and hamstring stretching reduces the indirect pull on the lumbar spine because tightness in those muscles tilts the pelvis and increases lumbar curvature under load. Strengthening poses like Bridge, Sphinx, Cobra, and Locust build the paraspinal, glute, and core muscles that support the spine through daily movement.
And slow, deliberate breathing activates the parasympathetic nervous system, which reduces the muscle guarding that makes chronic back pain feel worse than it needs to.
In my classes, the students who make the most progress are not the ones doing the most advanced poses. They are the ones who learn how to move without bracing against pain.
What Type of Back Pain Are You Dealing With?
Not all back pain responds to the same approach. Before you start, it helps to have a rough sense of what you are working with.
Muscle tension and general stiffness respond well to almost all of the poses in this guide. This is the most common type and often builds up from prolonged sitting, poor posture, or unfamiliar physical activity.
Disc-related pain (often described as deep, aching, or accompanied by leg symptoms) generally tolerates gentle extension poses like Sphinx and Cobra better than deep forward folds. If a pose causes pain to travel further down your leg, stop immediately. Specific herniated disc exercises follow different loading rules and are worth reviewing separately if this is your diagnosis.
Sacroiliac joint pain (felt at one side of the lower back near the top of the buttock) often responds well to Reclined Pigeon and Bridge, but can be aggravated by asymmetrical standing poses. Keep your weight even and avoid wide-legged stances when this type of pain is active.
If you are unsure which type you have, work only with poses done lying down or on hands and knees until you can confirm with a healthcare provider.
Best Yoga Poses for Back Pain Relief
I always tell people to start smaller than they think they need to. Back pain responds better to slow, careful movement than deep stretching or hard effort.
Start with a short 10- to 15-minute routine and increase slowly if your body feels good afterward. These yoga poses should feel gentle, steady, and controlled:
1. Cat-Cow Pose
Cat-Cow is the first pose I return to whenever my own back feels stiff after a long teaching day. It moves the spine through flexion and extension together, which is exactly what locked-up lumbar vertebrae need to wake up. Keep the movement small at first, especially if you have been sitting for hours. The goal is rhythmic, breath-driven motion, not maximum range.
How to do it: Start on hands and knees with wrists under shoulders and knees under hips. On an inhale, let your belly drop toward the mat, lift your chest, and look gently forward (Cow). On an exhale, press the floor away, round your spine upward, and tuck your chin toward your chest (Cat). Repeat for 8 to 10 slow rounds, moving with your breath rather than ahead of it.
Modification: Place a folded blanket under your knees if the floor is uncomfortable. If wrist pressure is an issue, come down onto your fists or forearms instead.
Progression: Once this feels fluid, add a small lateral shift side to side at the midpoint between Cat and Cow to begin working the obliques and quadratus lumborum.
2. Child’s Pose
Child’s Pose is the reset button of any yoga practice. It gently tractions the lumbar spine while taking all compression off the vertebral discs. Students who struggle most with this pose often have tight hip flexors from prolonged sitting. Widening the knees usually solves it.
How to do it: From hands and knees, shift your hips back toward your heels with knees slightly apart. Reach your arms forward, lower your chest toward the floor, and rest your forehead on the mat or a pillow. Breathe slowly for 5 to 10 breaths, letting each exhale release a little more tension through your back.
Modification: Place a bolster or folded blanket between your thighs and calves if your hips cannot reach your heels. This reduces the demand on hip flexors and makes the pose accessible to most bodies.
Progression: Walk your hands to one side and hold for 5 breaths to add a lateral stretch through the quadratus lumborum on the opposite side.
3. Sphinx Pose
Sphinx is a supported backbend that builds gentle extension through the lumbar spine without the compression risk of deeper poses like full Cobra. It is particularly useful for people whose back pain is related to long periods of flexion from desk work or driving.
How to do it: Lie on your stomach with legs extended. Place your elbows directly under your shoulders, forearms flat. Press lightly through your forearms and lift your chest. Keep your glutes soft and your lower ribs close to the floor. Breathe slowly for 5 to 8 breaths, then lower back down with control.
Modification: If you feel compression in your lower back, move your elbows slightly forward. This reduces the extension angle.
Progression: From Sphinx, begin to straighten your arms halfway toward a low Cobra. Keep the lift minimal and controlled.
4. Cobra Pose
Cobra strengthens the paraspinal muscles while gently opening the anterior spine. The most common mistake I see is using hand pressure to push the chest high, which jams the lower back. The lift should come from the back muscles, not the arms.
How to do it: From lying on your stomach, place your hands under your shoulders with elbows close to your ribs. Press the tops of your feet into the mat. On an inhale, lift your chest slightly using your back muscles. Keep your hips on the floor and your elbows soft. Hold for 3 to 5 breaths, then lower slowly.
Modification: Keep the lift very low, no more than a few inches, and focus on the contraction in your mid-back rather than height.
Progression: Work toward holding 5 to 8 breaths as your back extensors get stronger. Never increase the height of the lift before the hold time is comfortable. The baby cobra variation is a safer starting point if full Cobra still causes compression at the base of the spine.
5. Downward-Facing Dog
Downward Dog decompresses the lumbar spine when done with a long spine rather than a focus on placing the heels down. Keep your knees generously bent if your hamstrings are tight. Forcing straight legs with a rounded back defeats the purpose.
How to do it: From hands and knees, spread your fingers wide, tuck your toes, and lift your hips up and back. Bend your knees as much as needed to keep your back flat. Let your head hang between your arms. Focus on lengthening from your wrists to your hips. Hold for 5 to 8 breaths.
Modification: Deeply bent knees throughout. You can also place your hands on a chair back to reduce the shoulder and hamstring demand.
Progression: Slowly straighten one leg at a time, alternating legs with each exhale, to gradually lengthen the hamstrings over several weeks without forcing a flat-back position.
6. Bridge Pose
Bridge builds the posterior chain: glutes, hamstrings, and lower back extensors. These muscles are the primary stabilizers of the lumbar spine during everyday activity. When I program yoga for back pain in my classes, the Bridge is always in the first two weeks because the gains are noticeable quickly and the loading is controlled.
How to do it: Lie on your back with knees bent, feet flat on the floor, and hip-width apart. Arms rest at your sides. Press through your heels, squeeze your glutes gently, and lift your hips until your thighs and torso form a straight line. Keep your ribs down and your neck relaxed. Hold for 5 breaths, lower slowly, and repeat 6 to 8 times.
Modification: If your hamstrings cramp, move your feet a few inches closer to your hips. If the full lift causes lower back pinching, try a half-range lift instead.
Progression: Add a 3-second hold at the top, then progress to the single-leg Bridge by extending one leg while keeping the pelvis level.
7. Locust Pose
Locust is one of the most underused poses in back pain yoga. It builds strength through the erector spinae, glutes, and hamstrings simultaneously. A 2019 study in the Journal of Physical Therapy Science found that prone extension exercises like Locust significantly improved lumbar extensor strength and reduced pain in participants with chronic low back pain over an 8-week period.
How to do it: Lie on your stomach with arms alongside your body, palms facing down. Keep your forehead hovering near the floor. On an inhale, lift your chest, arms, and legs a small amount off the floor. Think about reaching long through your fingers and toes rather than lifting high. Hold for 3 breaths, lower, and repeat 3 to 5 times.
Modification: Lift only your chest and arms if your lower back feels strained with the legs lifted.
Progression: Hold for 5 to 8 breaths and add 2 more rounds as endurance builds over 2 to 3 weeks.
8. Supine Twist
Supine Twist rotates the thoracic and lumbar spine without compression. It is one of the most effective poses for releasing the quadratus lumborum, the deep muscle that runs from the lowest rib to the top of the pelvis and is frequently involved in one-sided lower back pain.
How to do it: Lie on your back with knees bent. Let both knees fall slowly to one side while keeping both shoulders relaxed on the floor. Place a pillow under your knees if they do not rest comfortably. Breathe into your side ribcage for 5 to 8 slow breaths. Return to the center and switch sides.
Modification: Keep your knees only halfway to the floor if a full rotation feels sharp or uncomfortable.
Progression: Straighten the bottom leg while the top leg rests at 90 degrees to increase the stretch through the outer hip and IT band.
9. Knee-to-Chest Pose
Knee-to-Chest gently stretches the lower back, glutes, and hip flexors on one side at a time. It is one of the safest poses to do in the morning before you even get out of bed.
How to do it: Lie on your back with both knees bent. Bring one knee toward your chest and hold gently behind the thigh, not the shin, to protect the knee joint. Keep your other foot flat on the floor. Breathe slowly for 20 to 30 seconds, then switch sides. Repeat twice per side.
Modification: If gripping behind the thigh is difficult, loop a strap or belt around the back of the thigh to extend your reach.
Progression: Bring both knees to the chest together and gently rock side to side for a gentle lumbar massage.
10. Extended Triangle Pose
The triangle pose stretches the hamstrings, hip abductors, and lateral trunk muscles without flexing the lumbar spine, making it useful when tight legs are contributing to lower back tension. Use a yoga block without hesitation.
How to do it: Stand with feet wide apart. Turn your front foot forward and your back foot in slightly. Extend both arms. Hinge from your hip, not your waist, and reach your front hand to your shin, ankle, or a yoga block. Extend your top arm upward. Keep your back long without rounding. Hold for 5 breaths per side.
Modification: A yoga block on its highest setting under the lower hand protects the lumbar spine from lateral bend under compression.
Progression: Half Moon Pose is the natural progression, adding a balance challenge and deeper hip opening once Triangle feels stable.
11. Supine Bound Angle Pose
This pose is not always listed in back pain guides, but in my classes, it consistently gets strong feedback from students with tight hip flexors and inner groin muscles that are pulling on the pelvis. When the pelvis is pulled into anterior tilt by chronically shortened hip flexors, the lumbar spine compensates with excess extension, increasing disc pressure and facet load.
How to do it: Lie on your back. Bring the soles of your feet together and let your knees fall out to the sides. Place a folded blanket or pillow under each knee for support. Rest your arms alongside your body. Breathe slowly for 1 to 3 minutes, letting the inner thighs release without forcing the knees down.
Modification: Use a thicker pillow support under the knees if the hip flexor stretch feels sharp.
12. Legs Up the Wall Pose
Legs Up the Wall is pure recovery. It takes gravitational load off the lumbar spine entirely, drains fluid from swollen lower limb tissues, and gives the nervous system a chance to downshift. I recommend it at the end of every back pain session.
How to do it: Sit sideways next to a wall with one hip close to the baseboard. Roll onto your back and swing both legs up the wall. Adjust your hips closer or farther from the wall until your lower back feels comfortable. Keep your knees soft if your hamstrings are tight. Rest here for 3 to 5 minutes with slow, even breathing.
Modification: Place a folded blanket under your hips to lift your pelvis slightly if your lower back presses uncomfortably into the floor.
13. Reclined Pigeon Pose
Reclined Pigeon stretches the hip external rotators and piriformis, muscles that, when chronically tight, can refer pain into the lower back and mimic sciatica. Students who tell me their lower back pain is actually one-sided and sits deep in the buttocks almost always notice relief here.
How to do it: Lie on your back with knees bent. Place your right ankle across your left thigh, flexing the right foot gently. Thread your hands behind your left thigh and draw them slowly toward your chest. Stop when you feel a gentle stretch in the right hip or glute. Hold for 30 to 60 seconds, breathing without forcing. Switch sides.
Modification: If the stretch is too intense, move your supporting leg farther from your hips by placing that foot back on the floor.
Progression: Progress to full Pigeon Pose on the floor once the hip no longer feels tight in Reclined Pigeon after three to four weeks of consistent practice.
Simple 15-Minute Back Pain Relief Routine

I always recommend short routines for back pain because they feel easier to stick with. You do not need a long session to help your back feel better.
Move gently through each step. If one pose makes your pain sharper or sends pain down your leg, skip it and move on:
| Time | Exercise | What to Do |
|---|---|---|
| 0 to 2 min | Body check and breathing | Lie on your back, take five slow breaths, and notice your starting pain level. |
| 2 to 4 min | Pelvic Tilt + Cat-Camel | Do 10 pelvic tilts, then move to hands and knees for 8 cat-camel rounds. |
| 4 to 6 min | Bird Dog | Do 6 to 8 reps per side with a 2-second hold. Keep your hips steady. |
| 6 to 8 min | Supine Bridge | Do 8 to 10 slow reps. Use your glutes, not your lower back. |
| 8 to 10 min | Knee-to-Chest Stretch | Hold each side for 25 seconds. Repeat twice if it feels good. |
| 10 to 12 min | Supine Twist | Hold 20 to 30 seconds per side. Keep the twist soft and easy. |
| 12 to 14 min | Child’s Pose | Rest in the pose and breathe slowly for the full 2 minutes. |
| 14 to 15 min | Recheck | Compare your pain level with where you started. Notice any change. |
Your back should feel looser, calmer, or easier to move after this routine. If the pain feels stronger, sharper, or spreads, stop and avoid those movements next time.
Common Mistakes That Make Back Pain Worse During Yoga
Most problems come from pushing too hard, moving too fast, or ignoring what your body is telling you. Here are the most common mistakes to watch for:
- Forcing stretches. When you push past your comfort zone, muscles often tighten rather than relax. Ease in slowly and let the pose open on its own terms.
- Holding your breath. If you notice you are holding your breath, that is usually a sign you have gone too deep. Back off slightly and let your breathing return to a slow, steady rhythm.
- Rounding the lower back in forward folds. This places real strain on the lumbar spine. Bend your knees generously in forward folds and focus on hinging from the hips rather than curling the back.
- Overarching in backbends. Cobra, Sphinx, and Bridge are valuable poses for back pain, but they can pinch the lower back if you go too far. Lift only as high as you can without compression or sharp sensation in the spine.
- Twisting too hard. Spinal twists should feel like a gentle unraveling, not a wringing out. Let the rotation come from your mid-back and keep the movement soft.
- Skipping props. Blocks, blankets, and pillows exist to bring the floor closer to your body so you do not have to strain to reach it. It keeps you in a safer and often more effective range of motion.
- Ignoring pain signals. Sharp pain, tingling, numbness, or any sensation that travels down your leg is not. These are signals to stop the pose immediately and, if they persist, to speak with a doctor.
A stronger stretch does not always mean better relief. With back pain in particular, smaller, cleaner movements tend to work better than aggressive stretching.
When to Get Professional Help
Some mild effort during stretching or strengthening is completely normal. Pain that feels sharp, electric, or intense is not. That distinction matters, and it is worth taking seriously.
If you notice any of the following, stop your practice and speak with a doctor or physical therapist before continuing:
- Pain traveling down the leg: This can indicate nerve involvement rather than simple muscle tension.
- Numbness or tingling: Sensations like these in the back, hips, legs, or feet suggest that a nerve may be irritated or compressed.
- Weakness in the leg or foot: If one leg feels harder to control, or if your foot feels heavy or difficult to lift, stop practicing and seek an evaluation promptly.
- Pain following a fall, accident, or injury: Yoga is not the right first response after a physical trauma. Get assessed before returning to any movement practice.
- Severe pain that does not settle: Discomfort that remains intense at rest, wakes you at night, needs medical attention rather than more yoga.
- Pain that keeps getting worse after yoga: Some soreness after unfamiliar movement is normal. A steady pattern of feeling worse after each session is not.
- Loss of bladder or bowel control: This requires urgent medical care. Do not wait or attempt to manage it with rest or movement. Seek help immediately.
These signs may point to nerve irritation, a structural injury, or another condition that yoga alone cannot address and may worsen.
Tip: When in doubt, get checked. A few days spent getting clarity is far better than weeks of practice that make the underlying problem harder to treat.
Frequently asked Question
Can yoga make back pain worse?
Yes, yoga can make back pain worse if you push too hard, force deep stretches, or ignore sharp pain. Keep movements gentle, use props, and stop if pain spreads, tingling starts, or your back feels worse afterward.
Is stretching or strengthening better for back pain?
Both can help, but it depends on your pain. Tight hips and hamstrings may need gentle stretching, while weak glutes and core muscles may need strengthening. A balanced routine with slow movement is usually safer than stretching alone.
Is hot yoga safe for back pain?
Hot yoga may not be ideal if you have back pain. Heat can make you stretch too deeply without noticing strain. Gentle room-temperature yoga is usually a safer starting point, especially if your back feels sensitive or painful.
To Sum Up
Back pain does not go away overnight. But with the right approach, it can get easier to manage, one session at a time.
I often remind people that relief does not come from forcing harder poses. The best yoga poses for back pain work because they gently move your spine, stretch tight areas, build support muscles, and help your body stop bracing against pain.
Start with a few poses you feel comfortable with. Cat-Cow, Child’s Pose, and Bridge are solid places to begin. Notice how your body feels the next day. Build slowly from there.
Keep the routine short. Keep the movement controlled. And keep checking in with how your back responds.
One last thing before you roll out your mat. Stop if the pain gets sharper, spreads further, or causes numbness or tingling. Yoga is meant to make your back feel safer and more supported, not worse.
If something does not feel right, it probably is not. Give your body the credit it deserves for knowing the difference.