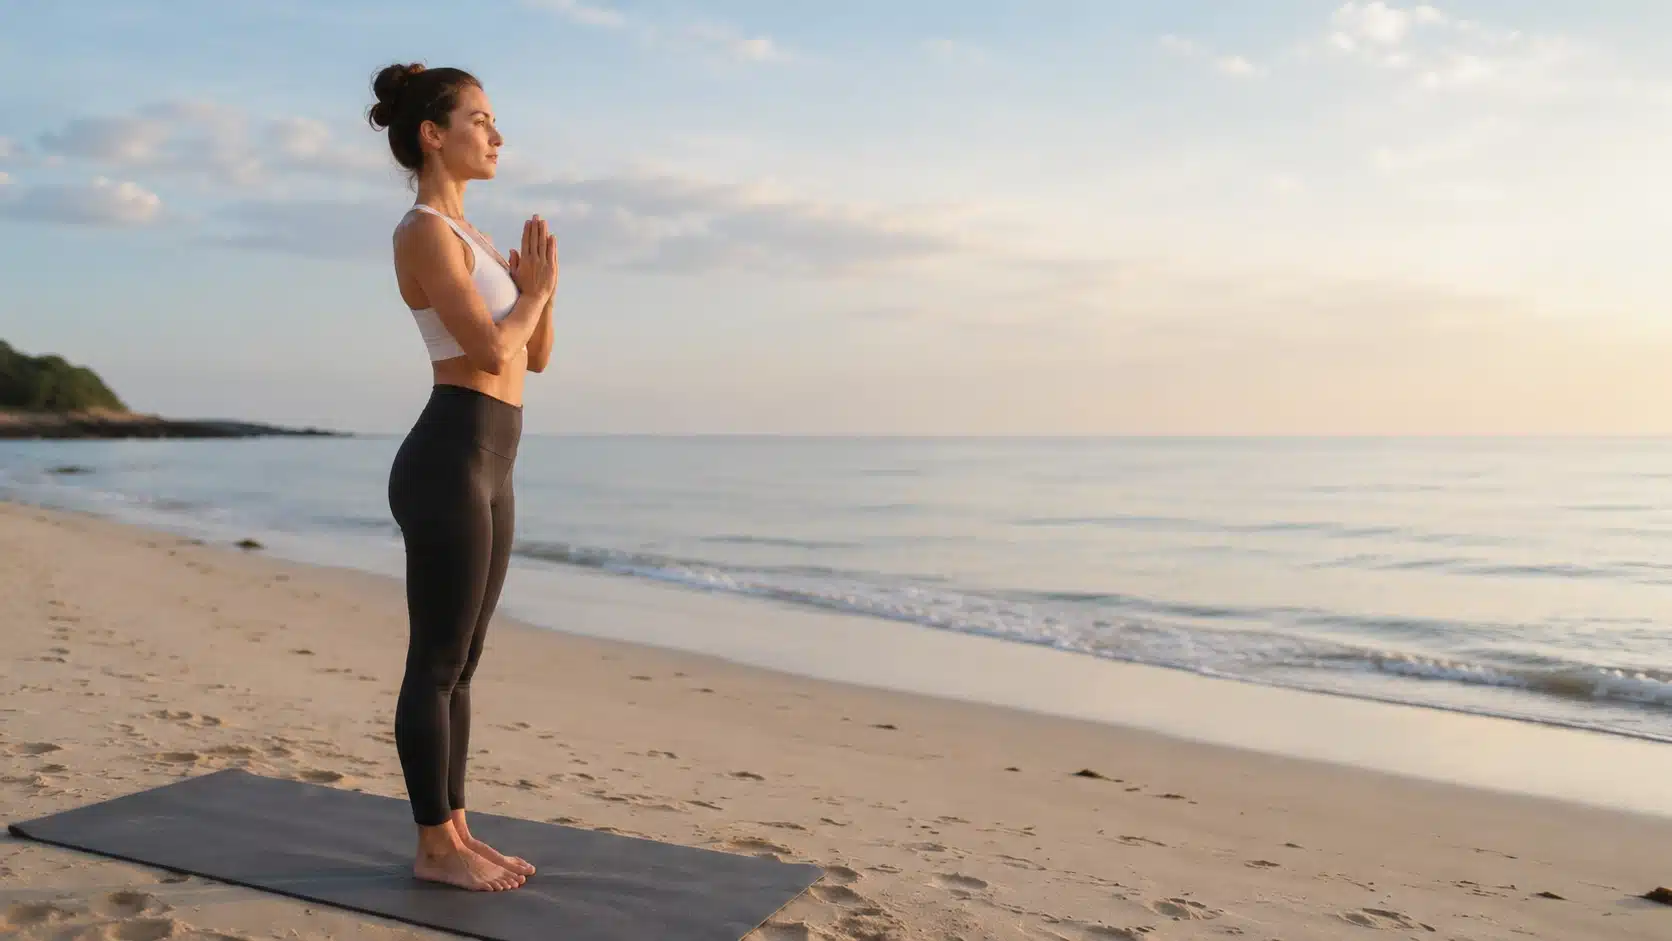

The cow face pose (Gomukhasana) is a powerful stretch that can help improve flexibility, ease tension, and relieve stress.
If you’ve ever struggled with tight shoulders or hips, this pose is a great way to target those areas. Here, I’ll walk you through some tips and techniques to help you progress into the cow face pose.
I’ll also cover preparatory exercises to get your body ready, common challenges you might face, and provide helpful resources for learning the pose.
If you’re a beginner or an experienced practitioner, this guide will help you move forward in your practice and get the most out of Gomukhasana.
Understanding Cow Face Pose
Cow face pose, or Gomukhasana, is a seated yoga posture that deeply stretches the shoulders, hips, chest, and upper back.
The name comes from the way the legs and arms position the body, which is said to resemble the shape of a cow’s face.
This pose is commonly practiced to release tightness in the shoulders and outer hips, especially if you spend long hours sitting or working at a desk.
It also encourages upright posture by opening the chest and strengthening awareness of spinal alignment. Beyond physical benefits, the cow face pose supports steady breathing and mental focus.
Many people use it to reduce built-up tension, create a sense of calm, and improve overall flexibility and joint mobility.
How to Progress into Cow Face Pose (Step-by-Step Guide)
If you move slowly and set yourself up with care, this pose feels steady, safe, and deeply relieving for tight shoulders and hips. Follow these steps and pay attention to how your body responds.
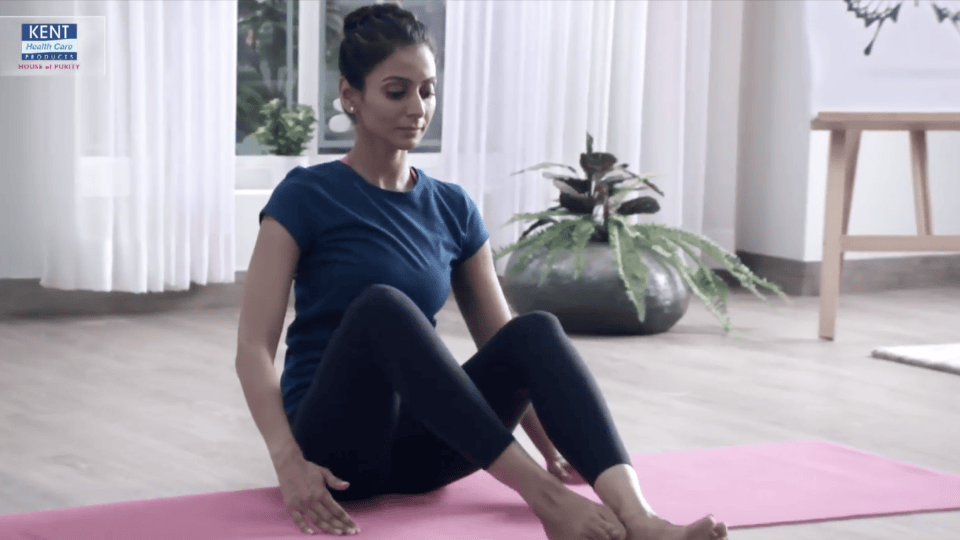
Step 1: Sit in Dandasana
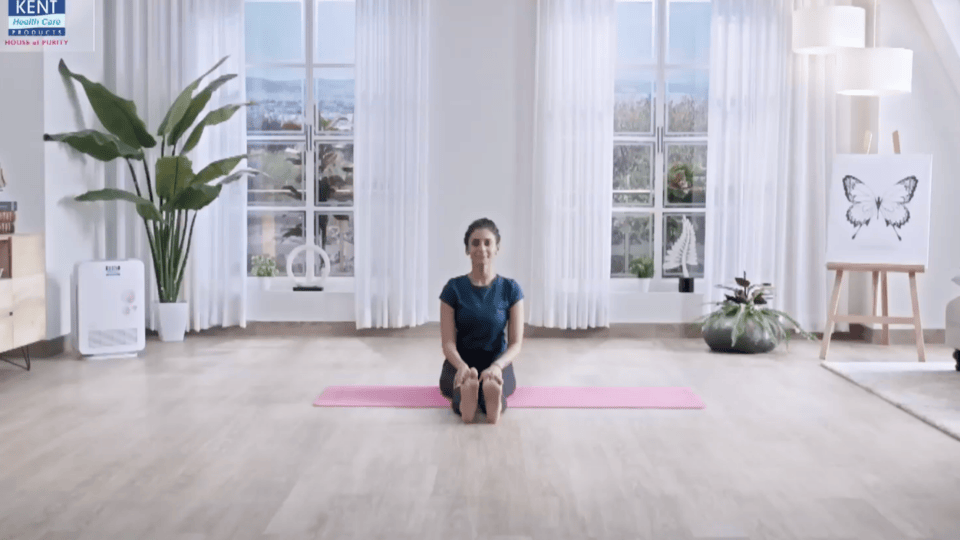
Start by sitting on the floor with your legs extended straight in front of you. Keep your spine tall, and your shoulders relaxed. Press your hands lightly into the floor beside your hips to help lift your chest.
Flex your feet so your toes point upward. Engage your core gently to support your lower back. Take a slow breath in and settle into this upright seated position before moving to the next step.
Step 2: Bend Your Knees and Cross the Legs
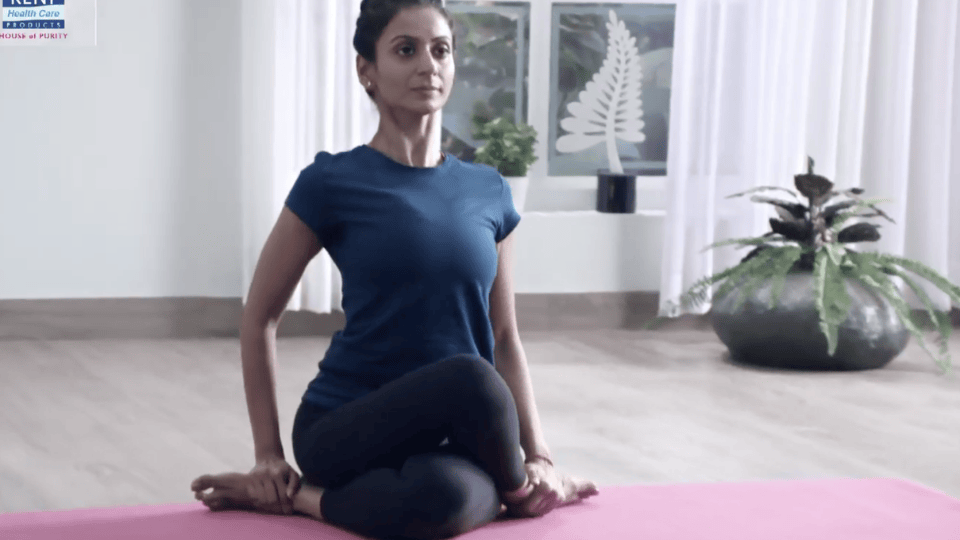
Bend both knees and bring your left foot under your right knee. Then carefully stack your right knee directly on top of your left knee. Adjust your hips so both sitting bones stay grounded on the floor.
If one hip lifts, sit on a folded blanket for support. Keep your spine tall and avoid rounding your back. Take a steady breath and find balance in the seated position.
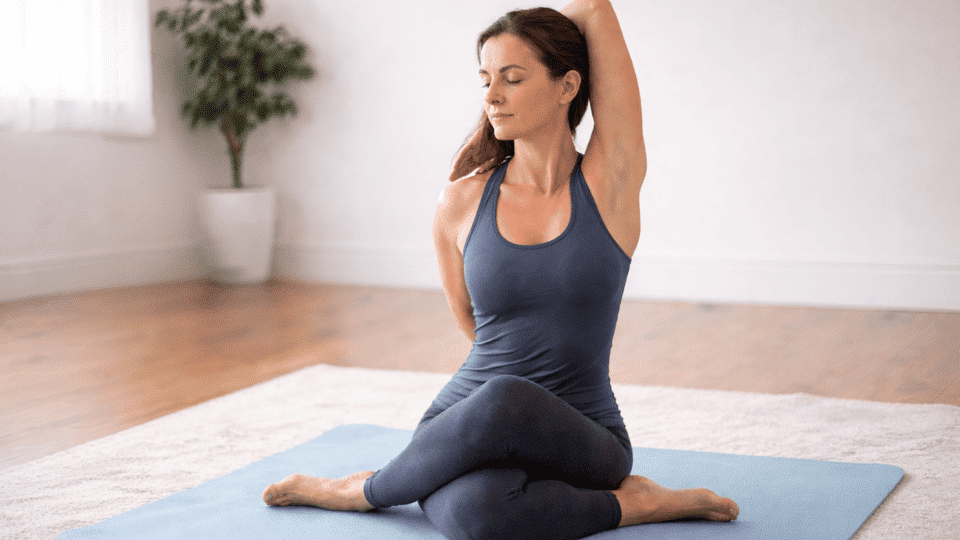
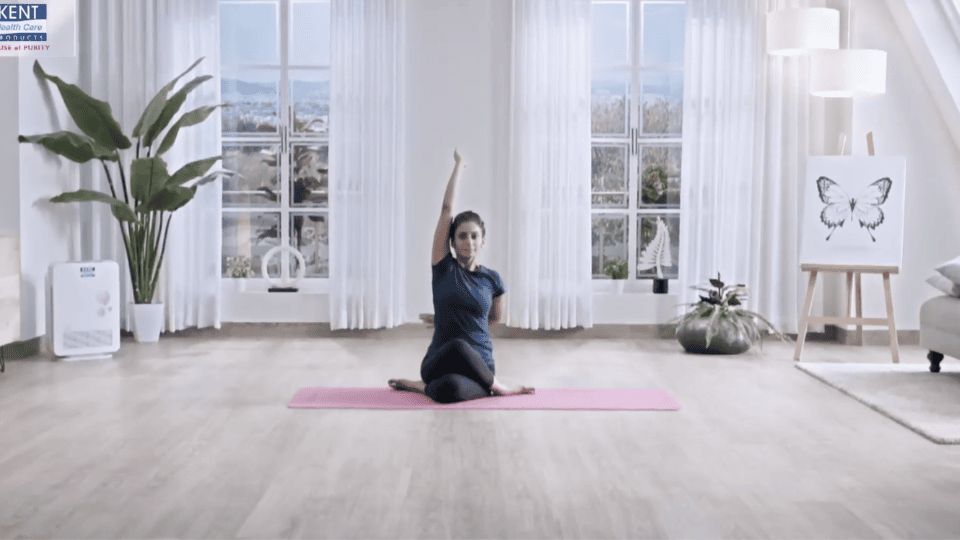
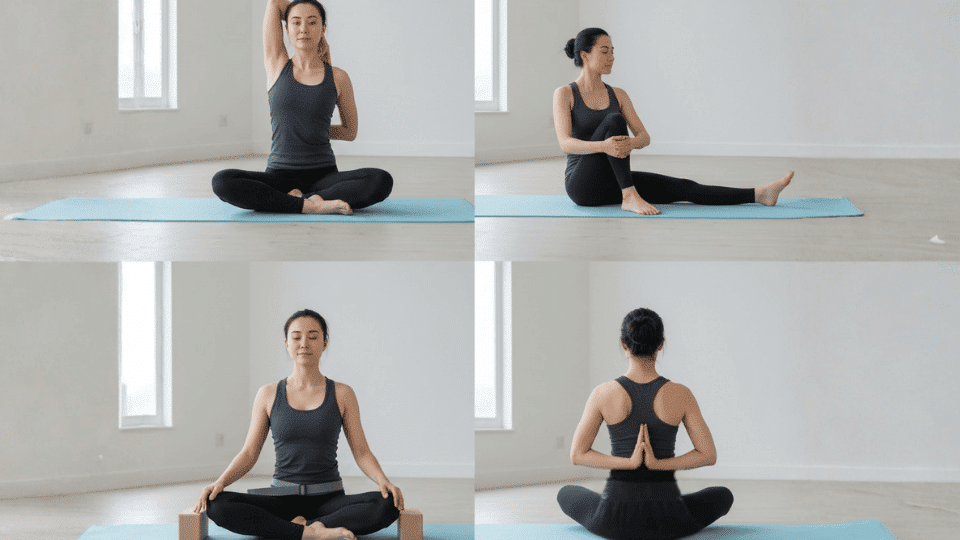
Step 3: Raise the Right Arm Overhead
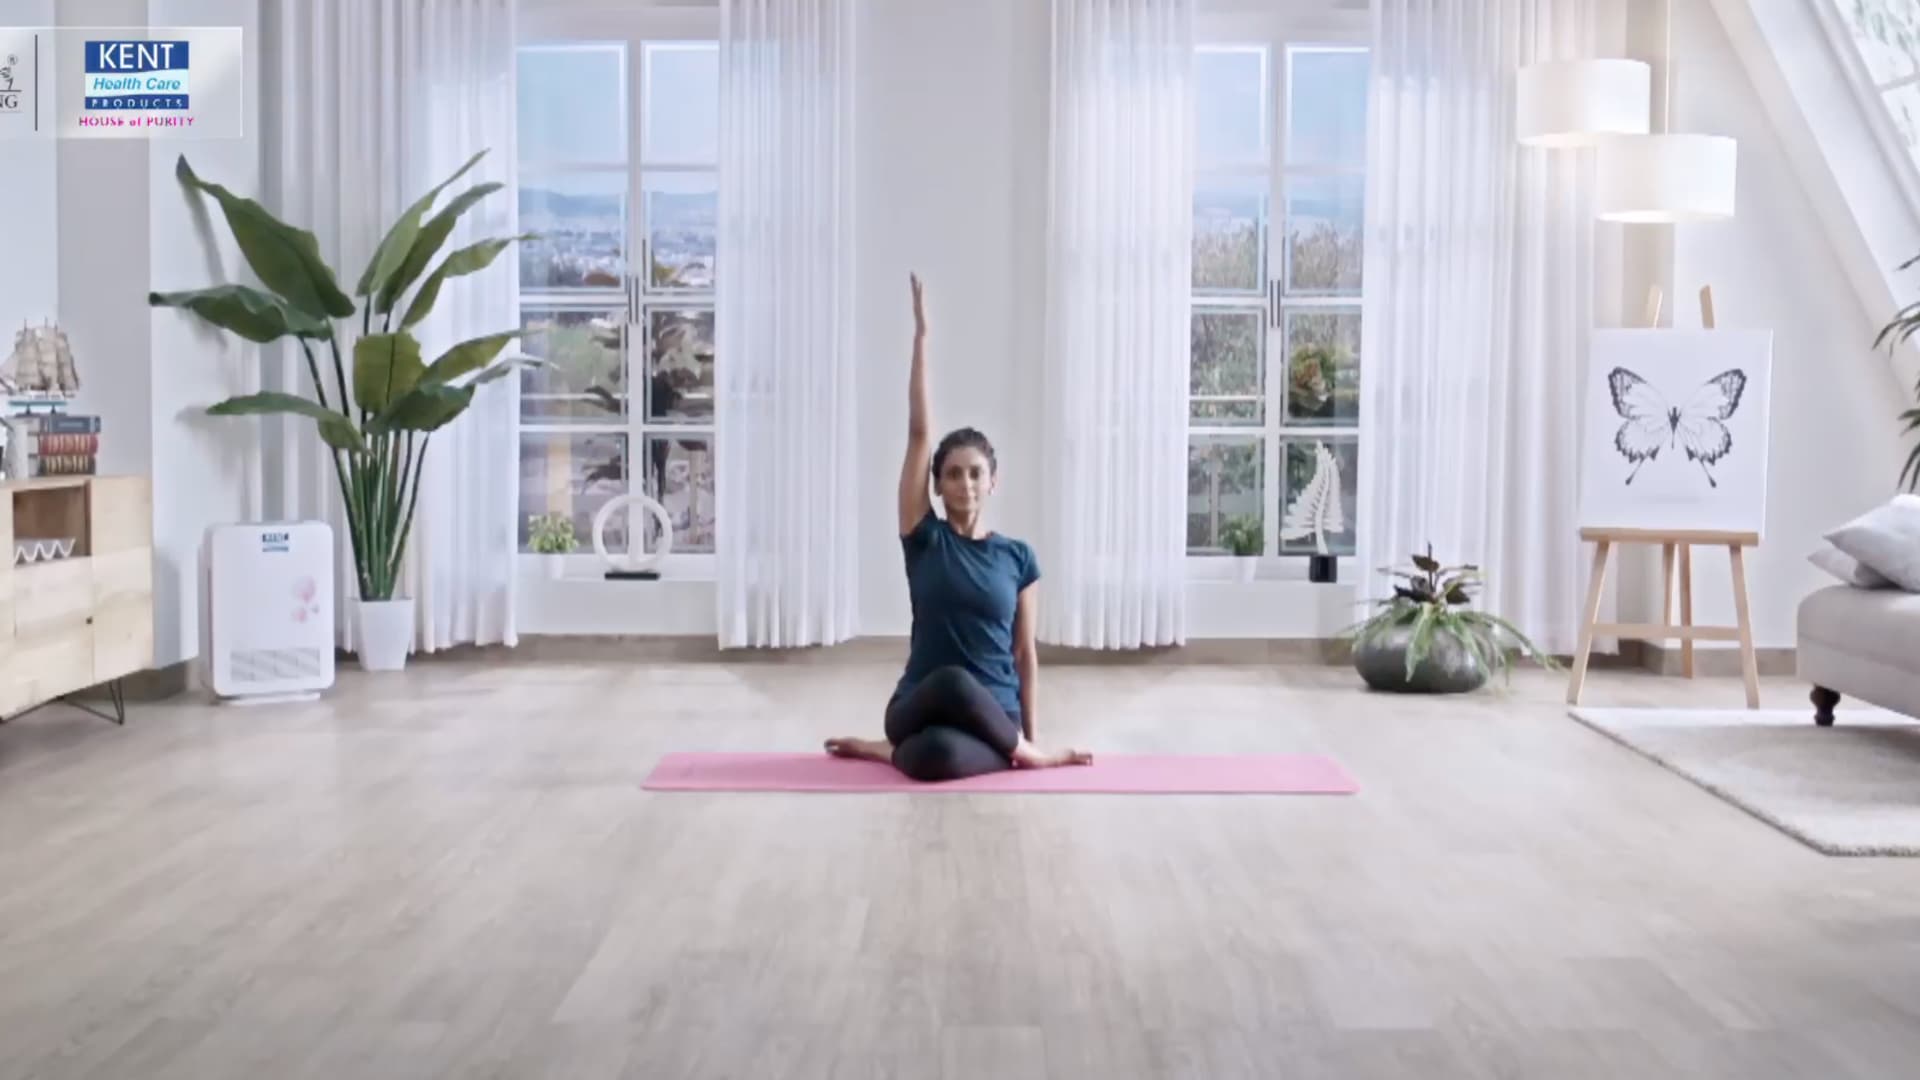
Lift your right arm straight up toward the ceiling. Reach through your fingertips while keeping your shoulder relaxed and away from your ear. Maintain length through your spine and avoid leaning to either side.
Keep your gaze forward and your chest open. This upward reach prepares your shoulder for the stretch. Breathe in deeply as you create space along the right side of your body.
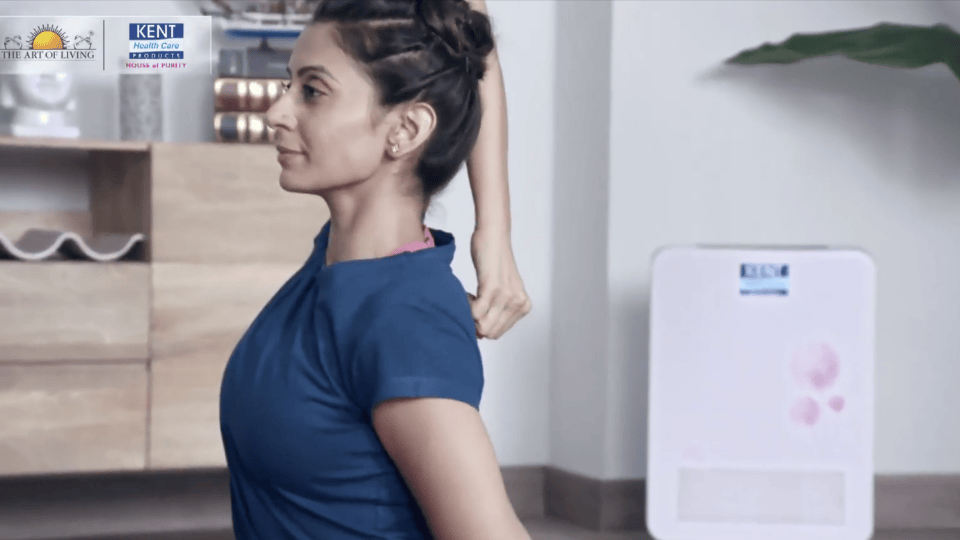
Step 4: Bend the Right Elbow

Slowly bend your right elbow and let your right hand move down behind your head toward your upper back. Keep your upper arm pointing upward rather than flaring out to the side.
Maintain a lifted chest and steady posture. Avoid collapsing forward. This movement stretches the triceps and the shoulder area. Take a calm breath and hold the arm in place as you prepare to add the other hand.
Step 5: Bring the Left Hand Behind Your Back
Now bend your left elbow and bring your left hand to the small of your back. Slide the hand upward along your spine as far as it comfortably goes. Keep your shoulders broad and avoid rounding forward.
Sit tall and steady through your hips. Move slowly and mindfully, allowing the shoulder to open gradually. Maintain smooth breathing as your hands move closer together.
Step 6: Interlock Your Hands
If possible, clasp your fingers behind your back. If your hands do not reach, hold onto a strap or towel between them. Keep your chest lifted and your head aligned over your spine.
Avoid pulling forcefully; instead, let the stretch build naturally. Breathe steadily and stay relaxed in your face and neck. Hold the position for several slow breaths.
Step 7: Release and Repeat on the Other Side
Exhale slowly and release your hands. Gently lower your right arm and bring both hands back to your sides. Uncross your legs and return to a neutral seated position.
Take a moment to reset in Dandasana. Then repeat the entire sequence with the opposite leg on top and the opposite arm reaching overhead to balance both sides of the body.
Tips for Getting into the Cow Face Pose
The cow face pose stretches the shoulders, hips, and spine. Let’s find essential tips to help you master this pose with proper form and technique.
- Proper Alignment: Focus on aligning your arms, shoulders, and legs correctly to avoid strain and achieve a deeper stretch.
- Engagement of Muscles: Engage your core, shoulders, and hips to stabilize your body and maintain balance throughout the pose.
- Breath Control: Use slow, deep breaths to relax into the stretch, enhancing flexibility and helping you stay centered during the pose.
- Common Pitfalls to Avoid: Do not collapse your chest or force your arms into position. Keep the stretch gentle to prevent discomfort.
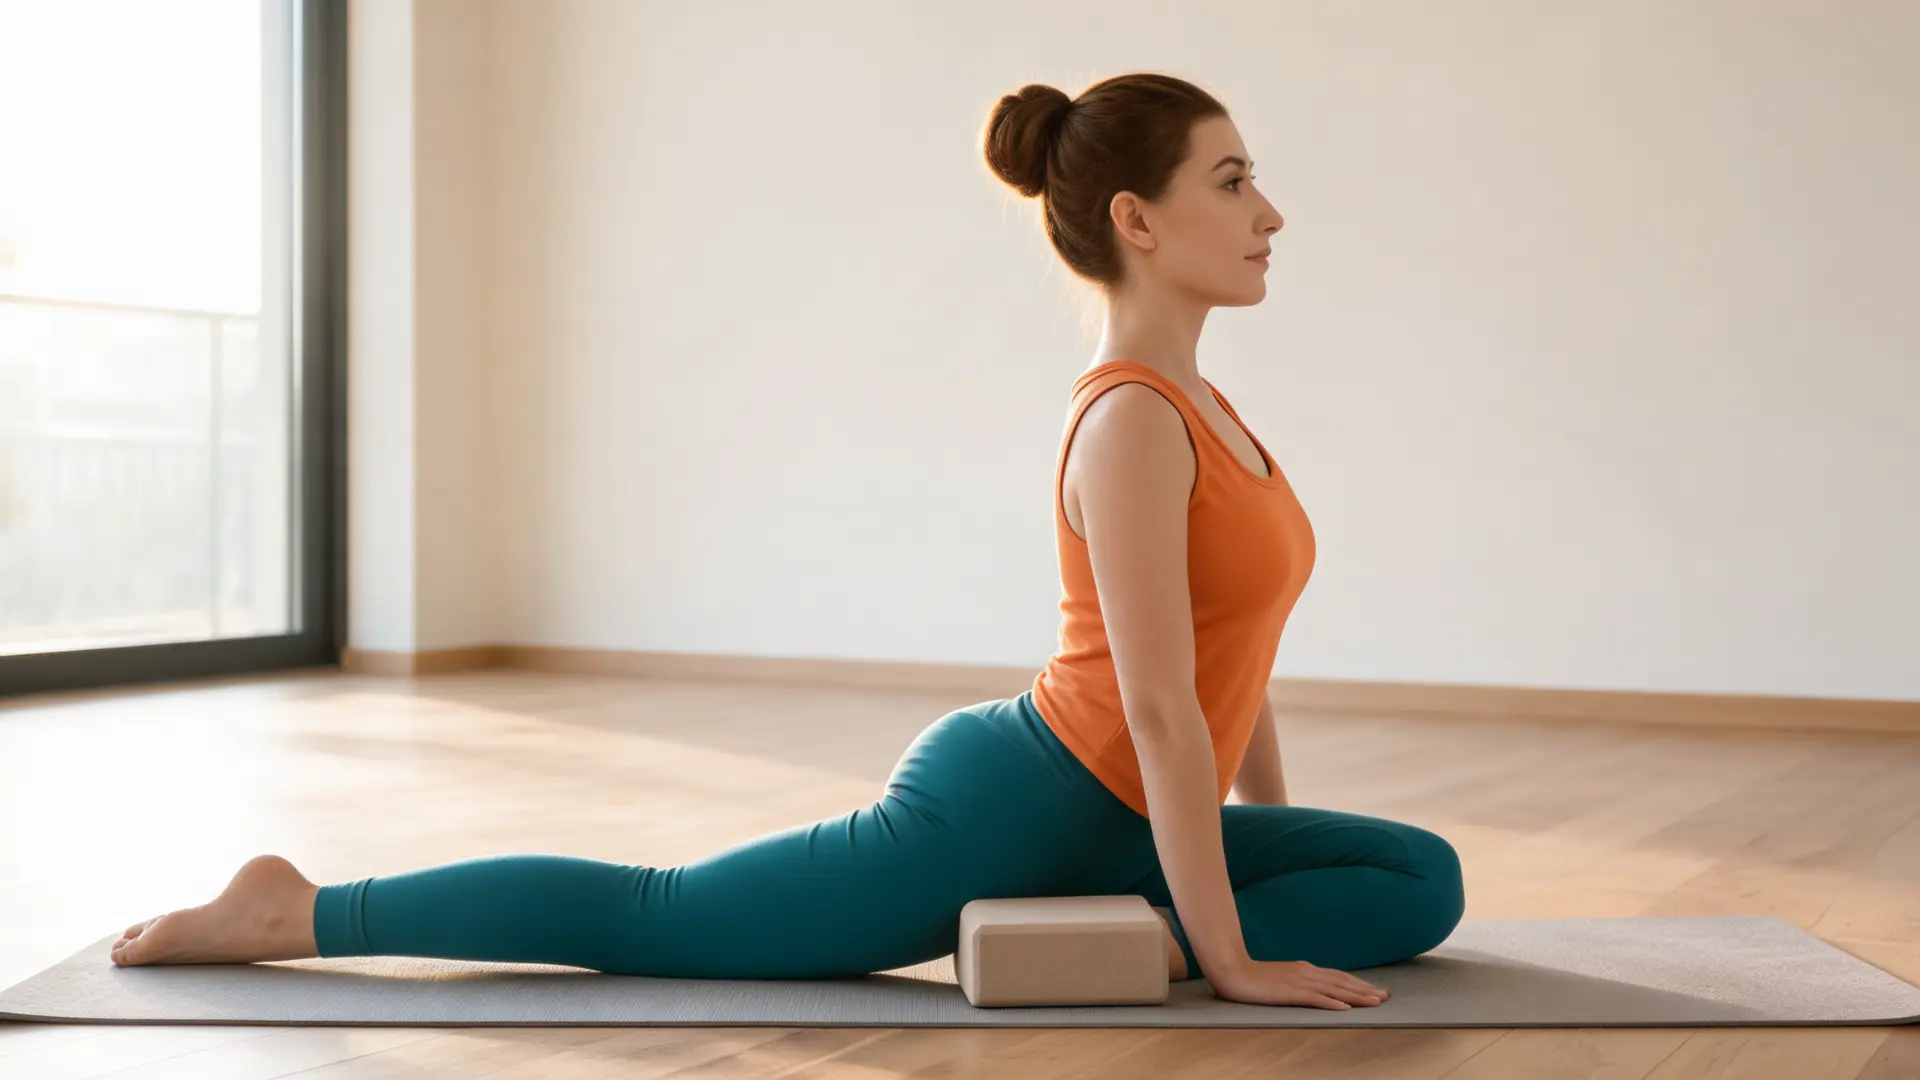
- Use Props: If your shoulders or hips are tight, consider using yoga blocks or straps to assist with proper alignment and comfort.
With practice and patience, you’ll improve your Cow Face Pose. Remember to stay focused on alignment and engage your muscles for maximum benefits. Keep practicing!
Preparatory Exercises for the Cow Face Pose
These preparatory exercises will help loosen your shoulders, hips, and spine, making it easier to progress into the cow face pose with proper alignment.
| Preparatory Exercises | Description |
|---|---|
| Shoulder and Arm Stretches | Include shoulder rolls, triceps stretches, and chest openers to improve shoulder flexibility and prepare for arm positioning. |
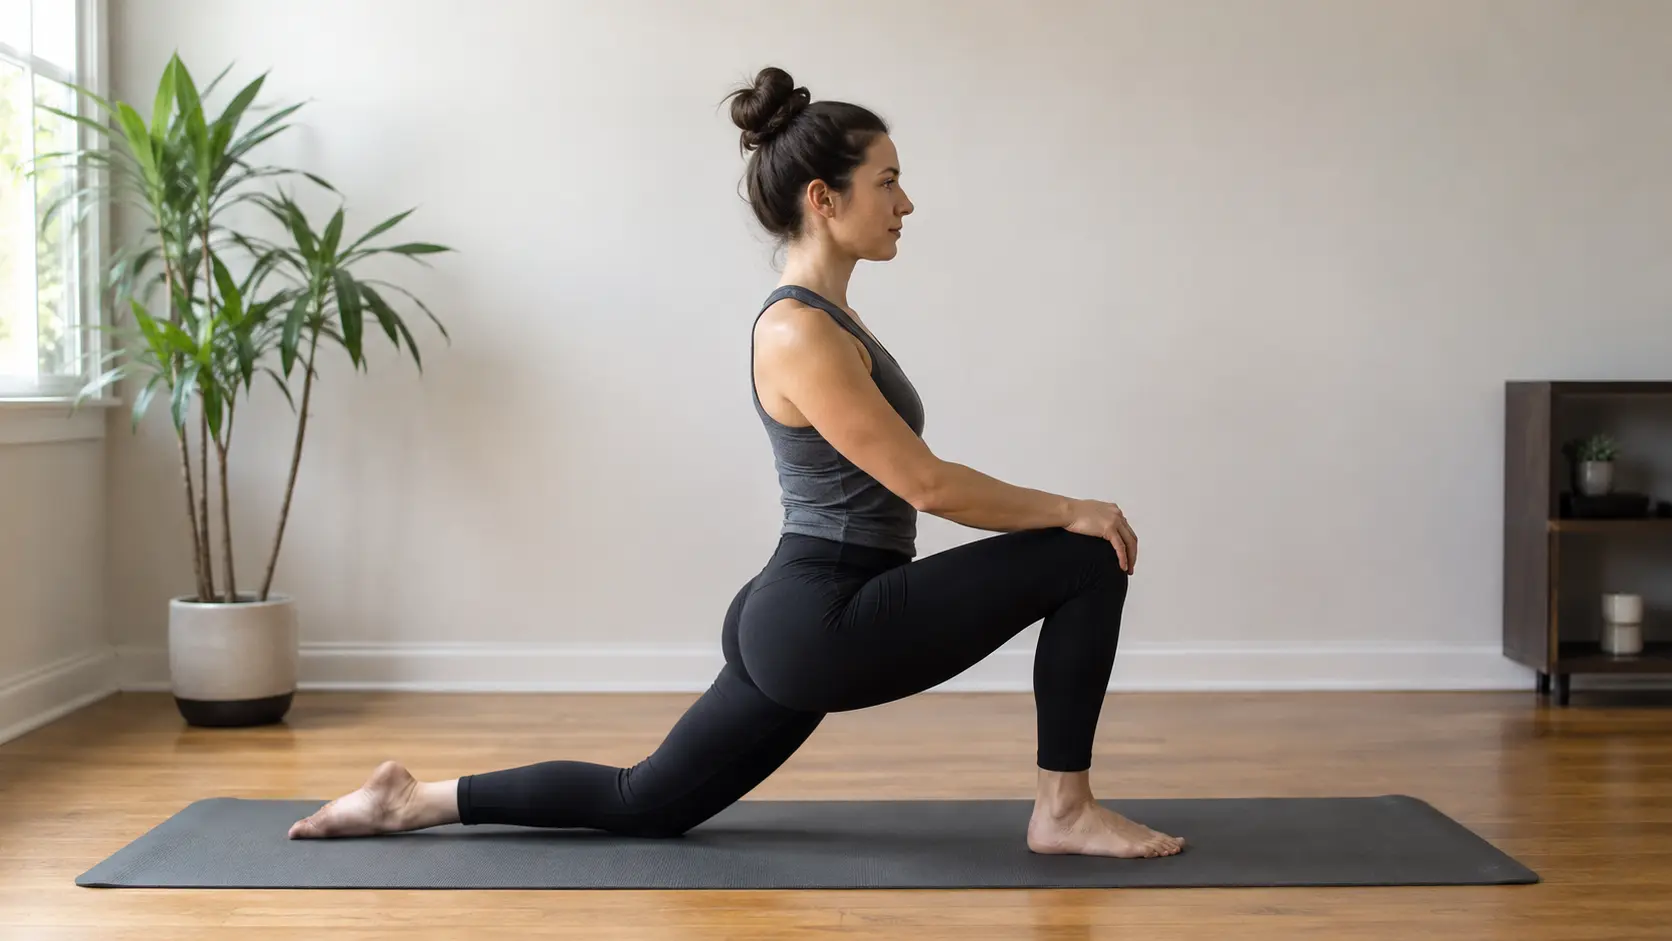
| Hip Openers | Practice poses like the pigeon pose and seated forward bends to improve hip flexibility and create space for the Cow Face Pose. |
| Spine Stretches | Use cat-cow, cobra, and child’s pose to enhance spinal mobility, helping to maintain proper alignment during the pose. |
Consistent practice of these preparatory stretches will help you build the flexibility needed for the Cow Face Pose. Keep practicing for improved mobility and form.
Overcome Common Challenges in the Cow Face Pose
The Cow Face Pose can be challenging, especially if you have tight shoulders, limited hip flexibility, or balance issues.
Tight shoulders may make it difficult to bring your arms into position, but regular shoulder stretches like triceps stretches and chest openers can help improve mobility.
Limited hip flexibility can be improved by practicing hip openers such as the pigeon pose. If balance is a concern, using props such as yoga blocks or straps can provide extra support.
Additionally, if you experience knee or wrist pain, consider modifying the pose by using a cushion or adjusting your wrist position for comfort.
Resources for Learning the Cow Face Pose
If you want clearer guidance, using trusted yoga resources can make a big difference.
Platforms like Yoga With Adriene (YouTube) offer slow, beginner-friendly breakdowns of Cow Face Pose.
DoYogaWithMe.com provides structured classes with alignment cues you can follow step by step.
Apps like Down Dog and Glo let you customize sessions and practice at your own pace.
If you prefer in-person support, studios affiliated with the Iyengar Yoga Institute of New York often emphasize alignment and the use of props, which can help you refine the pose safely and steadily.
How to Incorporate the Cow Face Pose into Your Routine
Incorporating the Cow Face Pose into your routine can help improve flexibility and relieve tension. Here’s how to practice it effectively for the best results.
- Beginner-Friendly Modifications: Start with modified versions of the Cow Face Pose, using props like blocks or straps to support alignment and flexibility.
- When to Practice: Practice the Cow Face Pose in the morning to energize your body, or in the evening to relax and release tension after a busy day.
- How Often to Practice: Incorporate the Cow Face Pose into your routine 2-3 times a week, gradually increasing the frequency as your flexibility and comfort improve.
- Pair with Other Poses: Combine the Cow Face Pose with other shoulder- or hip-openers to create a balanced practice that targets multiple areas.
- Listen to Your Body: Always listen to your body, especially when starting out. Ease into the pose and stop if you experience discomfort.
With consistent practice and proper modifications, the Cow Face Pose will become a valuable addition to your routine. Keep practicing, and enjoy the benefits of better flexibility!
Final Thoughts
I hope this guide has given you a clearer understanding of how to work towards mastering the Cow Face Pose.
While it might take some time and practice, don’t be discouraged by the challenges along the way. The more you practice, the more you’ll see improvements in your flexibility and overall posture.
Remember to focus on proper alignment, engage the right muscles, and incorporate preparatory exercises to get the best results.
If you’re ready to dive deeper into yoga, start practicing the Cow Face Pose regularly and explore other poses that can complement it. Feel free to share your experiences or ask questions in the comments below. I’d love to hear from you!